@viralbug - Thank You.
UPDATE - 29/12/2011
As most of the sleeving was done,it’s time for the most enjoyable part of the build REASSEMBLY.
so,let’s begin ![]()
Starting off with the chassis.
Silly me i forgot to take pics before reinstalling it’s feet & HDD Cage :facepalm:
anyways here is the chassis with HDD Cage & Feet installed

Notice the orientation of HDD Cage,it’s changed to hide more cables ![]()

the HDD Locking Mechanism was also painted to metallic orange as in this pic


Time to install Small yet important Parts of the chassis

the power,reset switch PCB is installed on a metal base plate,which i also got painted in orange for highlight
here’s the pic of metal base plate painted

and with PCB installed

Time to mount it on the case


Done ![]()
Next is the power & HDD activity LED.
i had to install them in these holes

since the chassis was painted,all the layers of primers,paint & clearcoat made the hole a little bit smaller resulting in LED’s not getting in.
so,had to take small piece of sandpaper & had to sand off the paint a bit & SUCCESS :throwup:

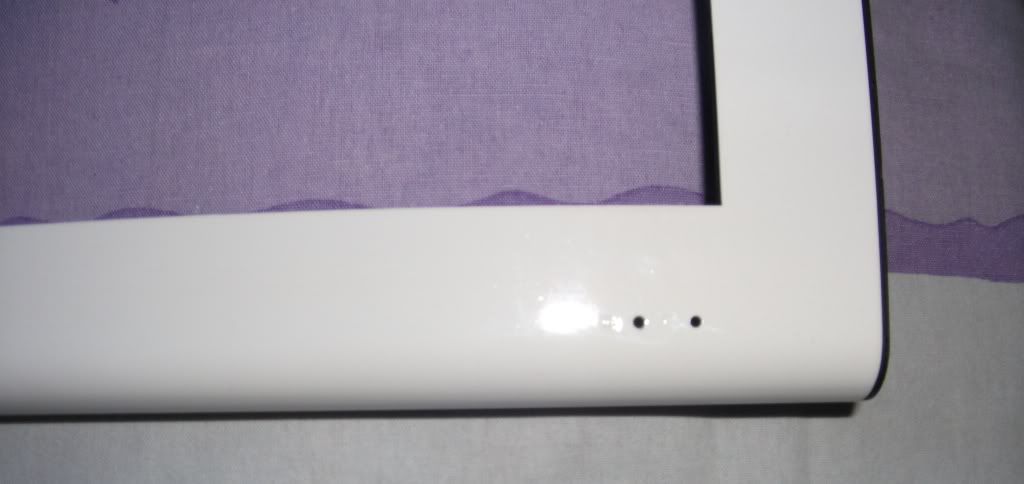
same was the case with the front bezel,a transparent pin of some sort was used to improve the LED illumination,even it was harder to get it into as sand paper would not work here


then i saw my screwdriver tool kit & found a star shaped attachment which was perfect for the job


grinded the paint slowly using this & it was in

now,it was on to front bezel locking mechanism.
some plastic modules were used to hold the bezel in place.

same was the case here the paint got on it & had to sand it as well
3 down,1 more to go :yesss:

all done :excellent:

even for now the fan sticker design was not final,but it could put the build on hold till decided.
solution - use what i have for now & change it later on.
so,here we are
the back side of the fan

one fan installed with fan sticker

both of them

yes,it does illuminates in reflection ![]()
time for marrying the top panel to the chassis. ![]()
This was the first time after tear up that the top panel is going to be mounted on the chassis,but there was a problem

you see the clearance wasn’t enough for the cable,not even 1mm to be practical
so,had to change the orientation of the fan & fan stickers to make it work :builder:

and it was in


i was so much into the build that i even forgot that i had M4 Flange Nuts.
so, i swapped to fans nyloc nuts with em.


something is missing in this picture,hmm what could it be ![]()

ohh,it’s the side panel vibration dampeners

time to change stickers on Xigmatek Fans


securing fans using fan vibration dampener

since,PC A 70F has support for 2x140mm fans in the front,i had to make another convertor out of metal sheet to house 2x120mm fans.
reason is Xigmatek 140mm orange fans aren’t available in our country.
here’s the pic of the metal plate if you recall

mounting the fans back in


let’s put it back together & see how it looks

Looks Good. ![]()
then goes in the air filters

All Done here. ![]()
More to come soon.