I recently bought an iPhone 6 myself. Prior to iPhone, I owned a Google Nexus 5.
On advice of a friend, I ordered GadgetShieldz's screen protector for my Nexus 5 and haven't looked back. So, for my iPhone 6 also, I went ahead with GadgetShieldz's screen protector for iPhone 6
The delivery was made within 2 days of ordering. Then came the not so easy part of applying the screen guard.
I am detailing the steps here just for reference. However, the detailed instruction guide given with the screen guard is pretty good for a DIY application.
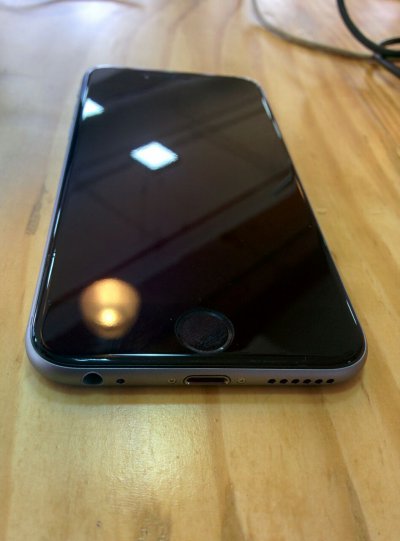
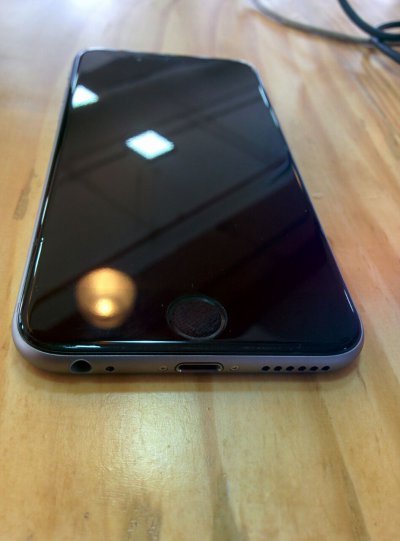
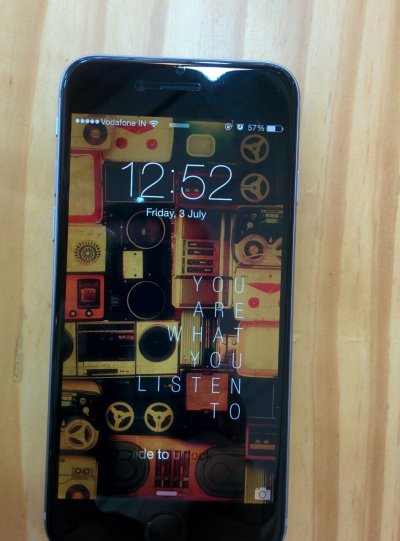
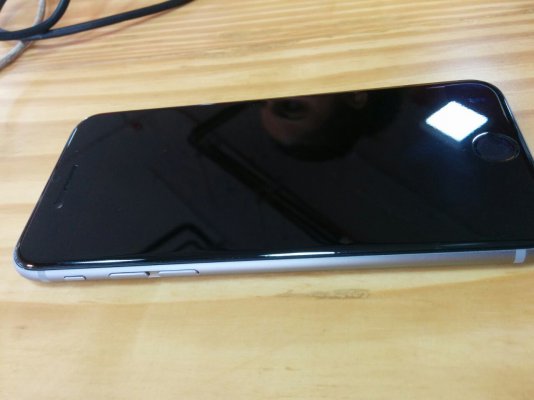
Also, I have attached a few images of the screen protector after finishing and drying out. Looks very sleek. Check them out.
Starting with the steps:
Prerequisites:
screen protector
Jhonson & Jhonson's baby shampoo (5-10 drops)
A credit/debit card
Microfibre cleaning cloth (Small cloth used to clean eye glasses will also do the trick). Preferably 2 of them.
Water (Half a bowl)
Note: Keep your iPhone switched off during the whole process and for about 3-4 hours after applying the screen guard.
1. I started by cleaning the screen of the iPhone using a cleaning solution and microfibre cloth.
2. I started with making a soap solution using Johnson & Johnson's baby shampoo. Probably 4-5 drops in half a bowl of water should do the deed.
The reason for using a particular shampoo for soap solution is so that the screen guard doesn't take any color or doesn't get damaged due to strong chemicals in the stronger shampoos. Jhonson's is a mild shampoo and doesn't cause any harm.
3. Then, I dipped my fingers in the soap solution. It is very important for your hands to remain soapy during the whole process, else it may tamper the screen protector.
4. Gently, I removed the screen guard from its cover and dipped it in the soap solution. After taking it out from the soap solution, I removed the excess soap solution using my fingers.
5. Carefully, I applied the screen guard on to the screen placing it as per the edges of the screen. Using my fingers, I adjusted the screen protector to take the exact desired position on the screen. I used the camera and call speaker hole as a reference to judge exact positioning. Steps 3-5 may have to be repeated just in case the screen protector didn't go right on the screen.
6. Once I was satisfied with the placement of the screen protector, it was time to remove the excess of soap solution from inside it.
Took the debit card and wrapped the microfibre cloth around it. The trick here is to use the edge of the card to drag on the screen surface to take out any soap solution on the surface. This process also removes any bubbles that might be there.
Start from the middle of the screen and move towards the edges of the screen to drag the soap solution out. The microfibre cloth will soak up the solution preventing it from going into the holes of the iPhone preventing any damage.
Another tricky thing to tackle are the rounded edge of the iPhone screen. After waiting a while (to allow the moisture to dry out a little), I started pressing the screen guard on the edges. It might take some time for the protector to fully stick to the edge, but it will, so have patience.
7. Voila, it's done! Just let it dry for about 3-4 hours and switch on your phone.
Review: I think GadgetShieldz screen protectors are perhaps the best wet screen protectors in the market. It is a military grade screen guard and doesn't get scratches as soon as the ordinary cheaper screen guards. I had it on my Nexus 5 for about an year and a half, and it still looked as good as new. The quality of the material is amazingly good and when you touch the screen, it really feels that you are using a high quality product.
According to me, it is the best screen guard for the iPhone 6.
On advice of a friend, I ordered GadgetShieldz's screen protector for my Nexus 5 and haven't looked back. So, for my iPhone 6 also, I went ahead with GadgetShieldz's screen protector for iPhone 6
The delivery was made within 2 days of ordering. Then came the not so easy part of applying the screen guard.
I am detailing the steps here just for reference. However, the detailed instruction guide given with the screen guard is pretty good for a DIY application.
Also, I have attached a few images of the screen protector after finishing and drying out. Looks very sleek. Check them out.
Starting with the steps:
Prerequisites:
screen protector
Jhonson & Jhonson's baby shampoo (5-10 drops)
A credit/debit card
Microfibre cleaning cloth (Small cloth used to clean eye glasses will also do the trick). Preferably 2 of them.
Water (Half a bowl)
Note: Keep your iPhone switched off during the whole process and for about 3-4 hours after applying the screen guard.
1. I started by cleaning the screen of the iPhone using a cleaning solution and microfibre cloth.
2. I started with making a soap solution using Johnson & Johnson's baby shampoo. Probably 4-5 drops in half a bowl of water should do the deed.
The reason for using a particular shampoo for soap solution is so that the screen guard doesn't take any color or doesn't get damaged due to strong chemicals in the stronger shampoos. Jhonson's is a mild shampoo and doesn't cause any harm.
3. Then, I dipped my fingers in the soap solution. It is very important for your hands to remain soapy during the whole process, else it may tamper the screen protector.
4. Gently, I removed the screen guard from its cover and dipped it in the soap solution. After taking it out from the soap solution, I removed the excess soap solution using my fingers.
5. Carefully, I applied the screen guard on to the screen placing it as per the edges of the screen. Using my fingers, I adjusted the screen protector to take the exact desired position on the screen. I used the camera and call speaker hole as a reference to judge exact positioning. Steps 3-5 may have to be repeated just in case the screen protector didn't go right on the screen.
6. Once I was satisfied with the placement of the screen protector, it was time to remove the excess of soap solution from inside it.
Took the debit card and wrapped the microfibre cloth around it. The trick here is to use the edge of the card to drag on the screen surface to take out any soap solution on the surface. This process also removes any bubbles that might be there.
Start from the middle of the screen and move towards the edges of the screen to drag the soap solution out. The microfibre cloth will soak up the solution preventing it from going into the holes of the iPhone preventing any damage.
Another tricky thing to tackle are the rounded edge of the iPhone screen. After waiting a while (to allow the moisture to dry out a little), I started pressing the screen guard on the edges. It might take some time for the protector to fully stick to the edge, but it will, so have patience.
7. Voila, it's done! Just let it dry for about 3-4 hours and switch on your phone.
Review: I think GadgetShieldz screen protectors are perhaps the best wet screen protectors in the market. It is a military grade screen guard and doesn't get scratches as soon as the ordinary cheaper screen guards. I had it on my Nexus 5 for about an year and a half, and it still looked as good as new. The quality of the material is amazingly good and when you touch the screen, it really feels that you are using a high quality product.
According to me, it is the best screen guard for the iPhone 6.