This one looks like a promising contender when I searched for something easier to modify with a larger enclosure for better thermals since that was a concern with the Polycab smart plug.

A few screws and it happily comes apart:
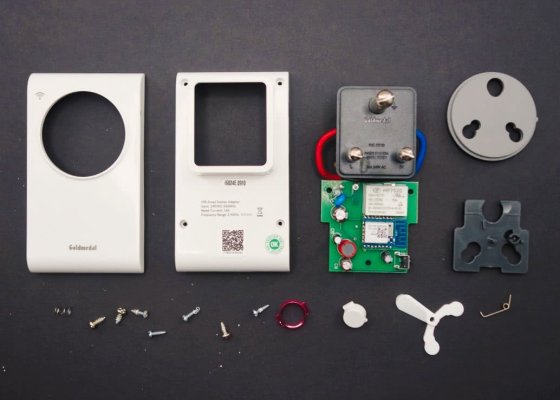
This one uses the Tuya CB3S module, which isn't compatible with Tasmota, so it'll need to be replaced.
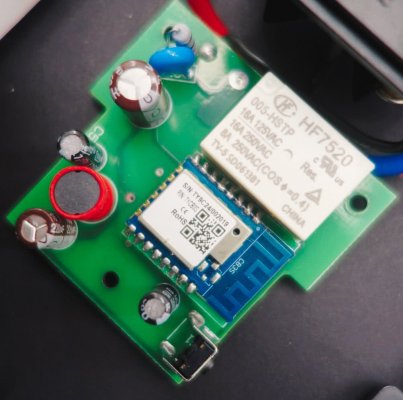
The wiring and overall quality is very reassuring:
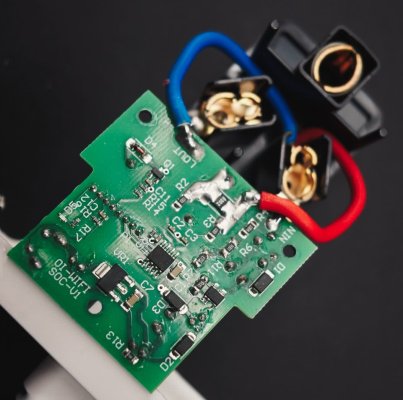
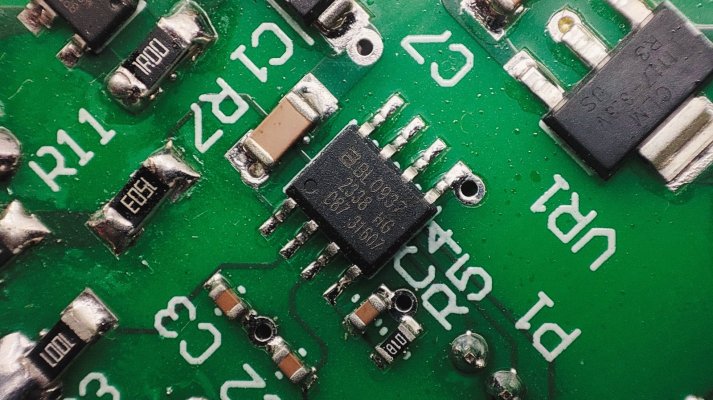
Powering monitoring is with the BL0937 energy meter chip, the same as the Polycab smart plugs.
The Tuya module is on a carrier board that's on a header:
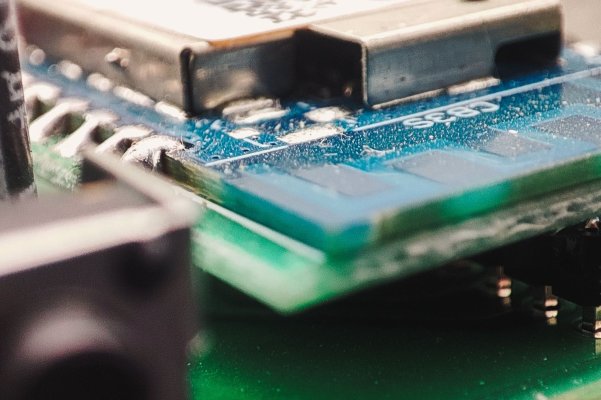
Careful with the pads as they might end up damaged during desoldering because they're so tiny:
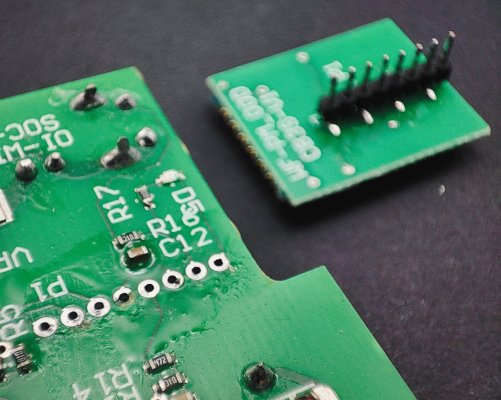
A mica heatsink insulator helps with desoldering the castellations, just slide it underneath after heating up the pads two by two:
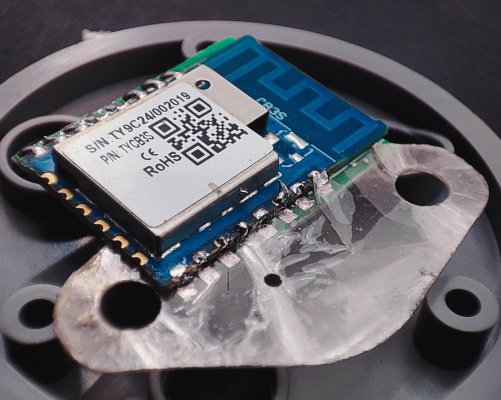
Still, unused pads might be lost:
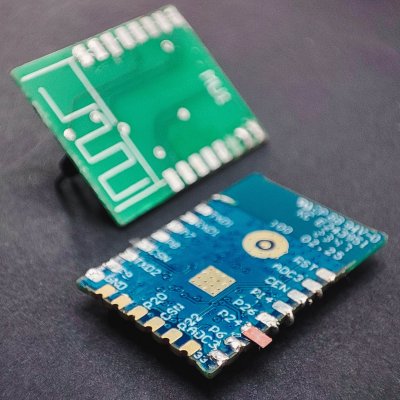
The same technique can be used to salvage ESP12F modules from damaged or failed projects:
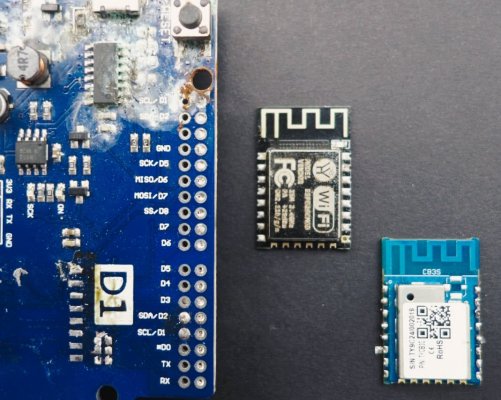
But the ESP12F isn't pin-compatible with the Tuya CB3S so we have to find something else, like this Wemos D1 Mini:
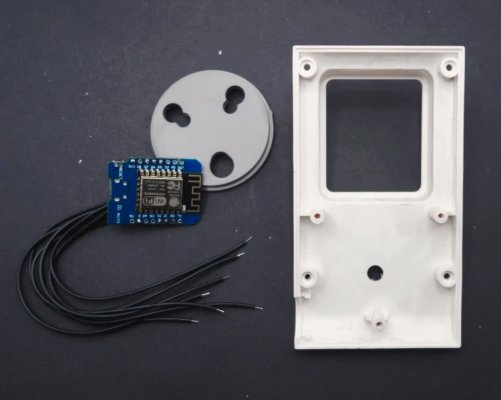
We could use the ESP12F without the carrier PCB, but that'll require additional components, a D1 mini is easier.
The tasmota template is based on the Polycab 16A one for simplicity:
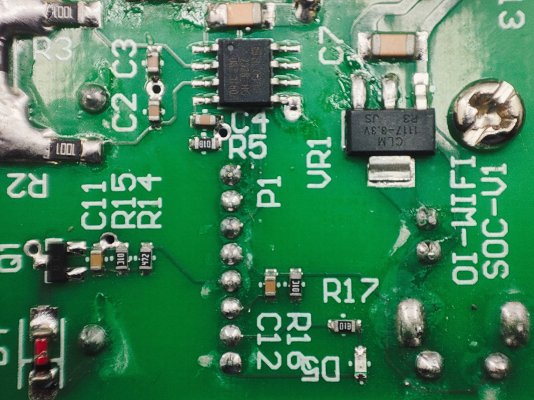
From top to bottom, we have HLWBL SEL_i, HLWBL CF1, BL0937 CF, Switch, Relay, Ground, +3.3V and LED.
Made a simple cover in OpenSCAD:
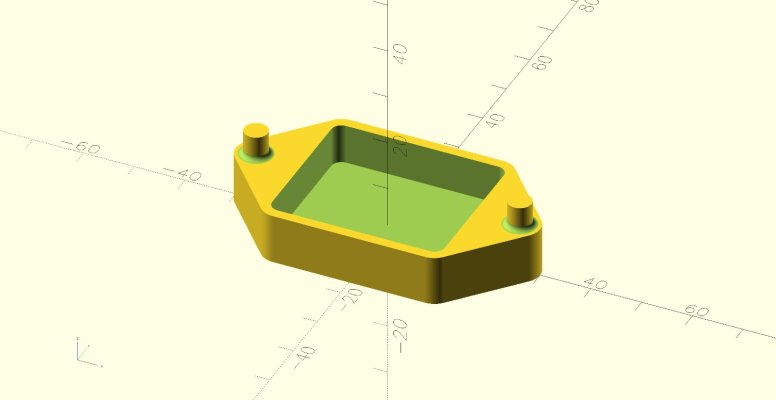
Modelling in OpenSCAD is done through code, which can be very intuitive:
And then 3d-printed:

Iterations, the left-most one is my first 3d print ever:
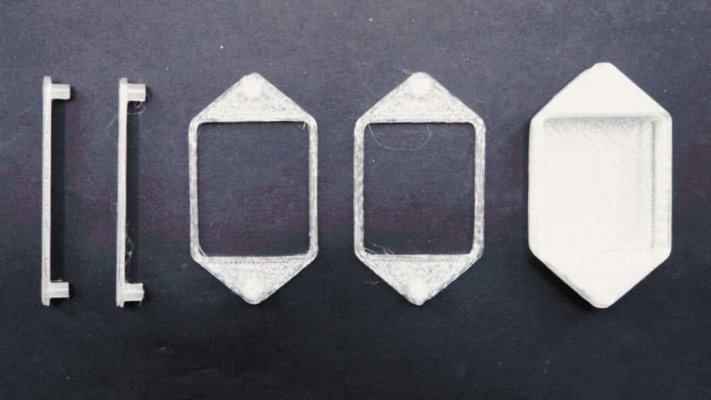
It helps to have a well-tuned 3d printer, it took a couple of days:
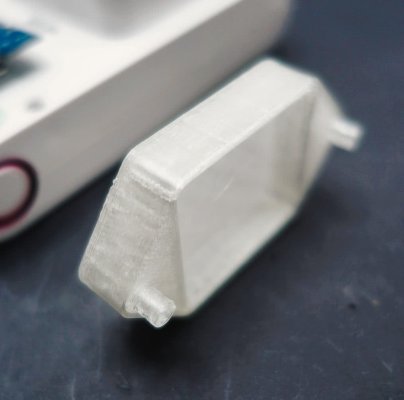
The fillets on the pegs need the screw holes to be slightly countersunk for a good fit:
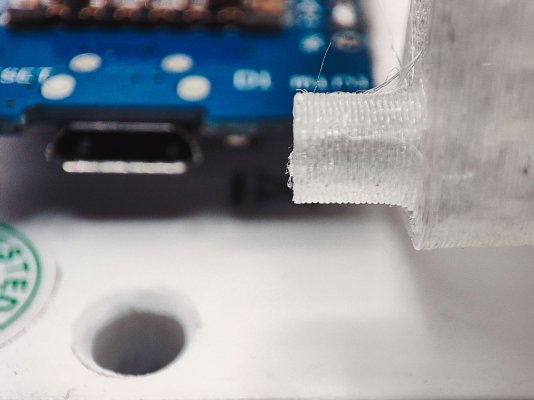
It took about 8 iterations to get a snug friction fit:
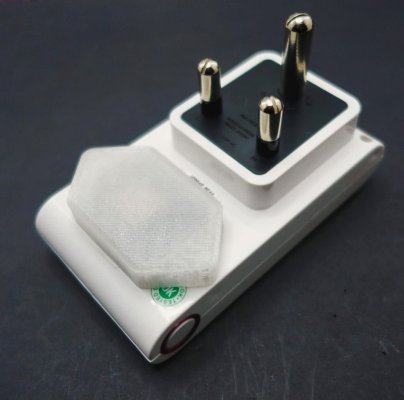
Looking good:
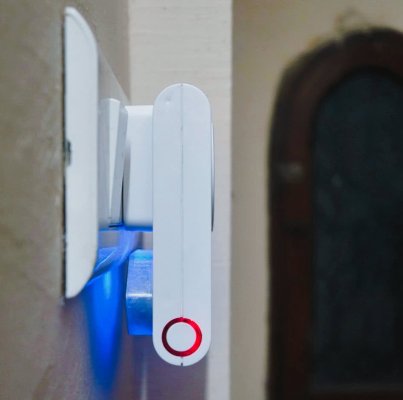
The translucent "natural" PLA filament was so worth it:
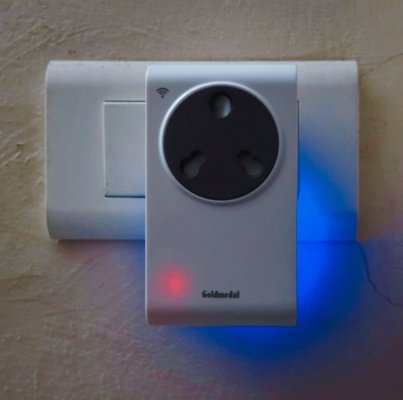
All done. Next, calibration: https://tasmota.github.io/docs/Power-Monitoring-Calibration/

A few screws and it happily comes apart:

This one uses the Tuya CB3S module, which isn't compatible with Tasmota, so it'll need to be replaced.

The wiring and overall quality is very reassuring:

Powering monitoring is with the BL0937 energy meter chip, the same as the Polycab smart plugs.

The Tuya module is on a carrier board that's on a header:

Careful with the pads as they might end up damaged during desoldering because they're so tiny:

A mica heatsink insulator helps with desoldering the castellations, just slide it underneath after heating up the pads two by two:

Still, unused pads might be lost:

The same technique can be used to salvage ESP12F modules from damaged or failed projects:

But the ESP12F isn't pin-compatible with the Tuya CB3S so we have to find something else, like this Wemos D1 Mini:

We could use the ESP12F without the carrier PCB, but that'll require additional components, a D1 mini is easier.
The tasmota template is based on the Polycab 16A one for simplicity:
Code:
{
"NAME":"209004",
"GPIO":[0,0,544,32,2720,2656,0,0,2624,320,224,0,0,0],
"FLAG":0,
"BASE":18
}
From top to bottom, we have HLWBL SEL_i, HLWBL CF1, BL0937 CF, Switch, Relay, Ground, +3.3V and LED.

Made a simple cover in OpenSCAD:

Modelling in OpenSCAD is done through code, which can be very intuitive:
Code:
$fn=100;
points=[[30,25,0],[30,0,0],[0,25,0],[0,0,0]];
module end() {
  cylinder(d=8, h=10);
}
module box(points, radius, height){
  /* hackaday.com/2018/02/13/openscad-tieing-it-together-with-hull */
  hull(){
    for (p = points){
      translate(p) cylinder(r=radius, h=height);
    }
  }
}
module peg() {
  translate([0, 0, 10]) {
    klam_fillet_cylinder(cylinder_height=5,
    cylinder_radius=2.3,
    fillet_radius_bottom=1,
    fillet_radius_top=0,
    nfaces=100);
  }
}
module klam_fillet_cylinder(
  cylinder_height=2,
  cylinder_radius=1,
  fillet_radius_bottom=1,
  fillet_radius_top=0,
  nfaces=100) {
  /* klamfx.wordpress.com/2016/12/03/creating-a-filleted-cylinder-in-openscad */
  union() {
    cylinder(cylinder_height, r=cylinder_radius, $fn=nfaces);
    if (fillet_radius_bottom > 0) {
      difference() {
        cylinder(fillet_radius_bottom,
        r=cylinder_radius+fillet_radius_bottom,
        $fn=nfaces);
        translate([0, 0, fillet_radius_bottom])
        rotate_extrude($fn=nfaces)
        translate([cylinder_radius+fillet_radius_bottom, 0, 0])
        circle(fillet_radius_bottom, $fn=nfaces);
      }
    }
    if (fillet_radius_top > 0) {
      difference() {
        translate([0,0,cylinder_height-fillet_radius_top])
        cylinder(fillet_radius_top,
        r=cylinder_radius+fillet_radius_top,
        $fn=nfaces);
        translate([0, 0, cylinder_height-fillet_radius_top])
        rotate_extrude($fn=nfaces)
        translate([cylinder_radius+fillet_radius_top, 0, 0])
        circle(fillet_radius_top, $fn=nfaces);
      }
    }
  }
}
union() {
  translate([-26, 0, 0]) {
    end();
    peg();
  }
  translate([26, 0, 0]) {
    end();
    peg();
  }
  difference() {
    hull() {
      translate([-15, -12.5, 0]) box(points, radius=4, height=10);
      translate([-26, 0, 0]) end();
      translate([26, 0, 0]) end();
    }
    translate([-15, -12.5, 2]) box(points, radius=2, height=8);
  }
}
And then 3d-printed:

Iterations, the left-most one is my first 3d print ever:

It helps to have a well-tuned 3d printer, it took a couple of days:

The fillets on the pegs need the screw holes to be slightly countersunk for a good fit:

It took about 8 iterations to get a snug friction fit:

Looking good:

The translucent "natural" PLA filament was so worth it:

All done. Next, calibration: https://tasmota.github.io/docs/Power-Monitoring-Calibration/
Last edited:


