The "SUPERBUILD" Case Mod
Hello to all,
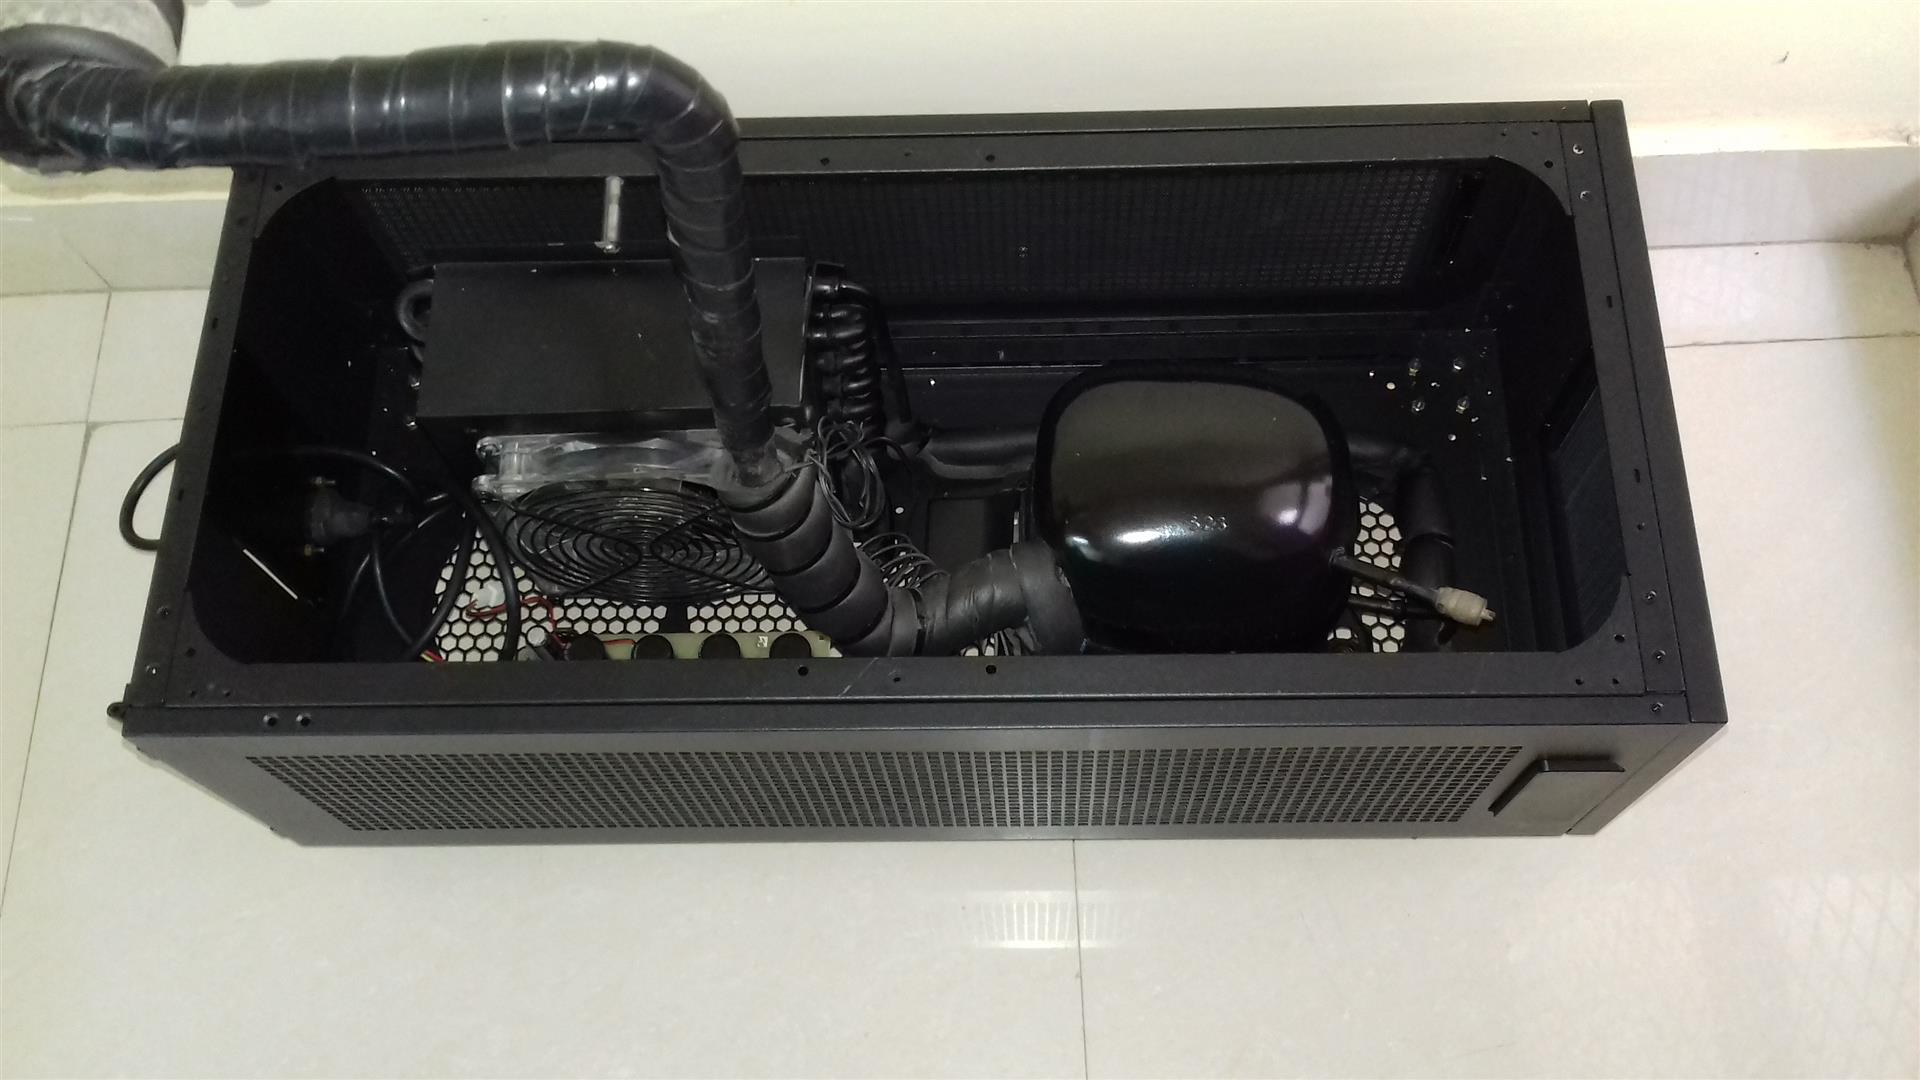
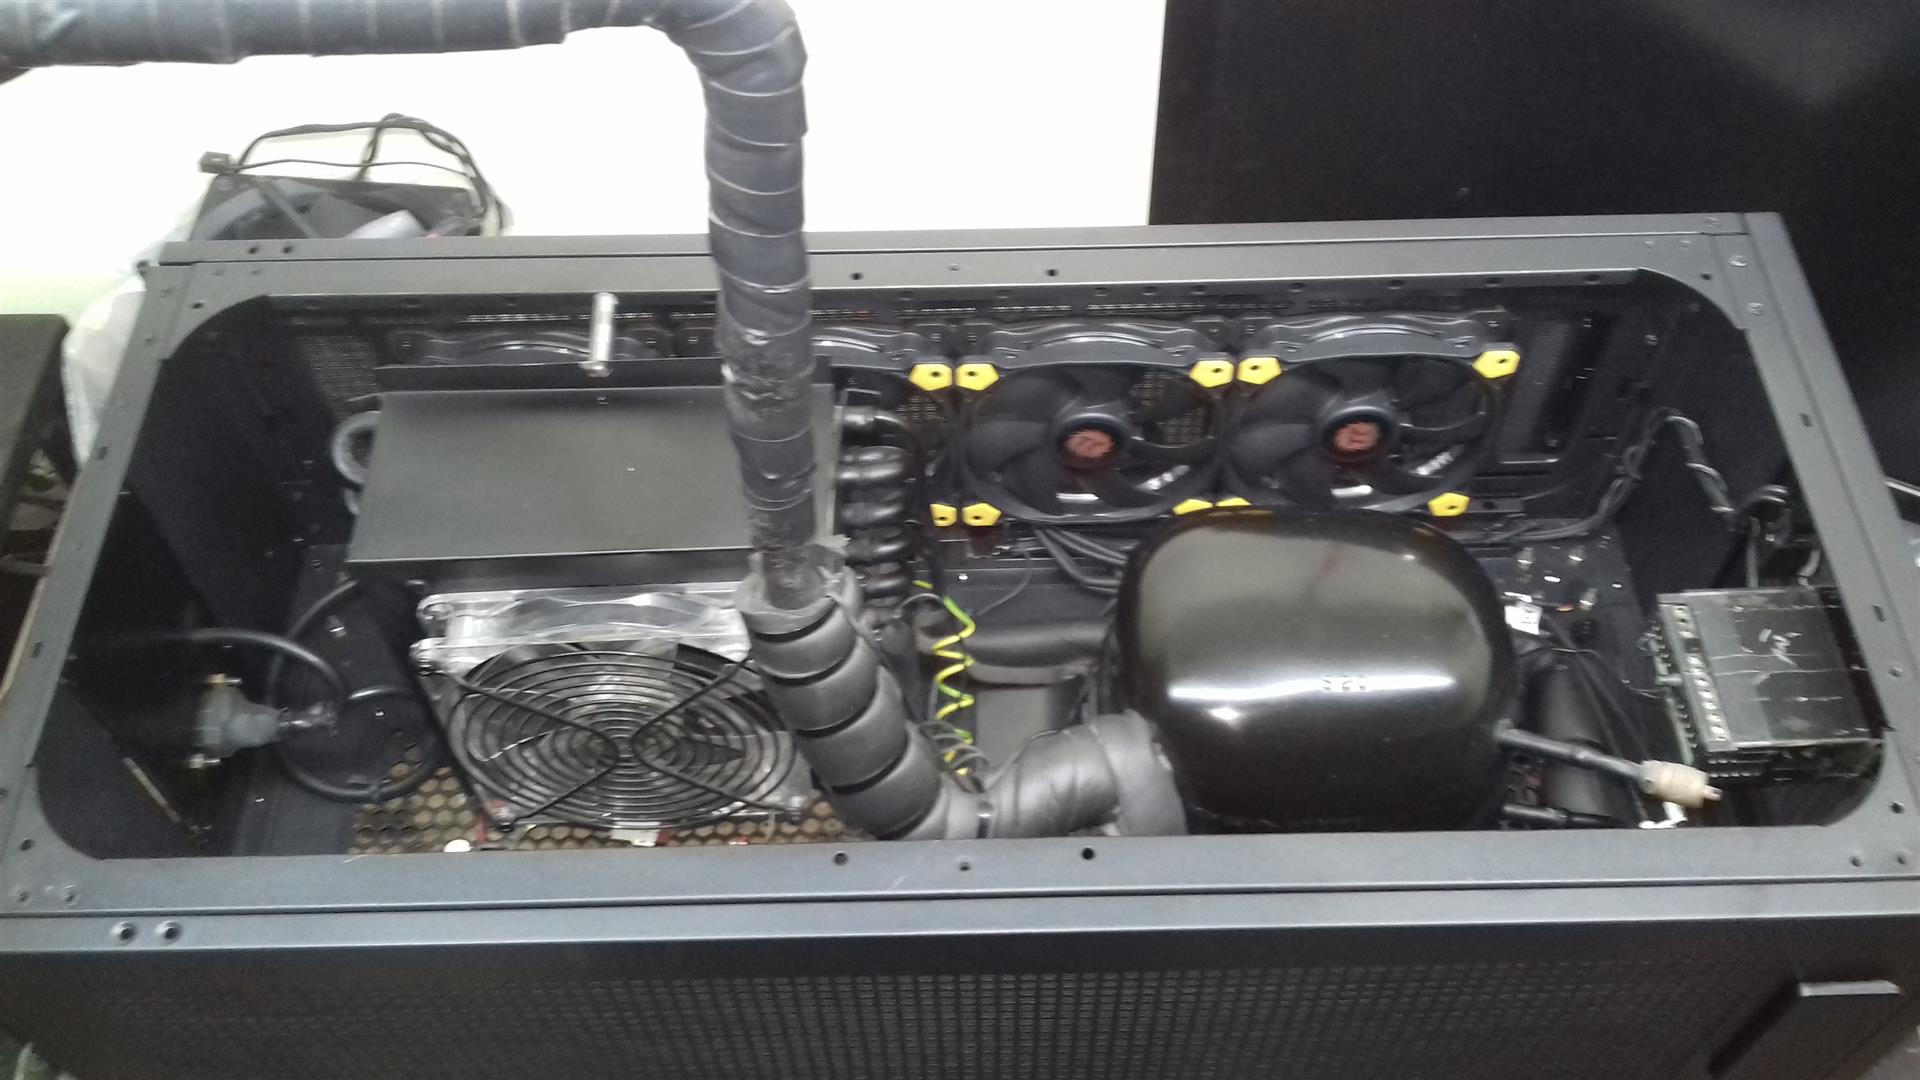
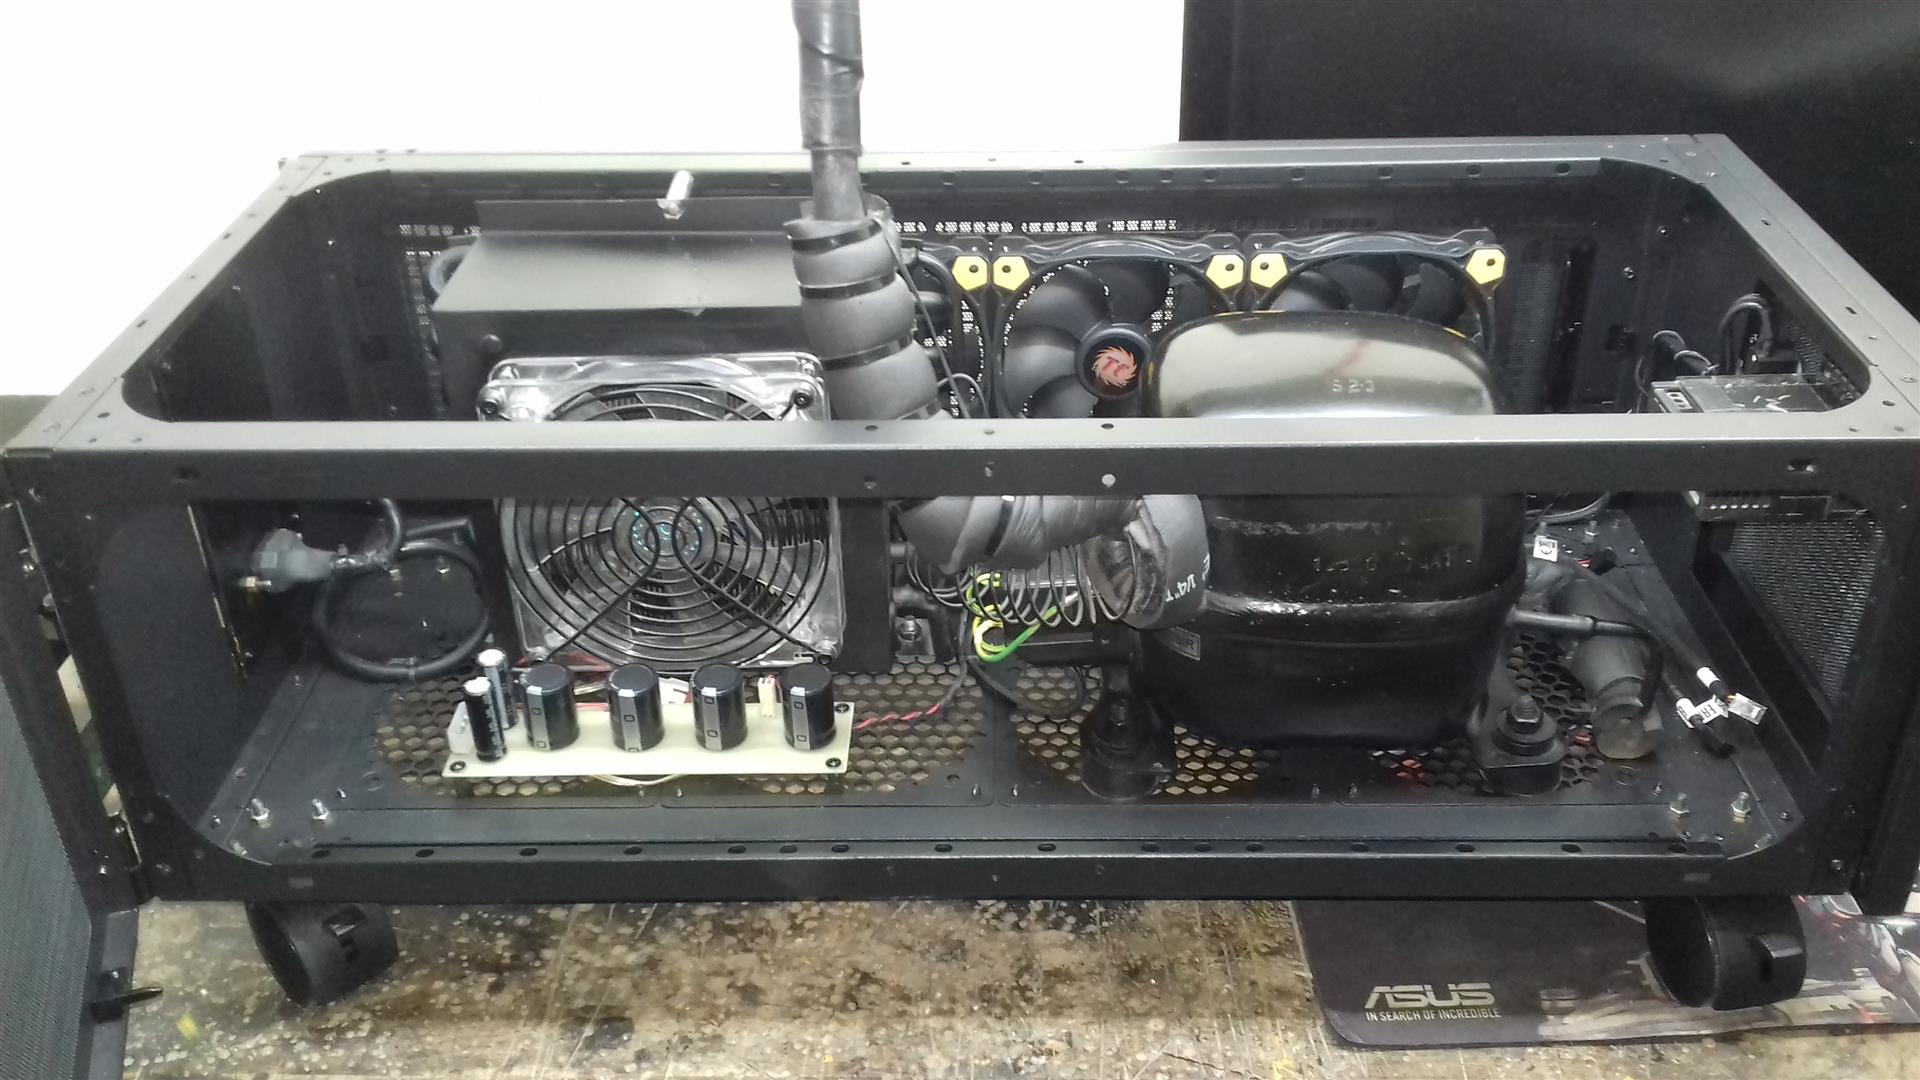
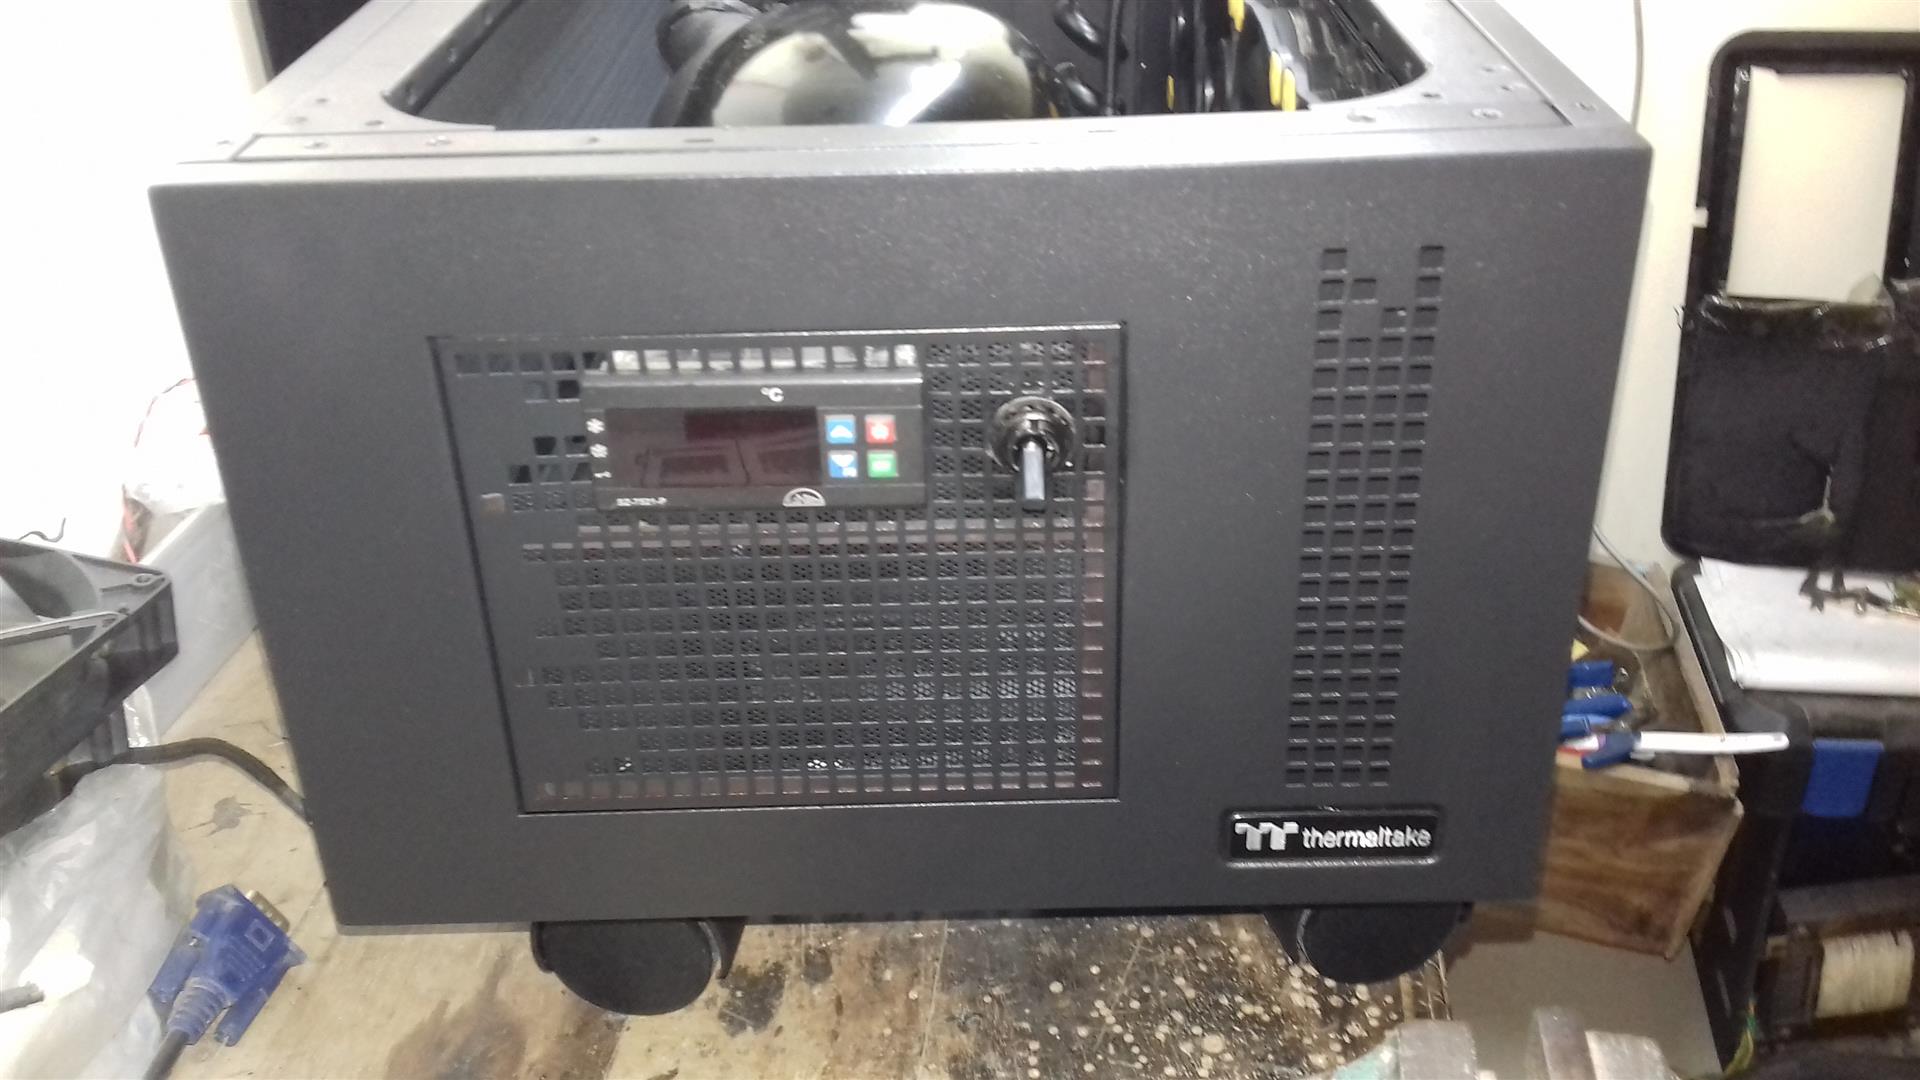
As most of you know, in year 2011 I build a “Phase Changer Rig” . An extreme overclocking rig. Capable to cool down the CPU below -38C. One of its kind in India.
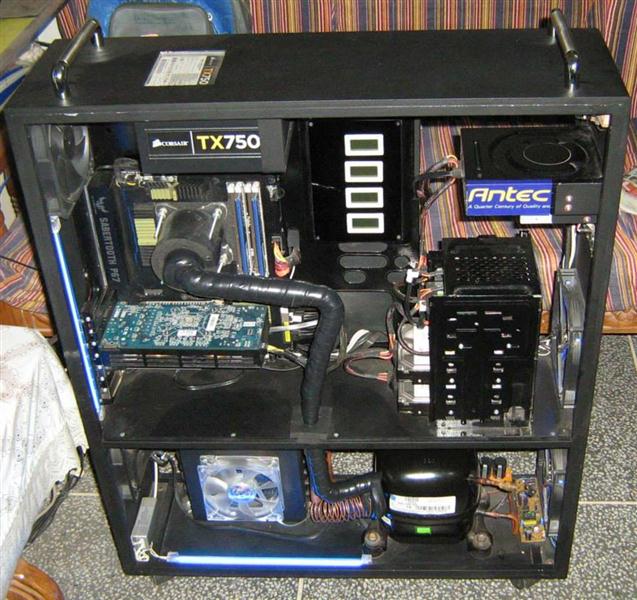
It was a complete scratch build using MDF board and aluminium square rods. Till date case is in good nick, only thing I did wrong was not to cover sides of lower phase changer section.
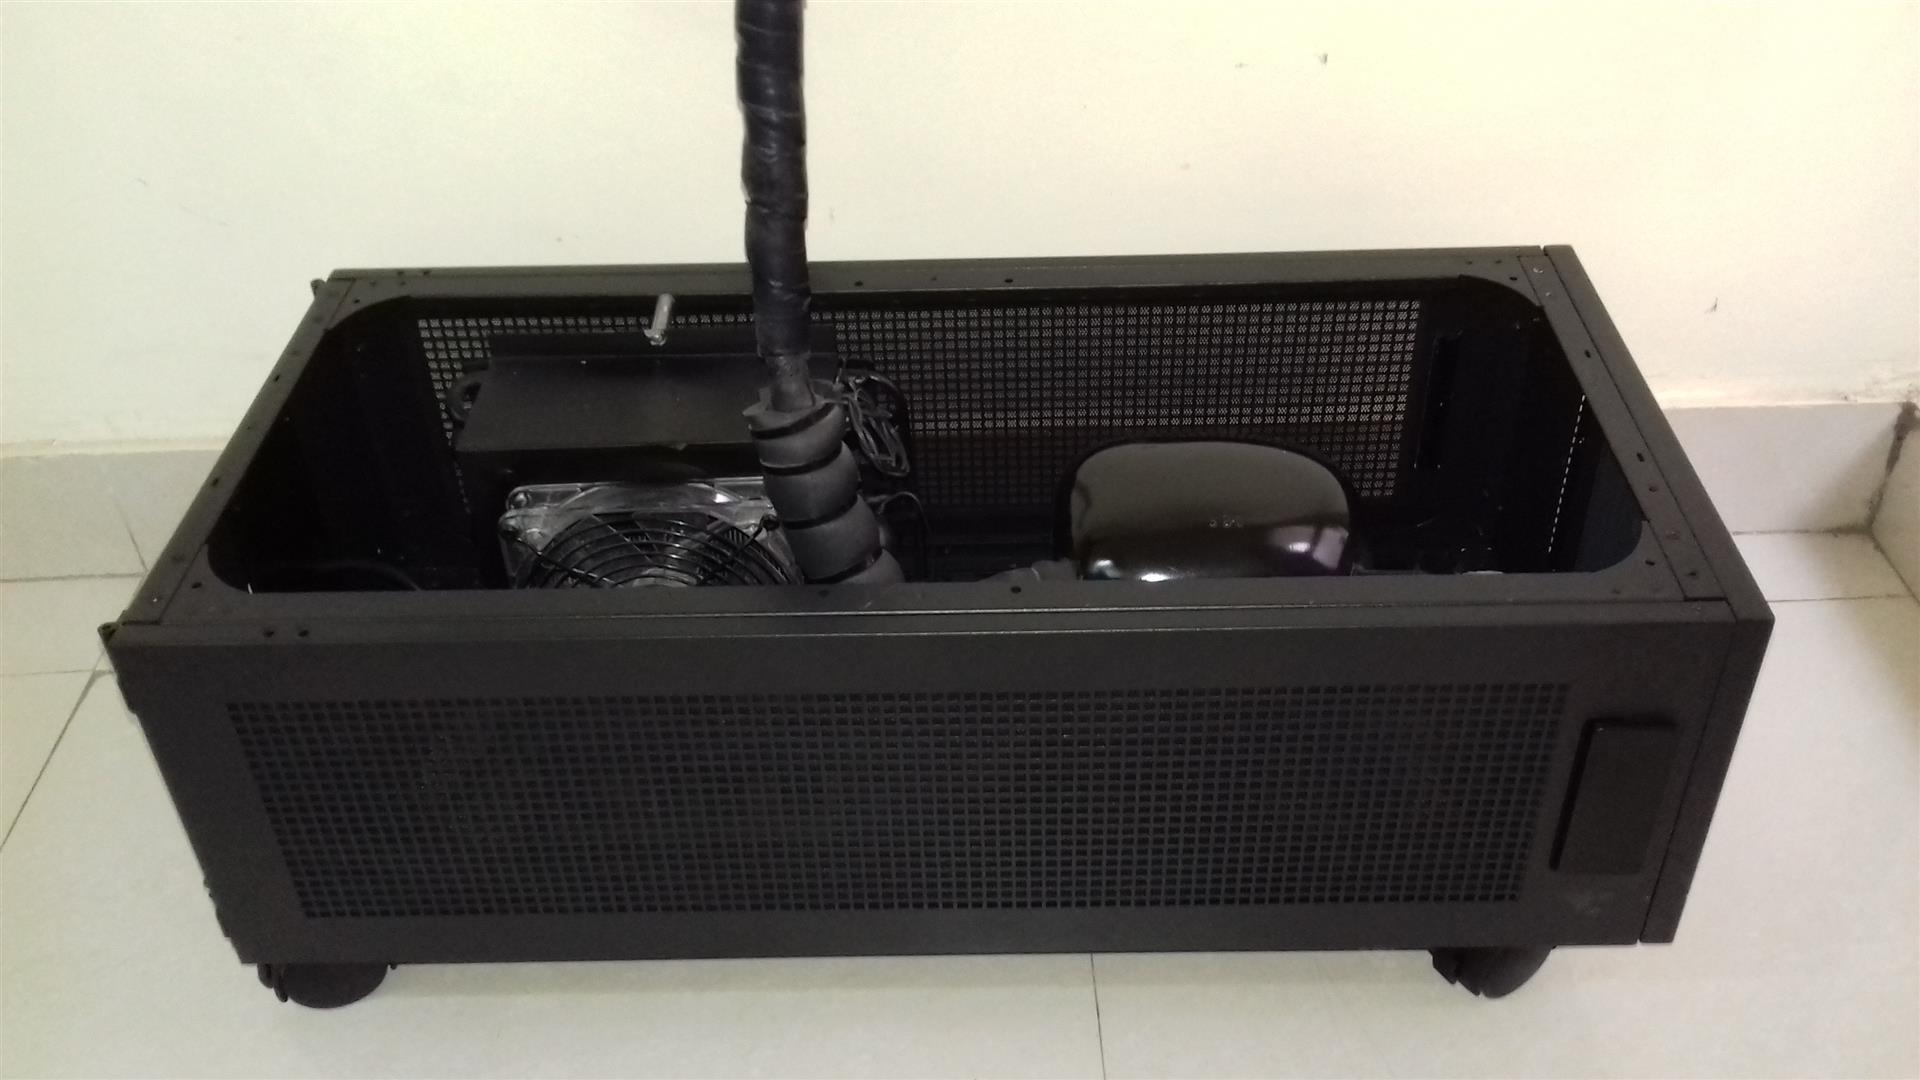
Nothing bad, but recently due to absence of the side covers I accidentally mange to damage the condenser and broke a copper tube. Resulting in a complete failure of the phase change unit.
Now this has to be fixed. But this MDF case is about six years old, so I said to myself the fixed phase change unit defiantly needs a new and safe home now. So my hunt for a suitable case began.
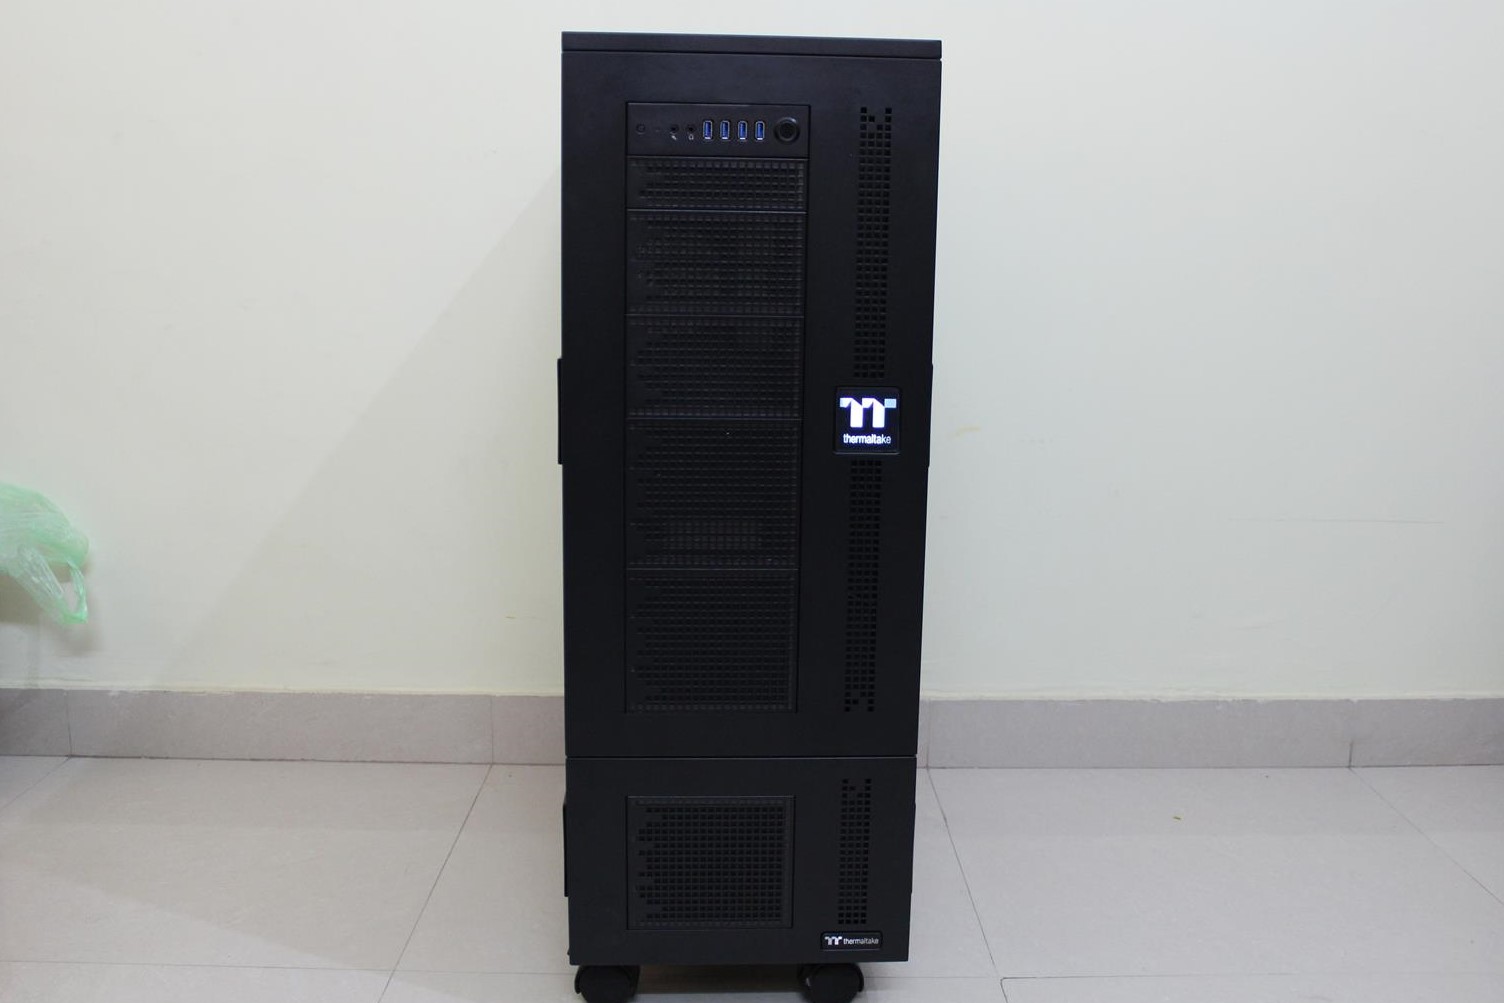
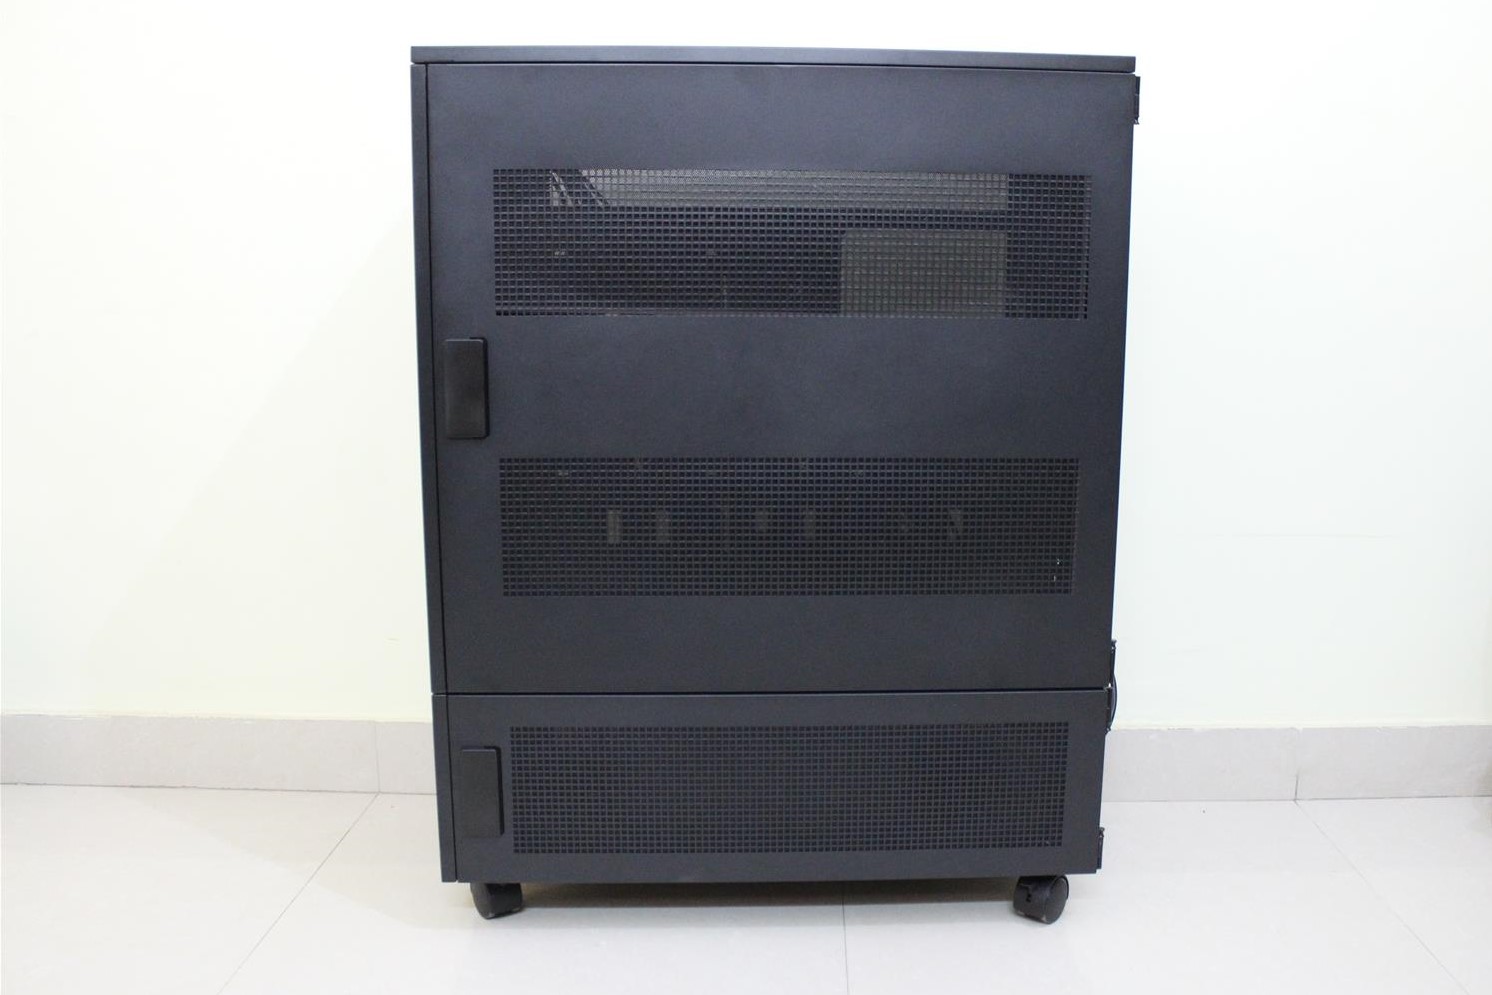
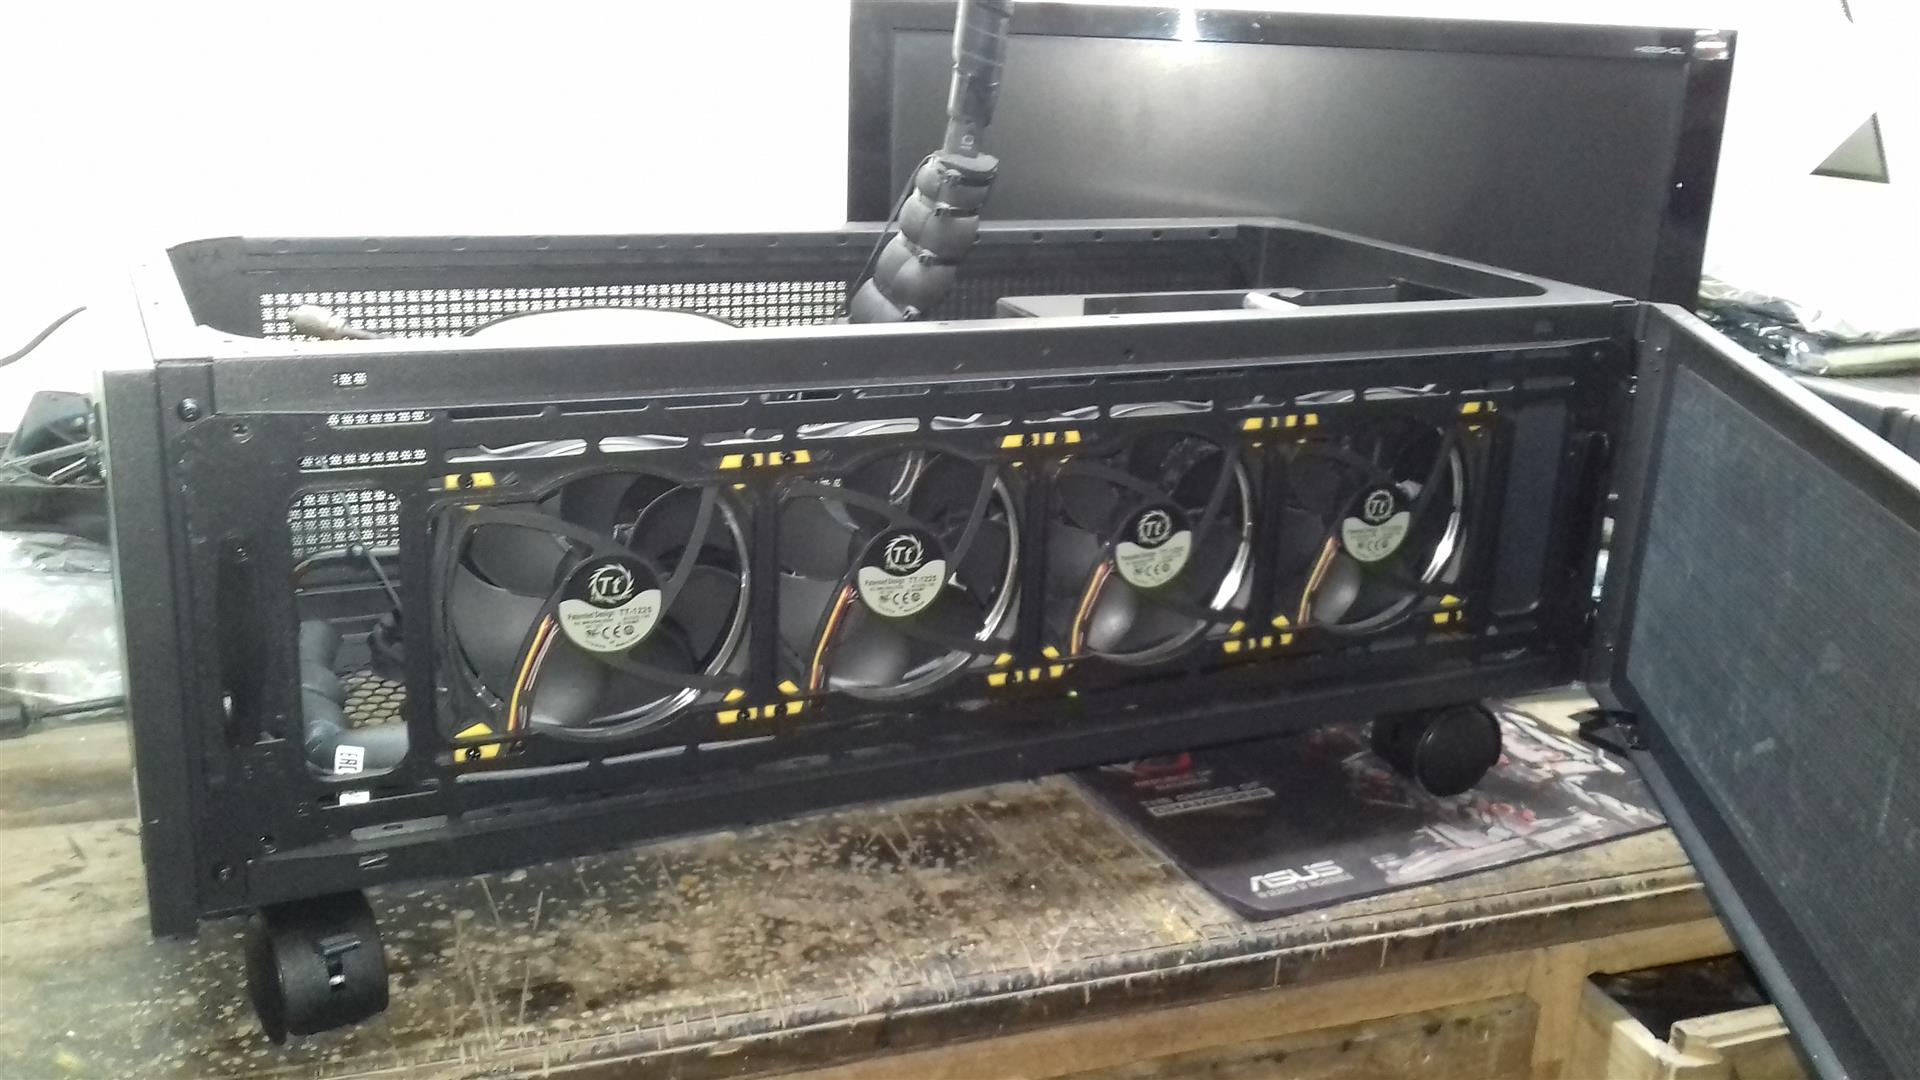
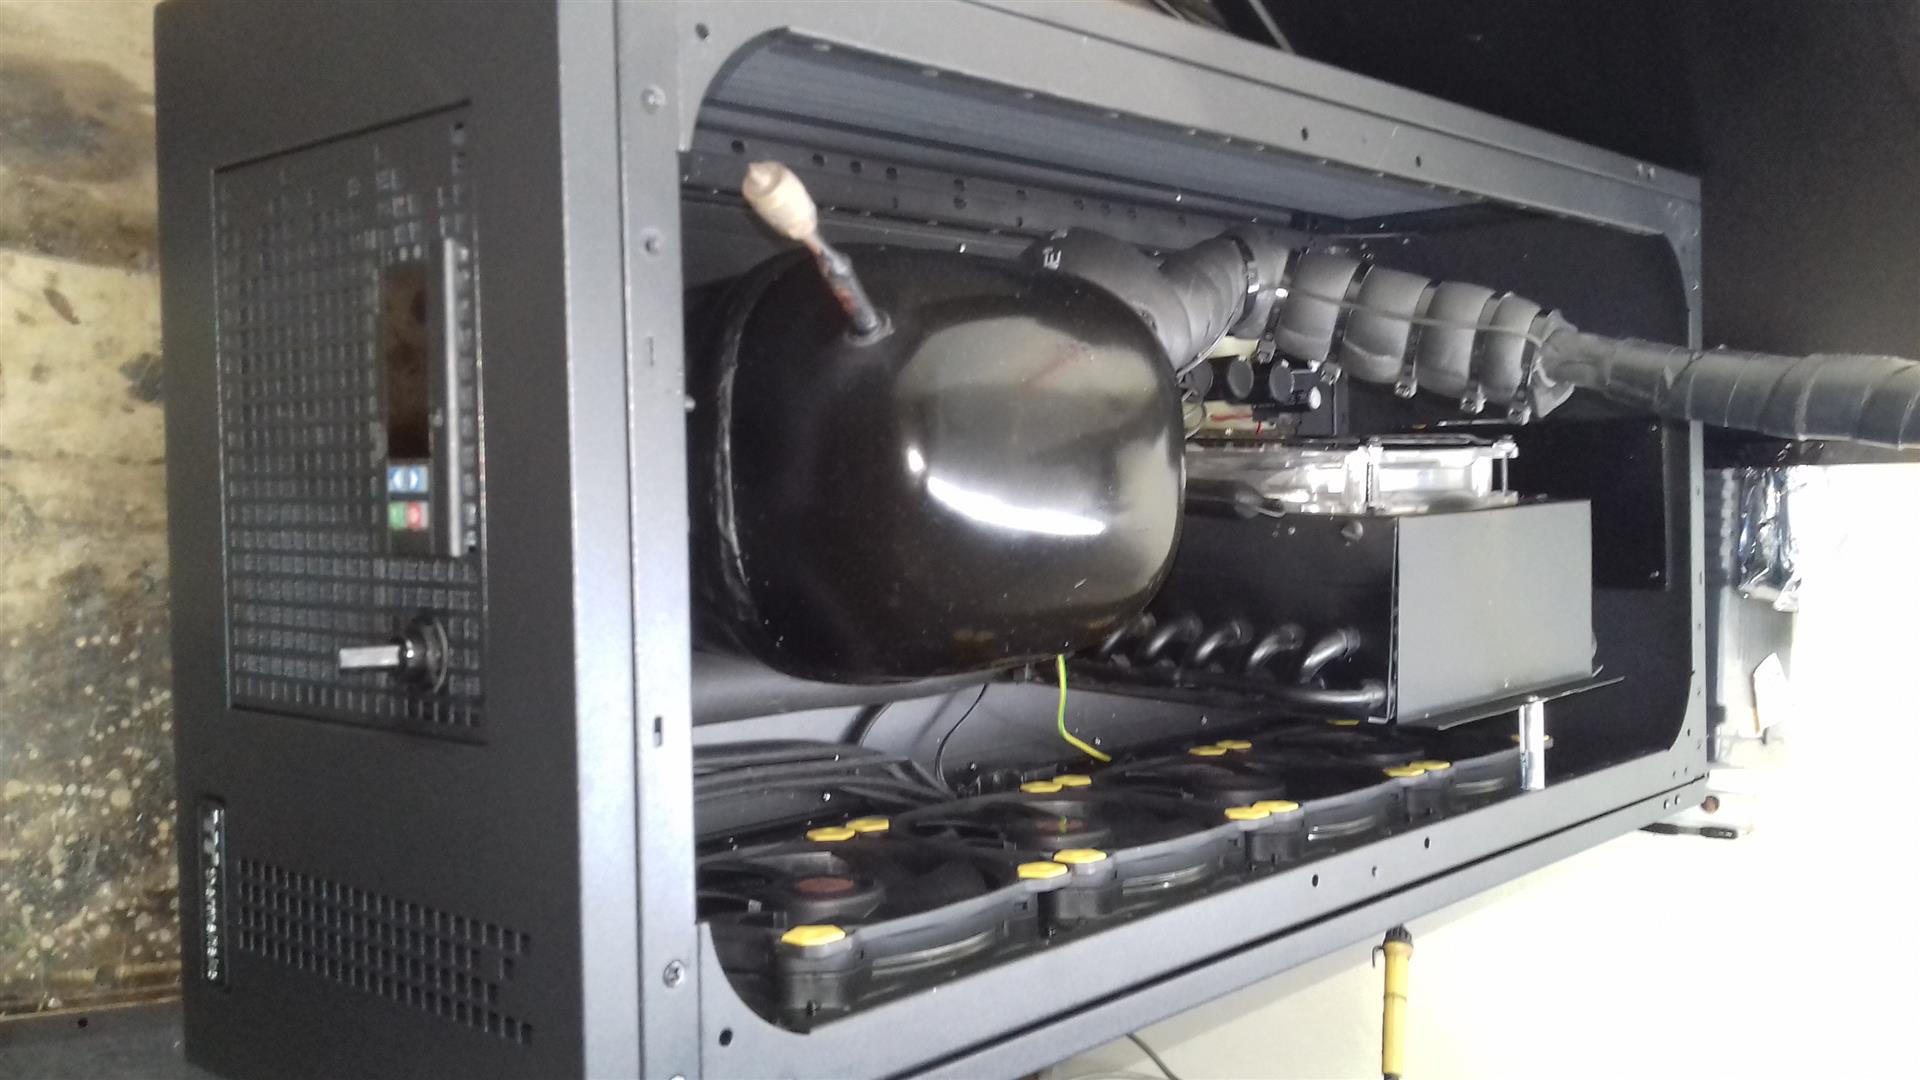
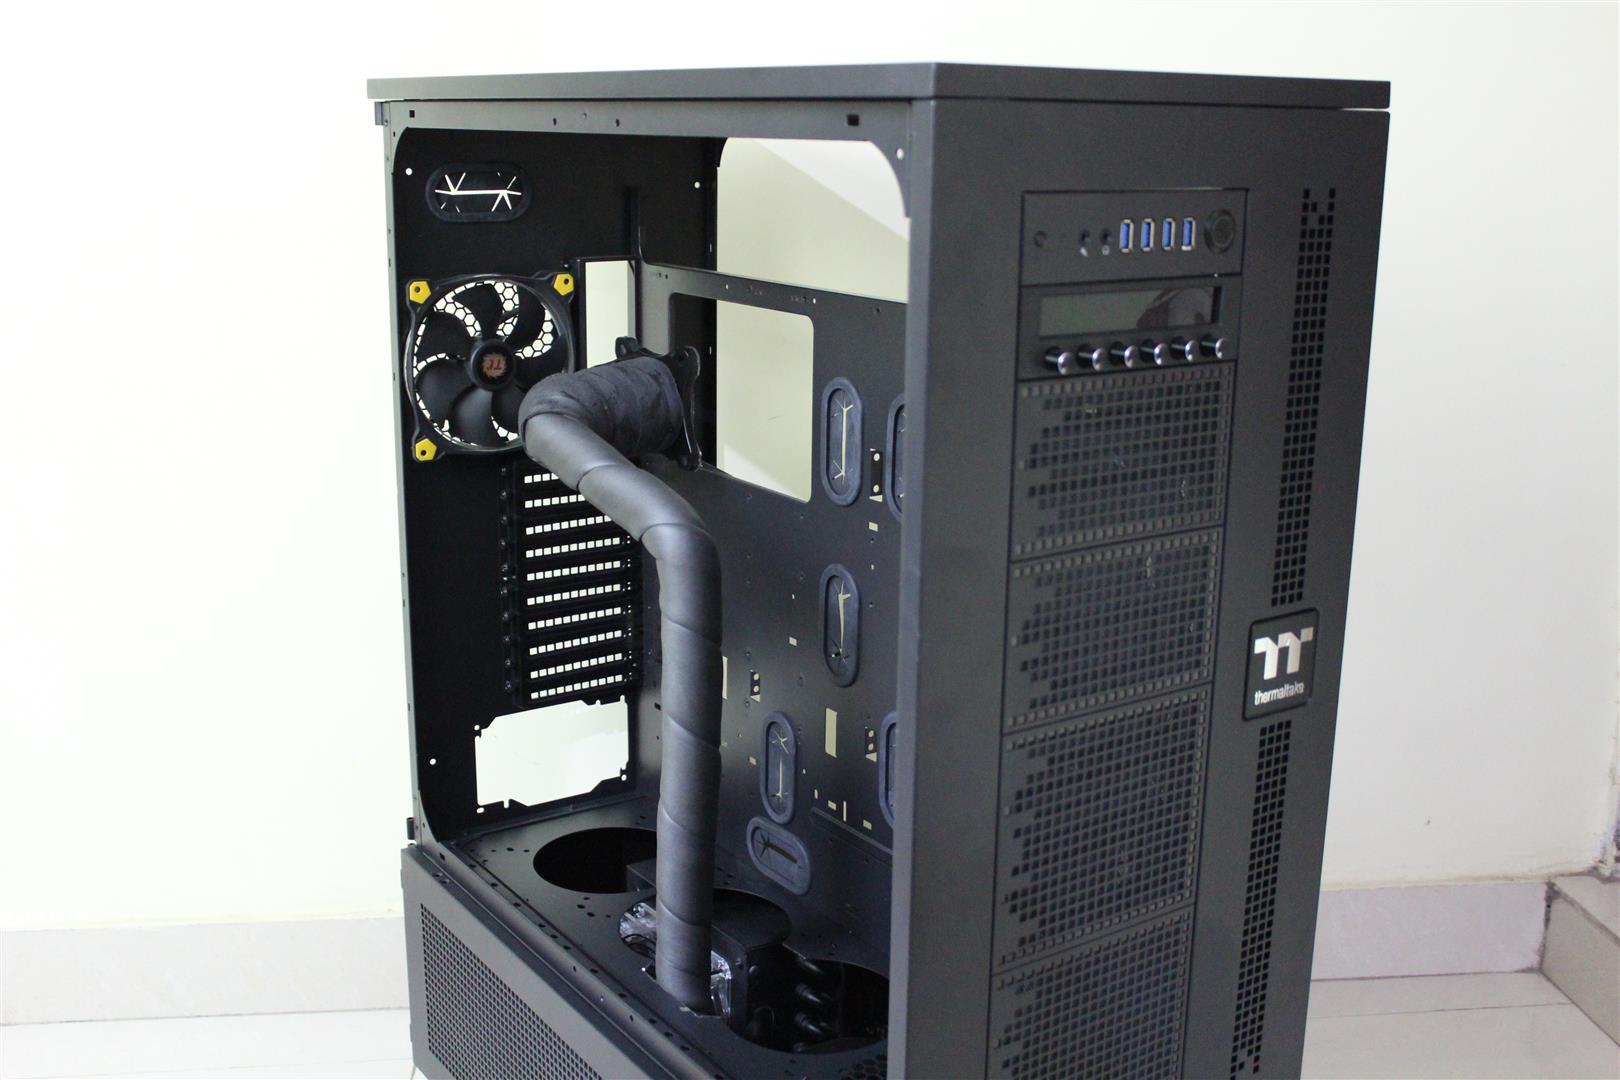
As I have recently worked with few of Thermaltake cases, the first option came in my mind was the Thermaltake Core WP100 Super Tower Chassis. A two chamber case perfect for my needs.
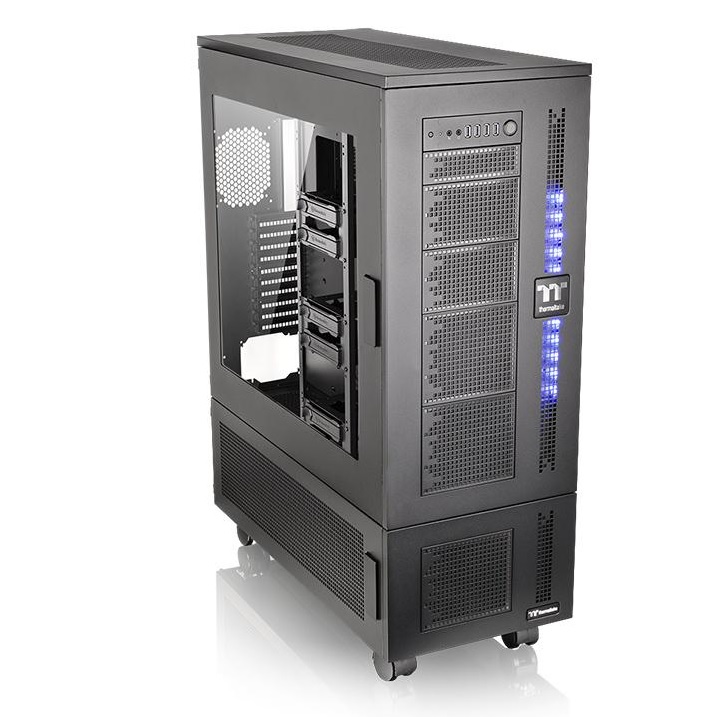
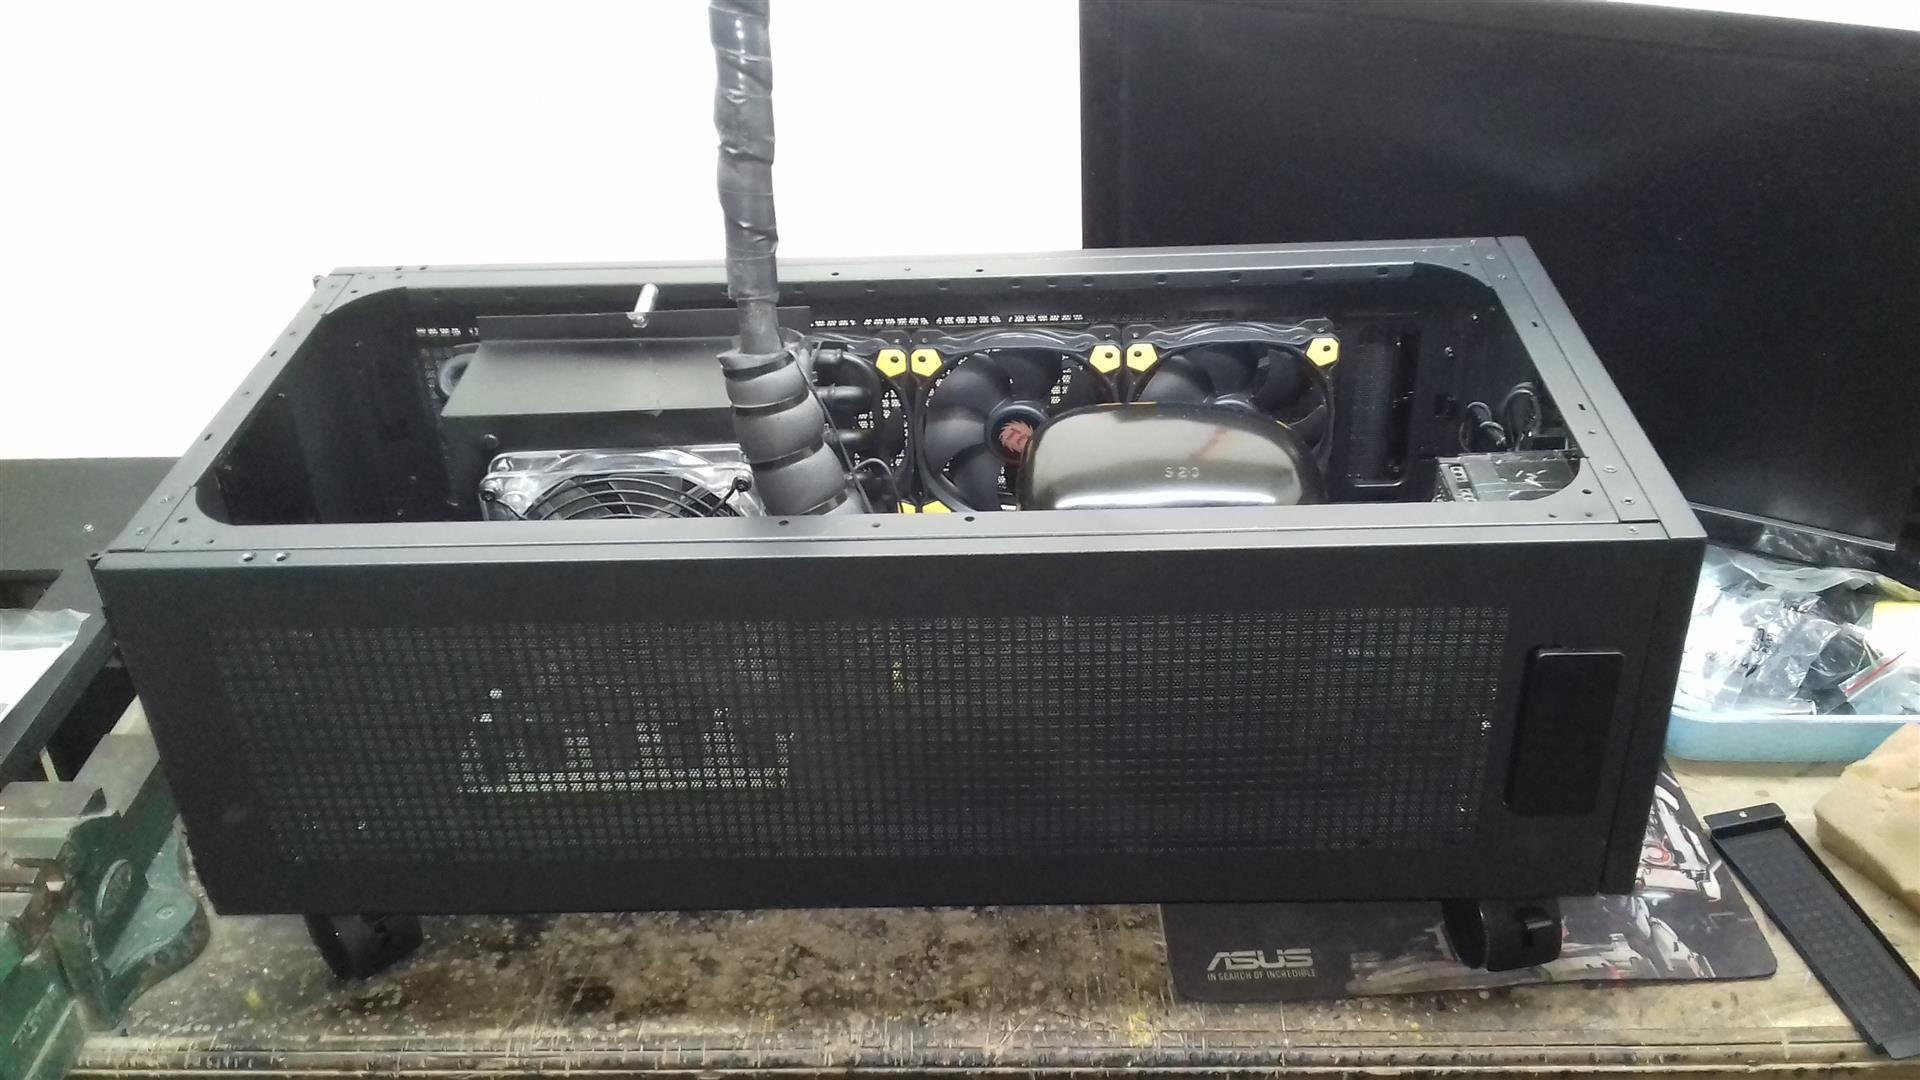
After going through the datasheet and checking dimensions, the Thermaltake Core WP100 Super Tower Chassis fits best for this super build giving new life to my 24/7 extreme overclocking Phase Changer build.
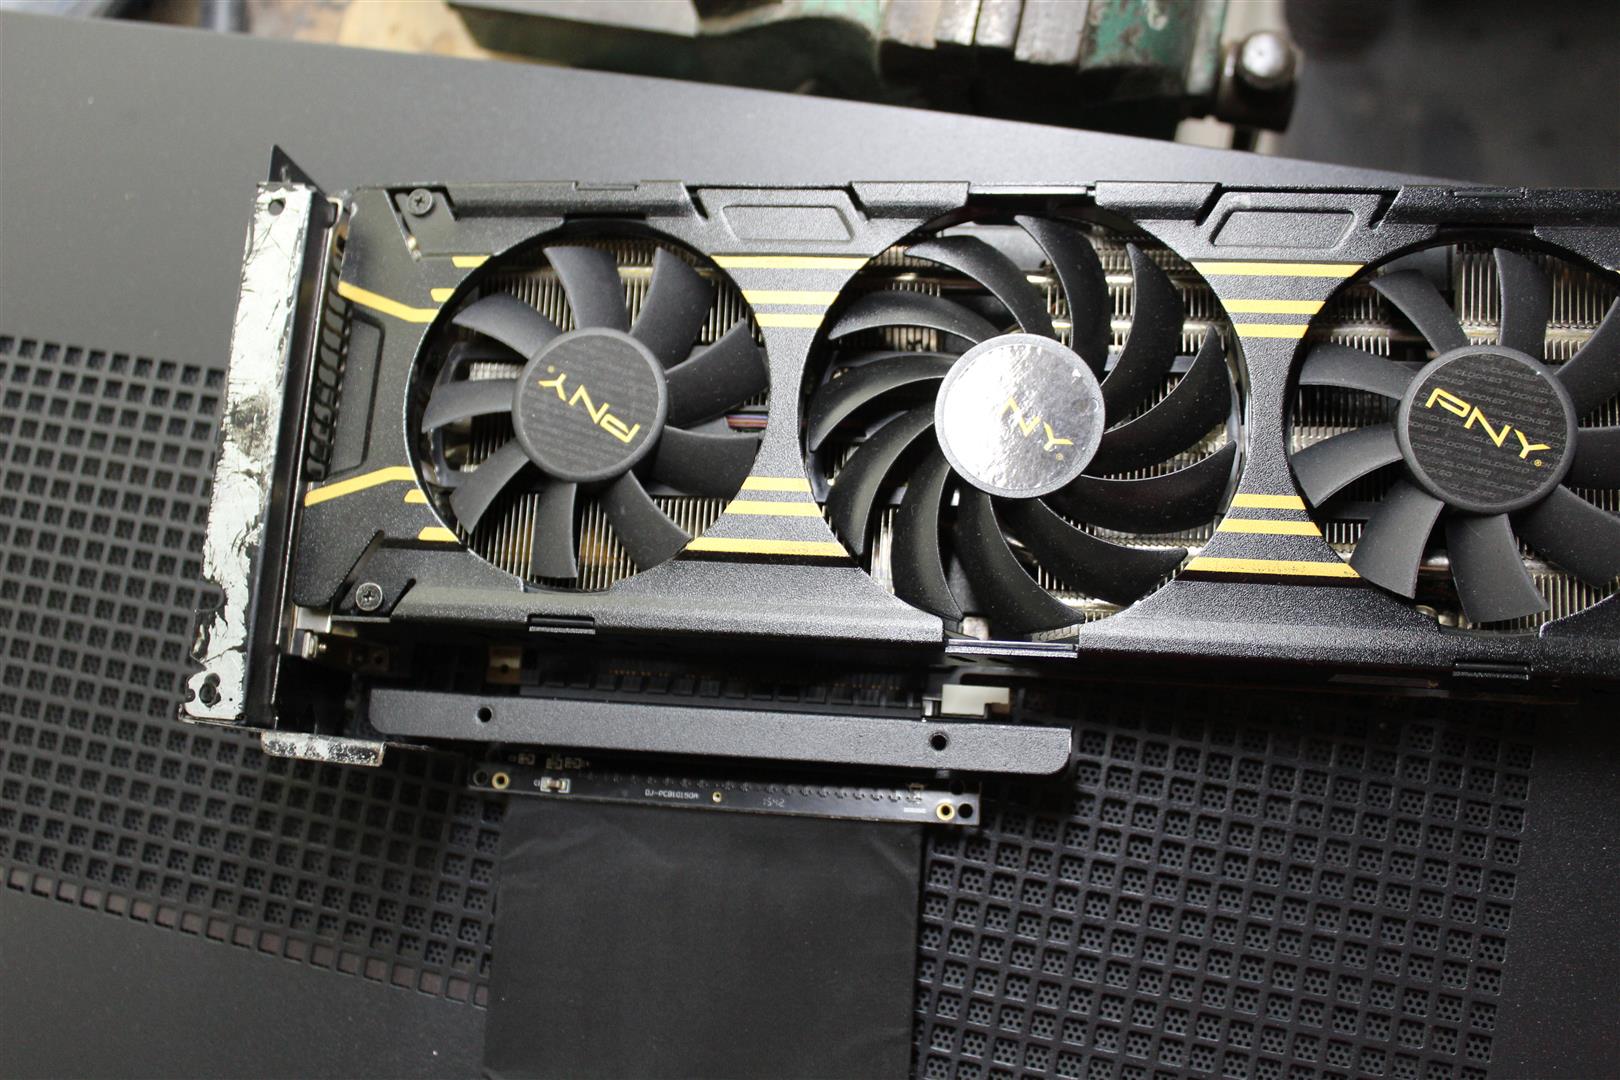
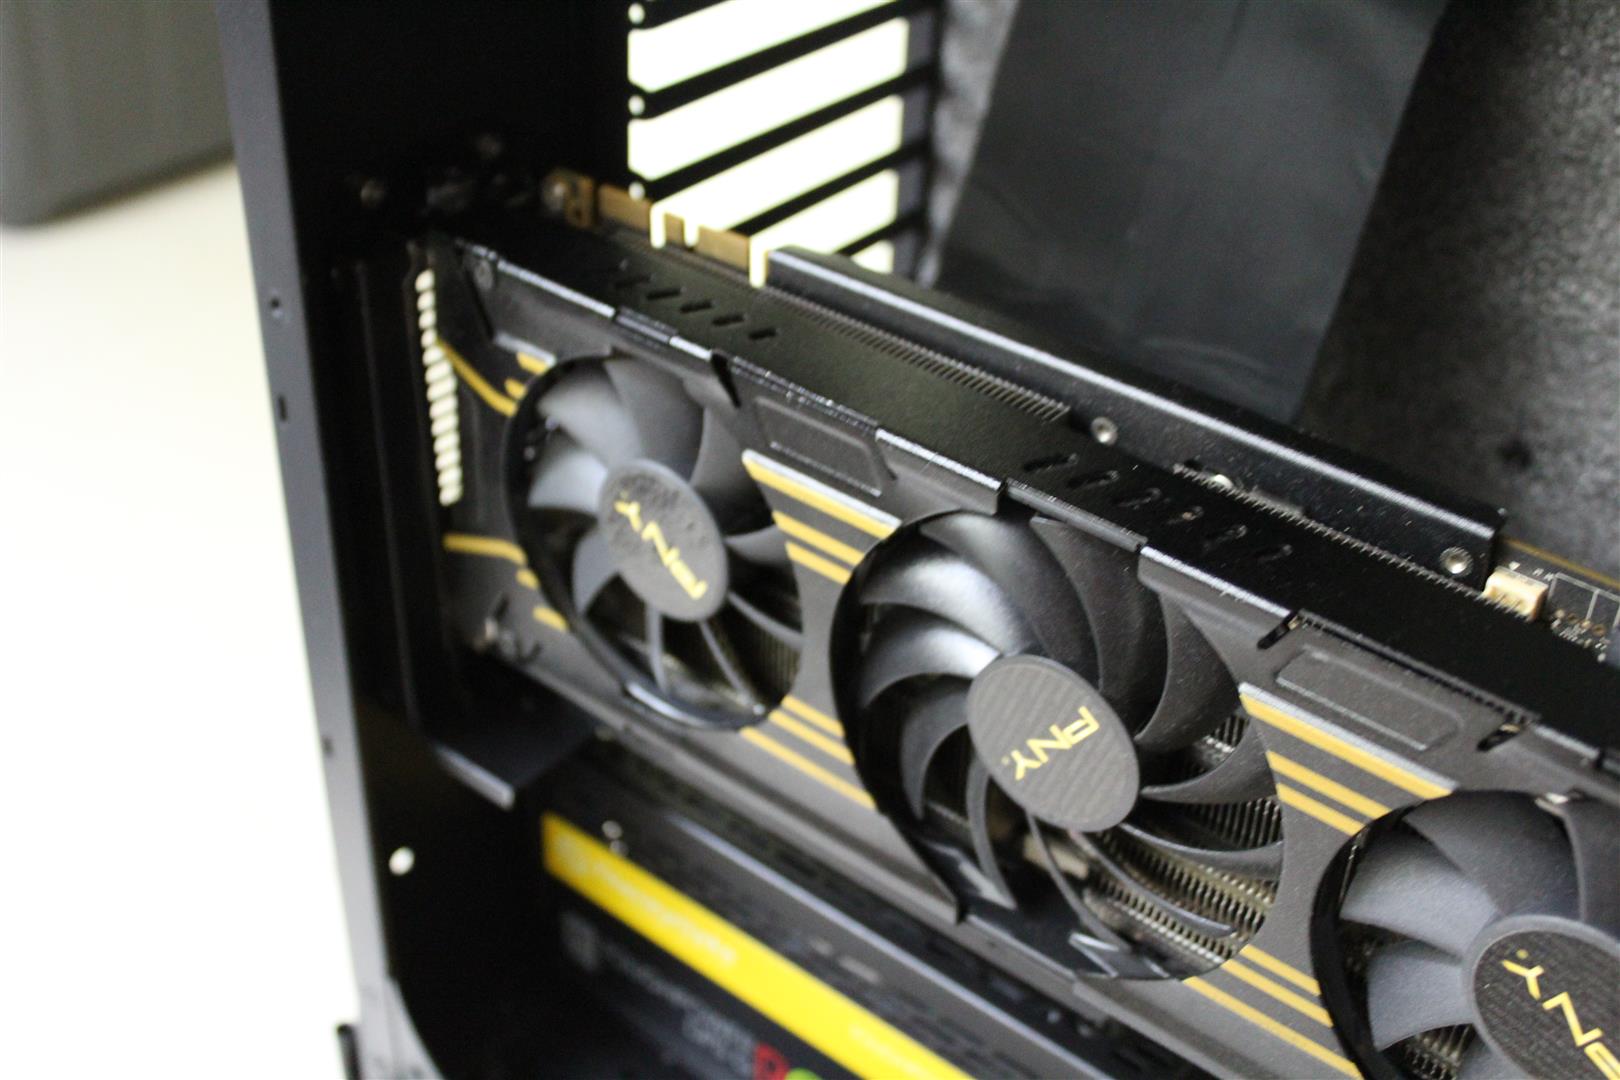
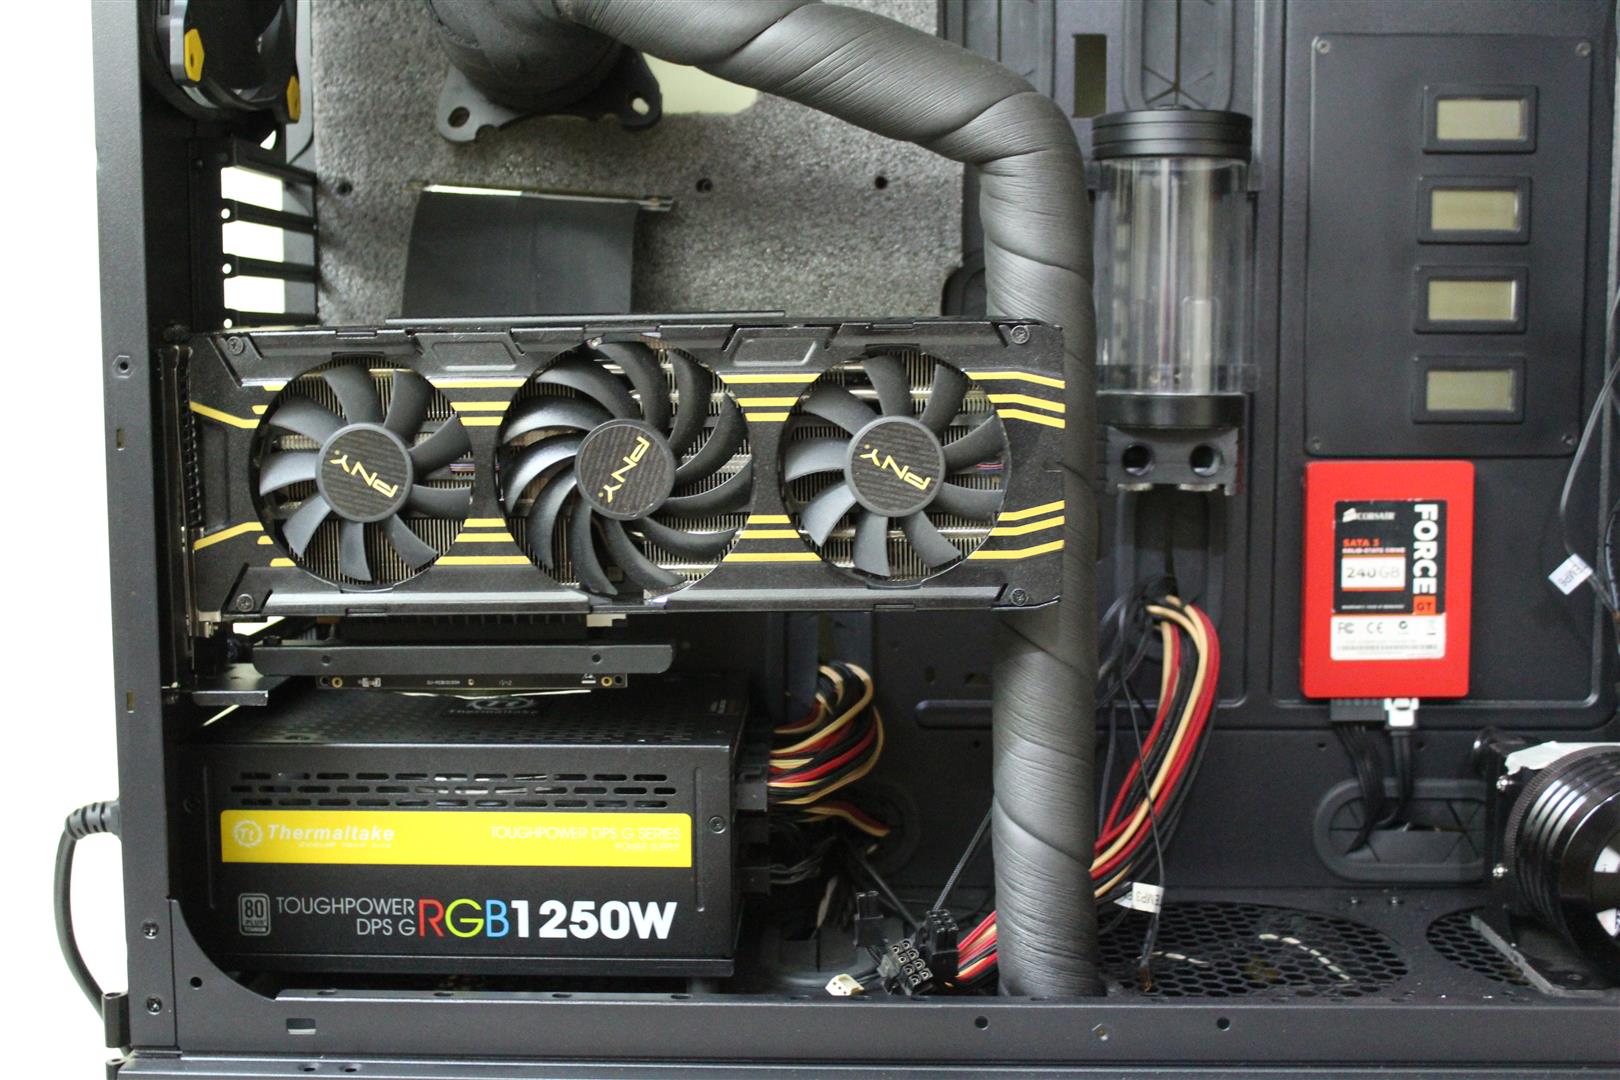
I called the new Case build as SUPERBUILD. Where CPU will be pushed to extreme limits at sub-zero temperature and I will also overclock the GPU using custom liquid cooling . So this build will be a super overclocking beast.
Like to thanks Thermaltake for supporting my idea and the build.
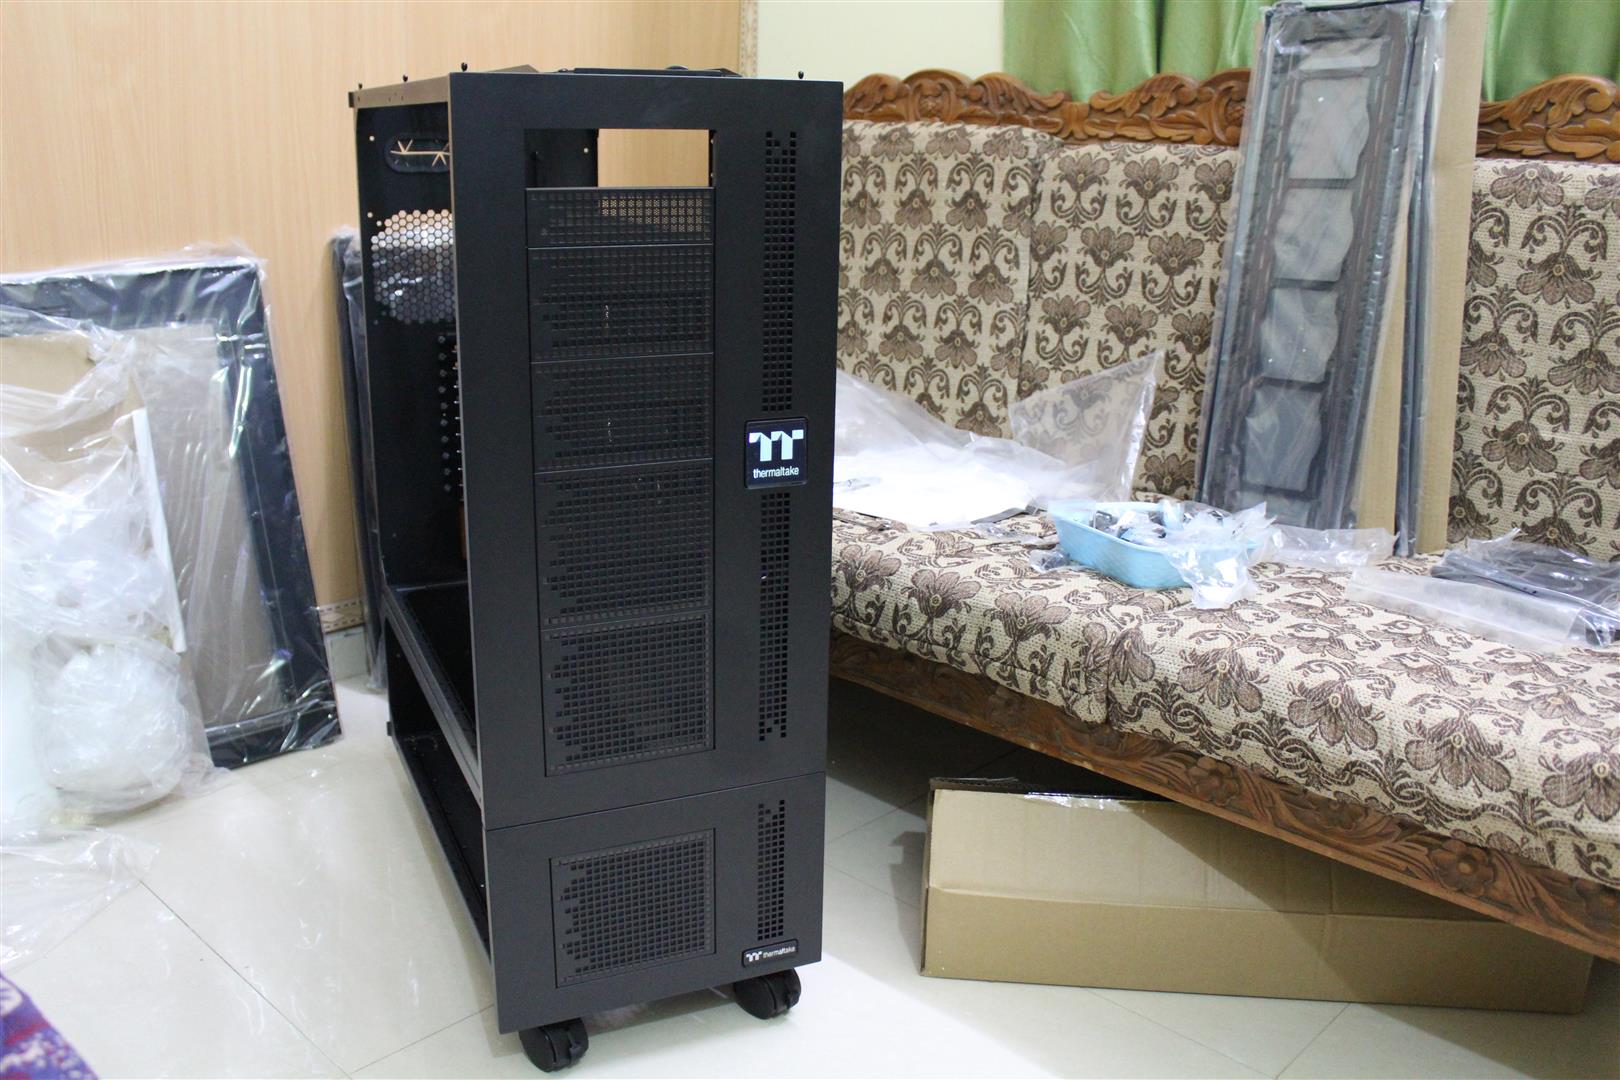
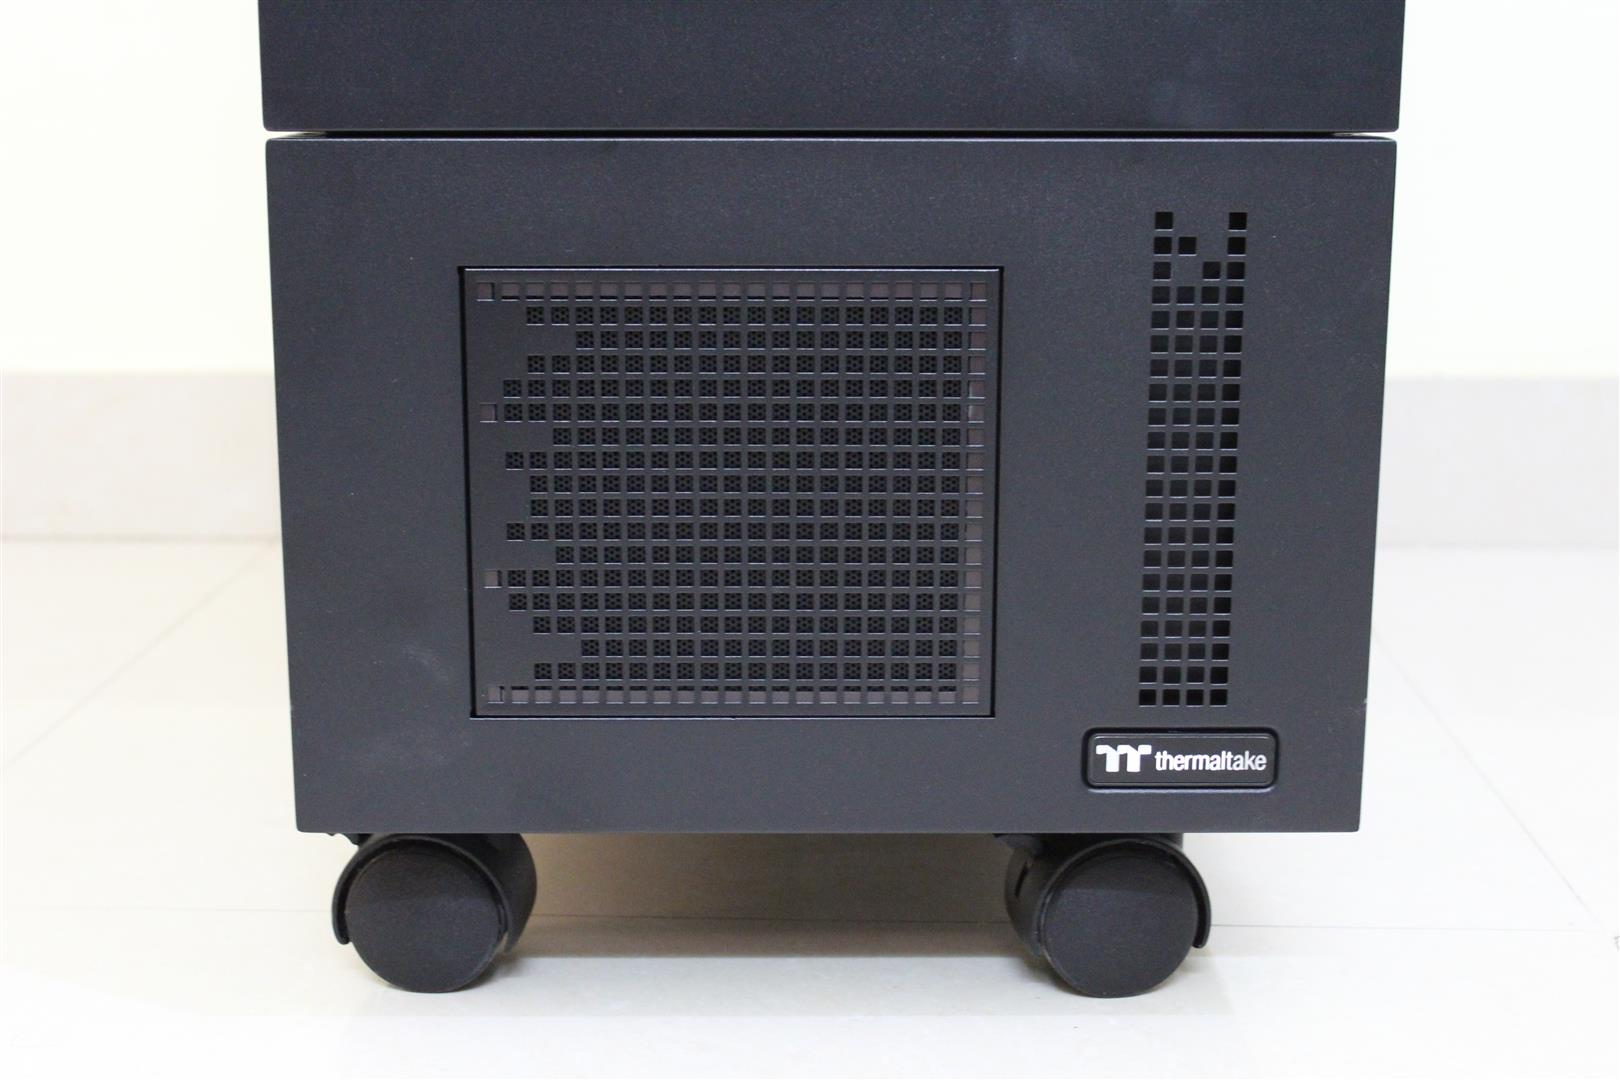
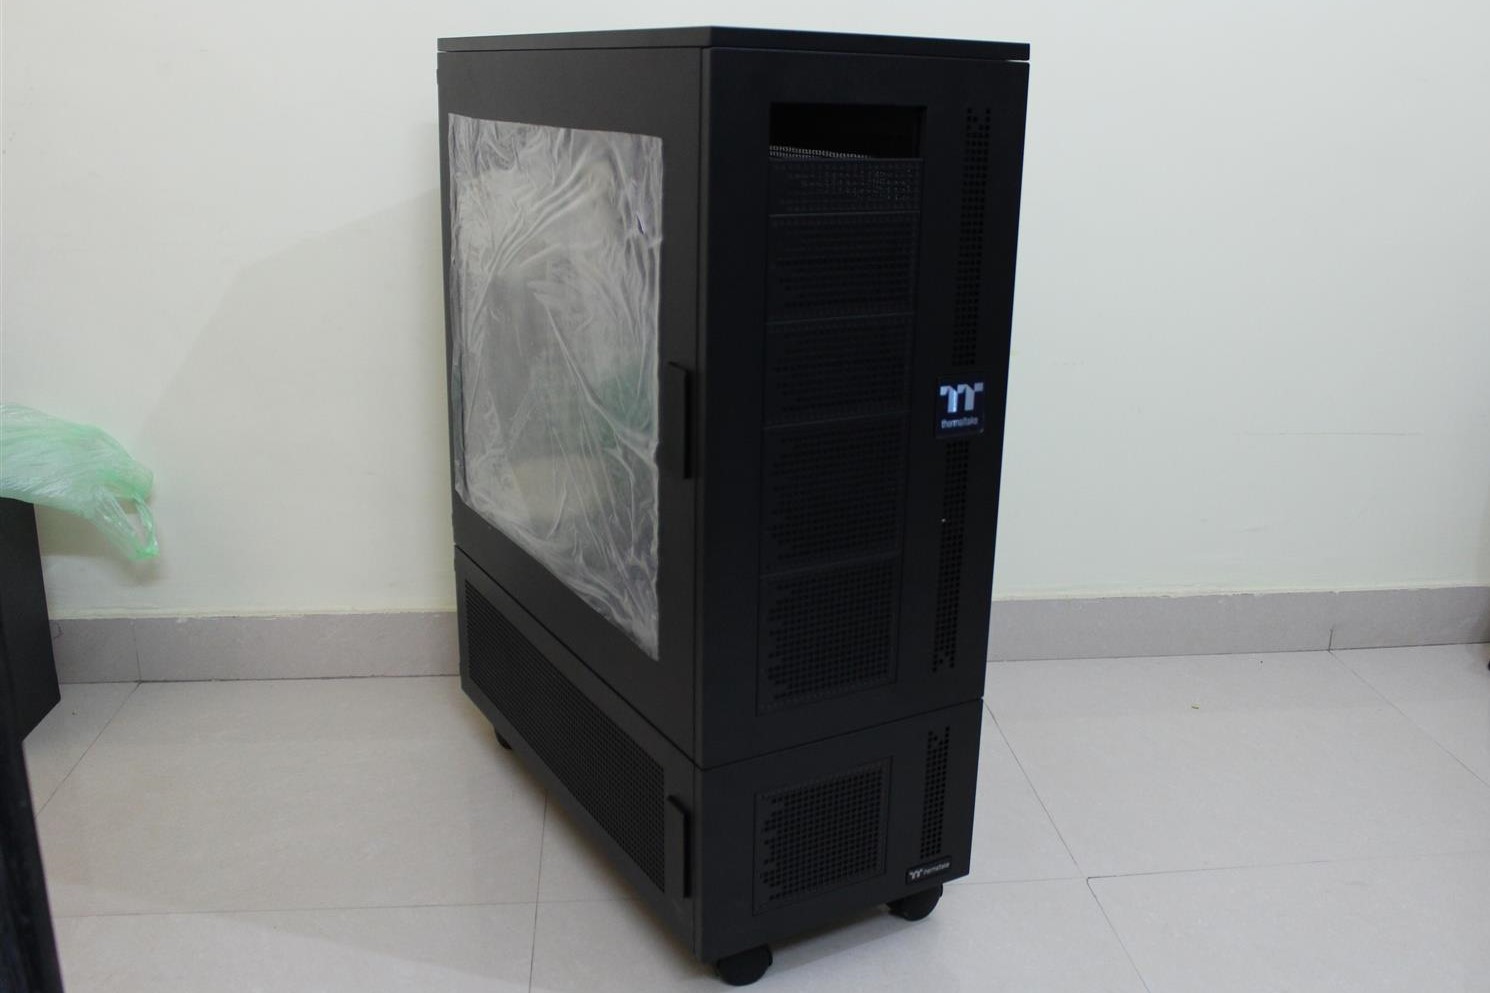
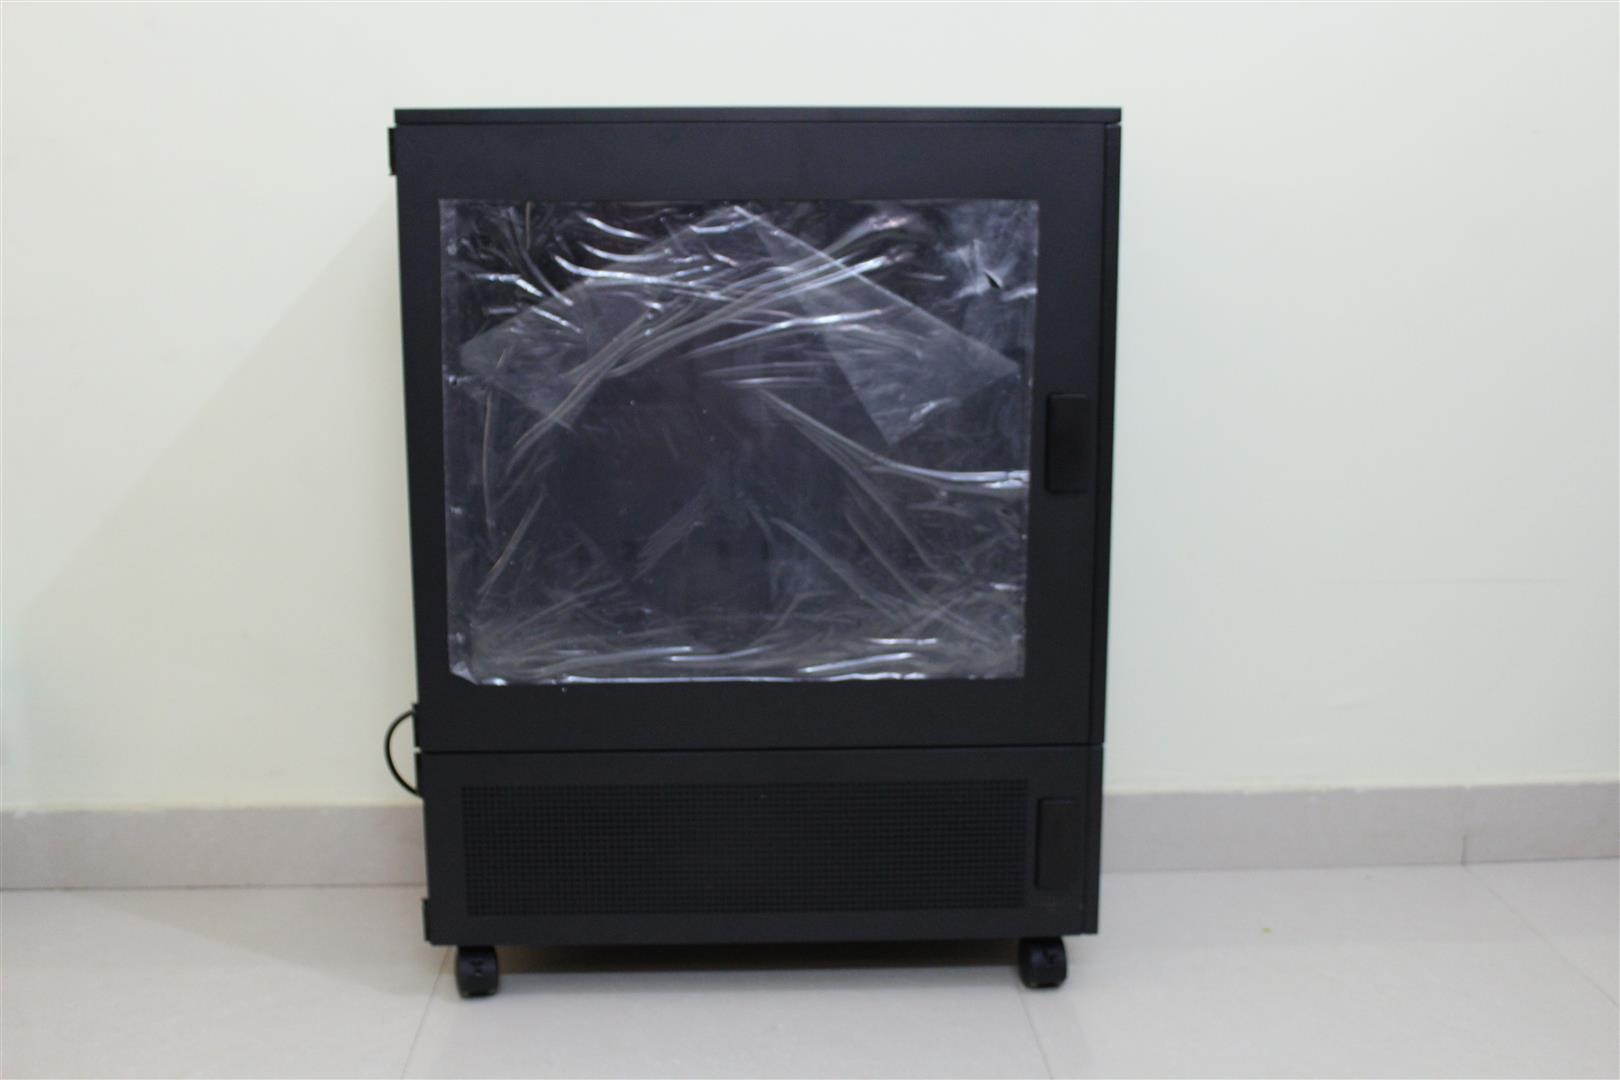
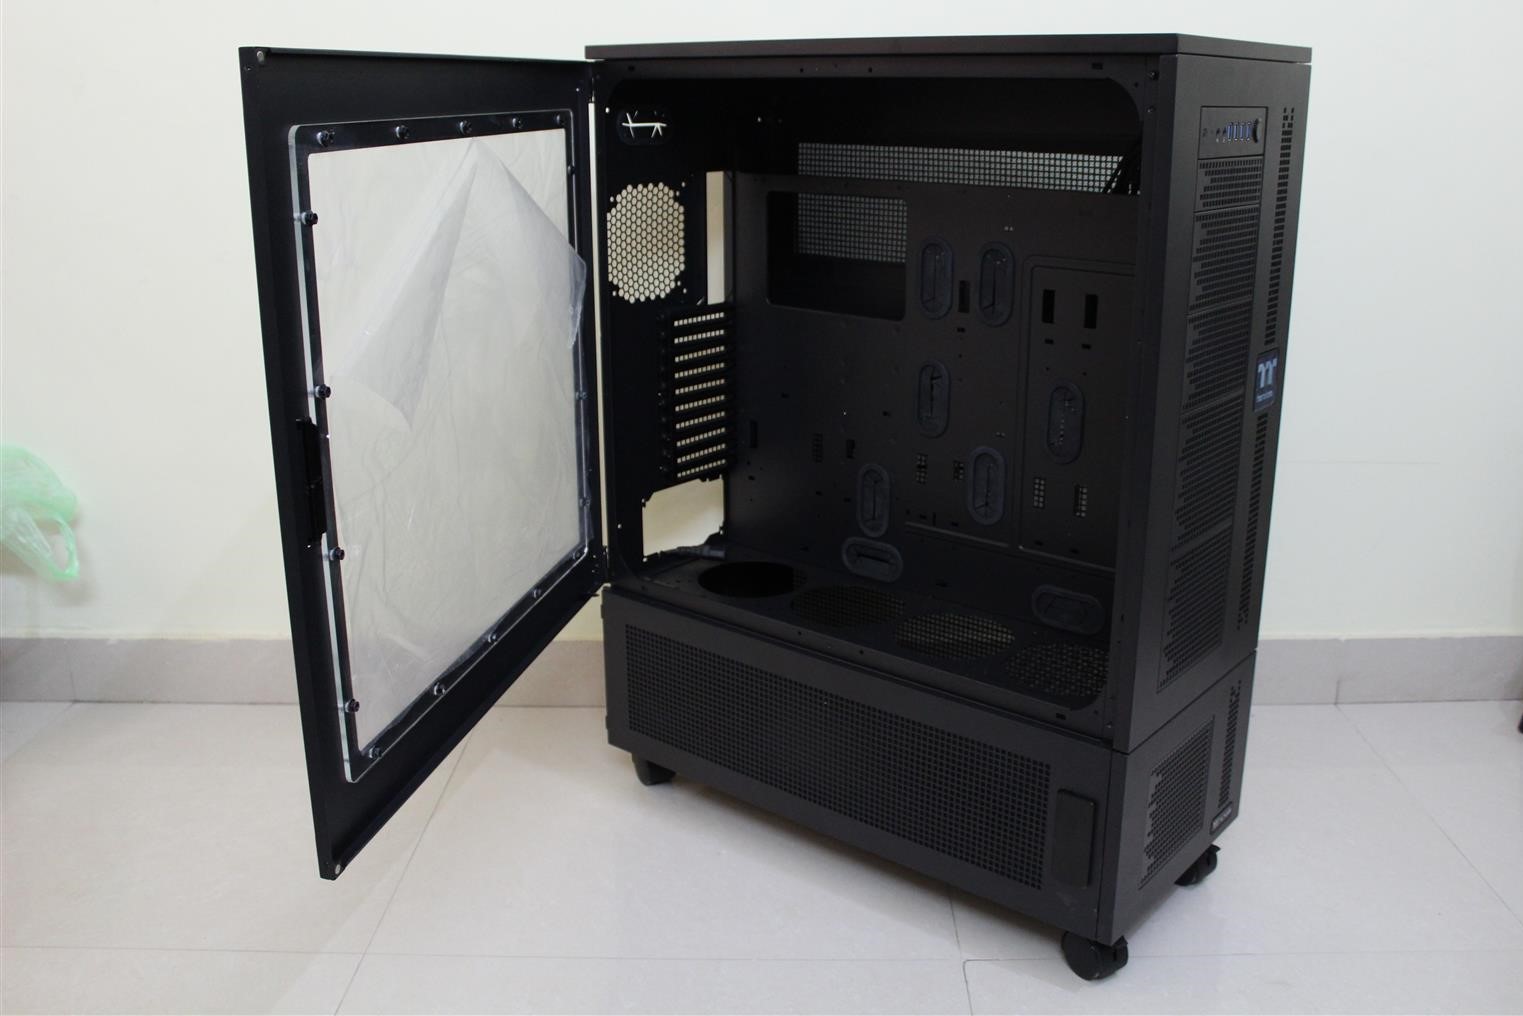
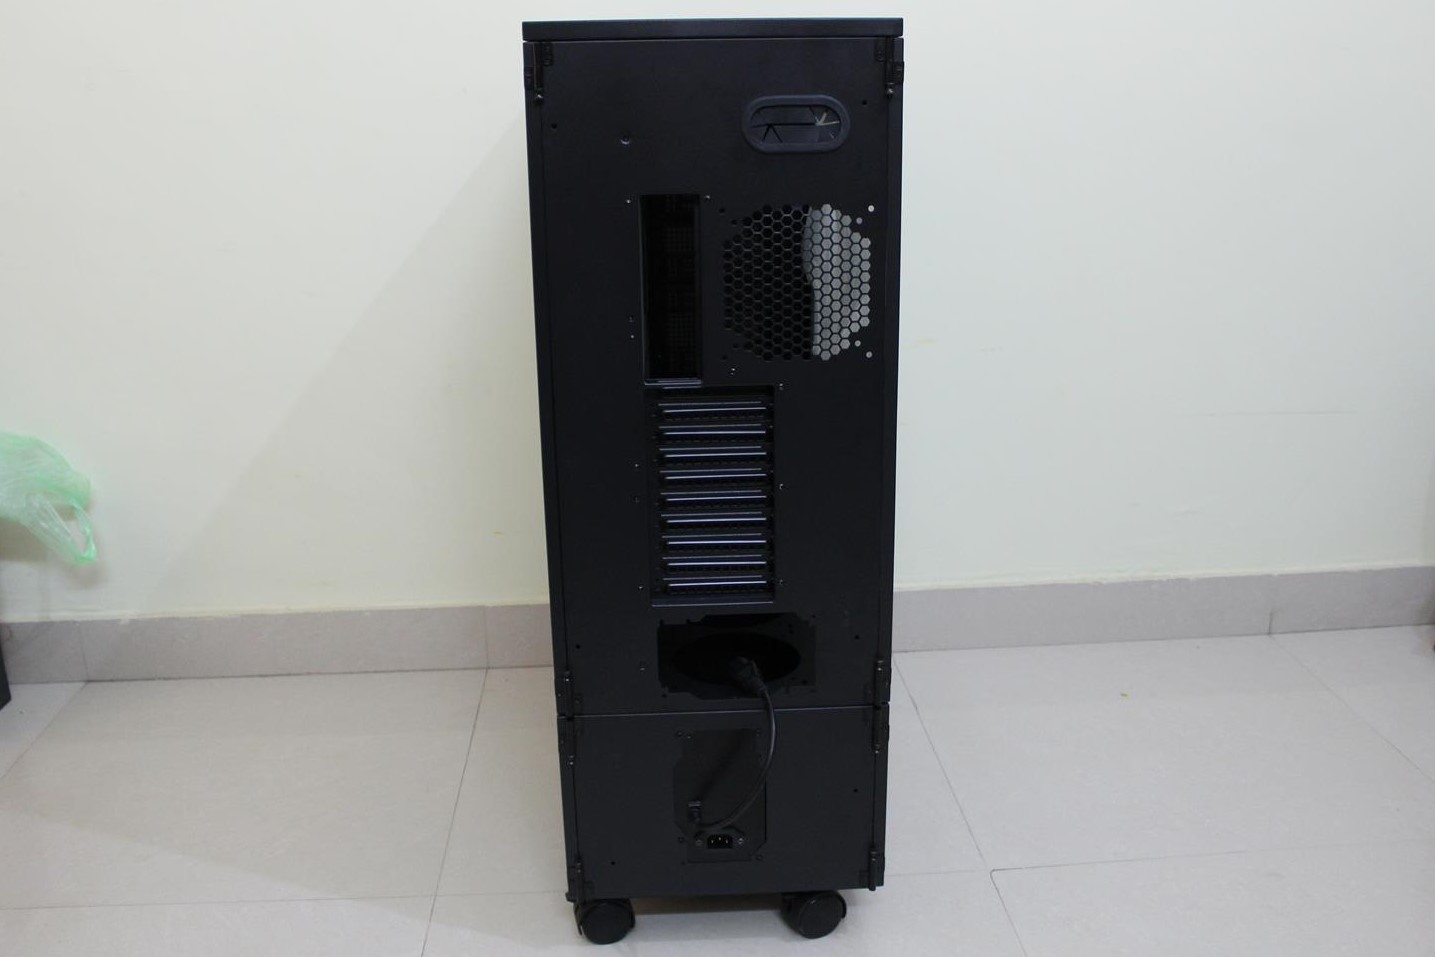
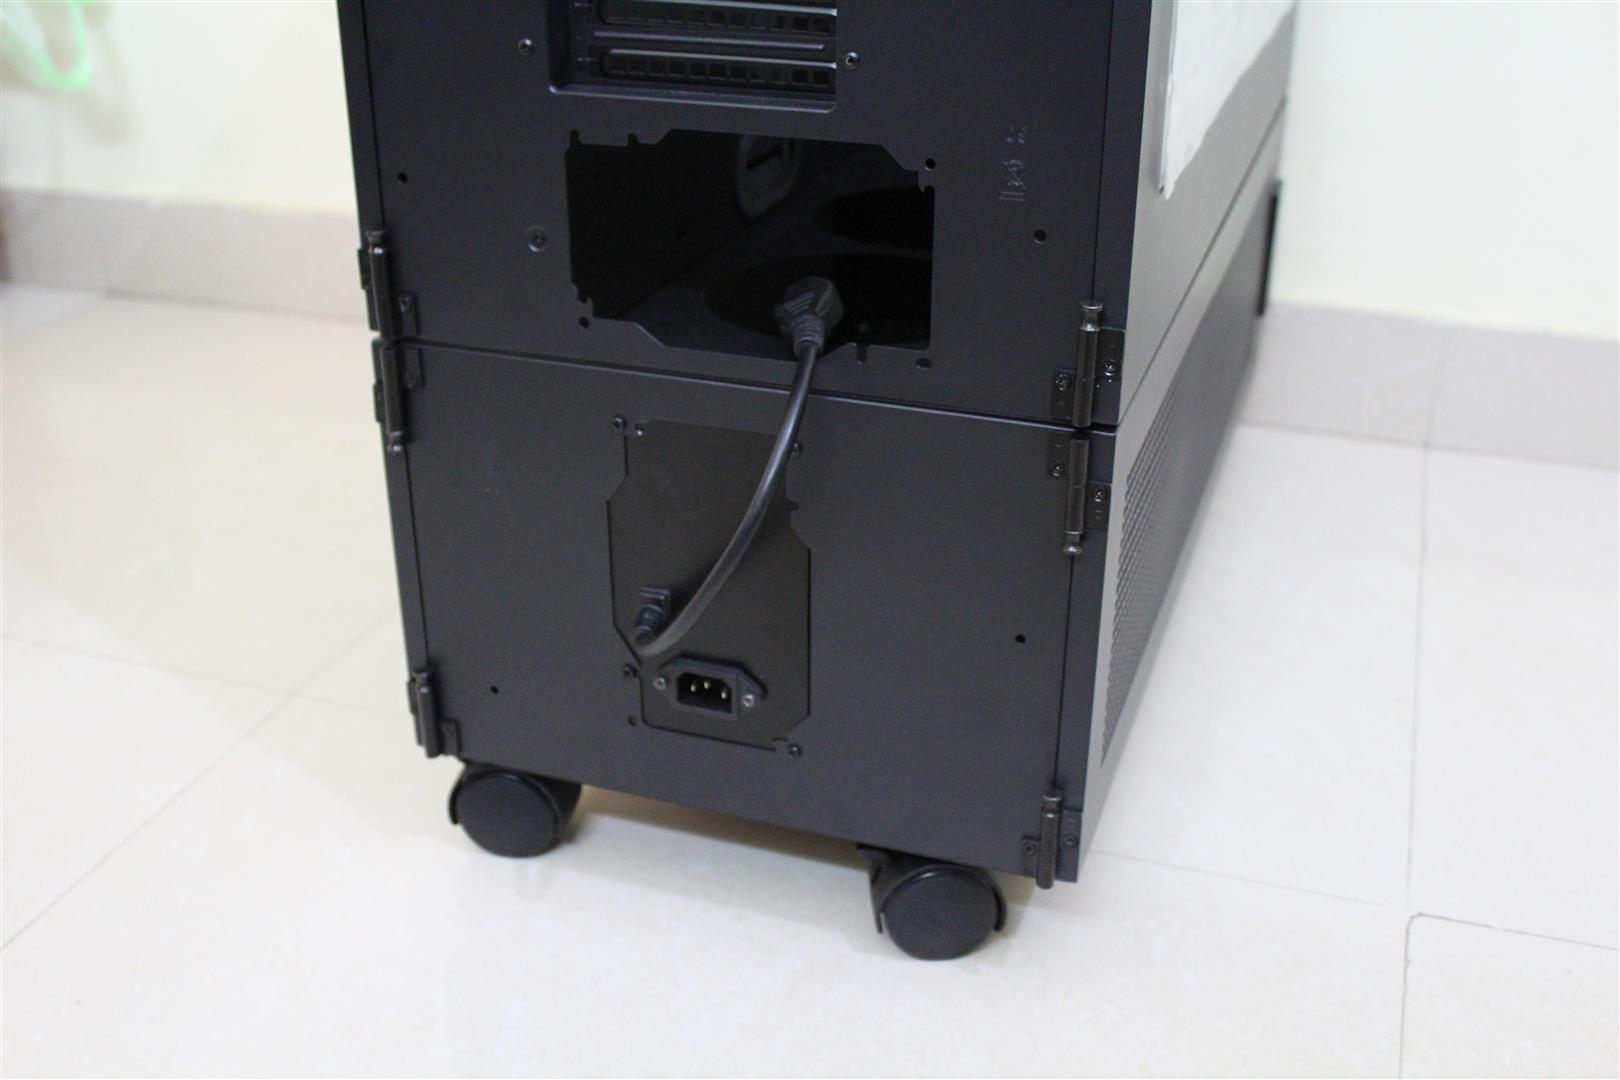
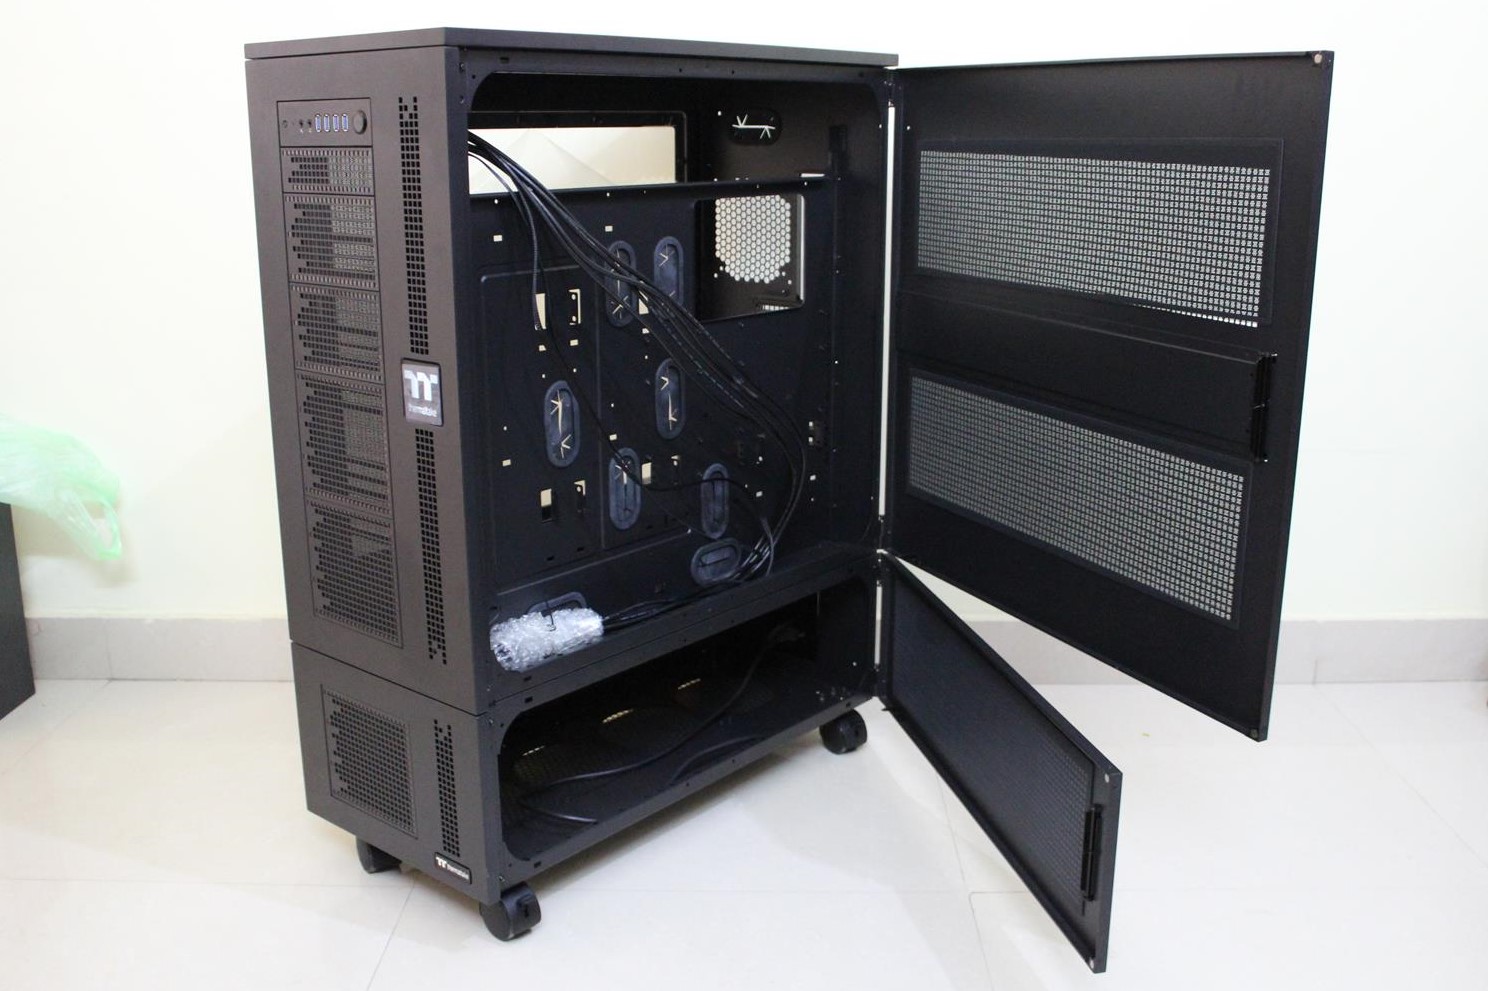
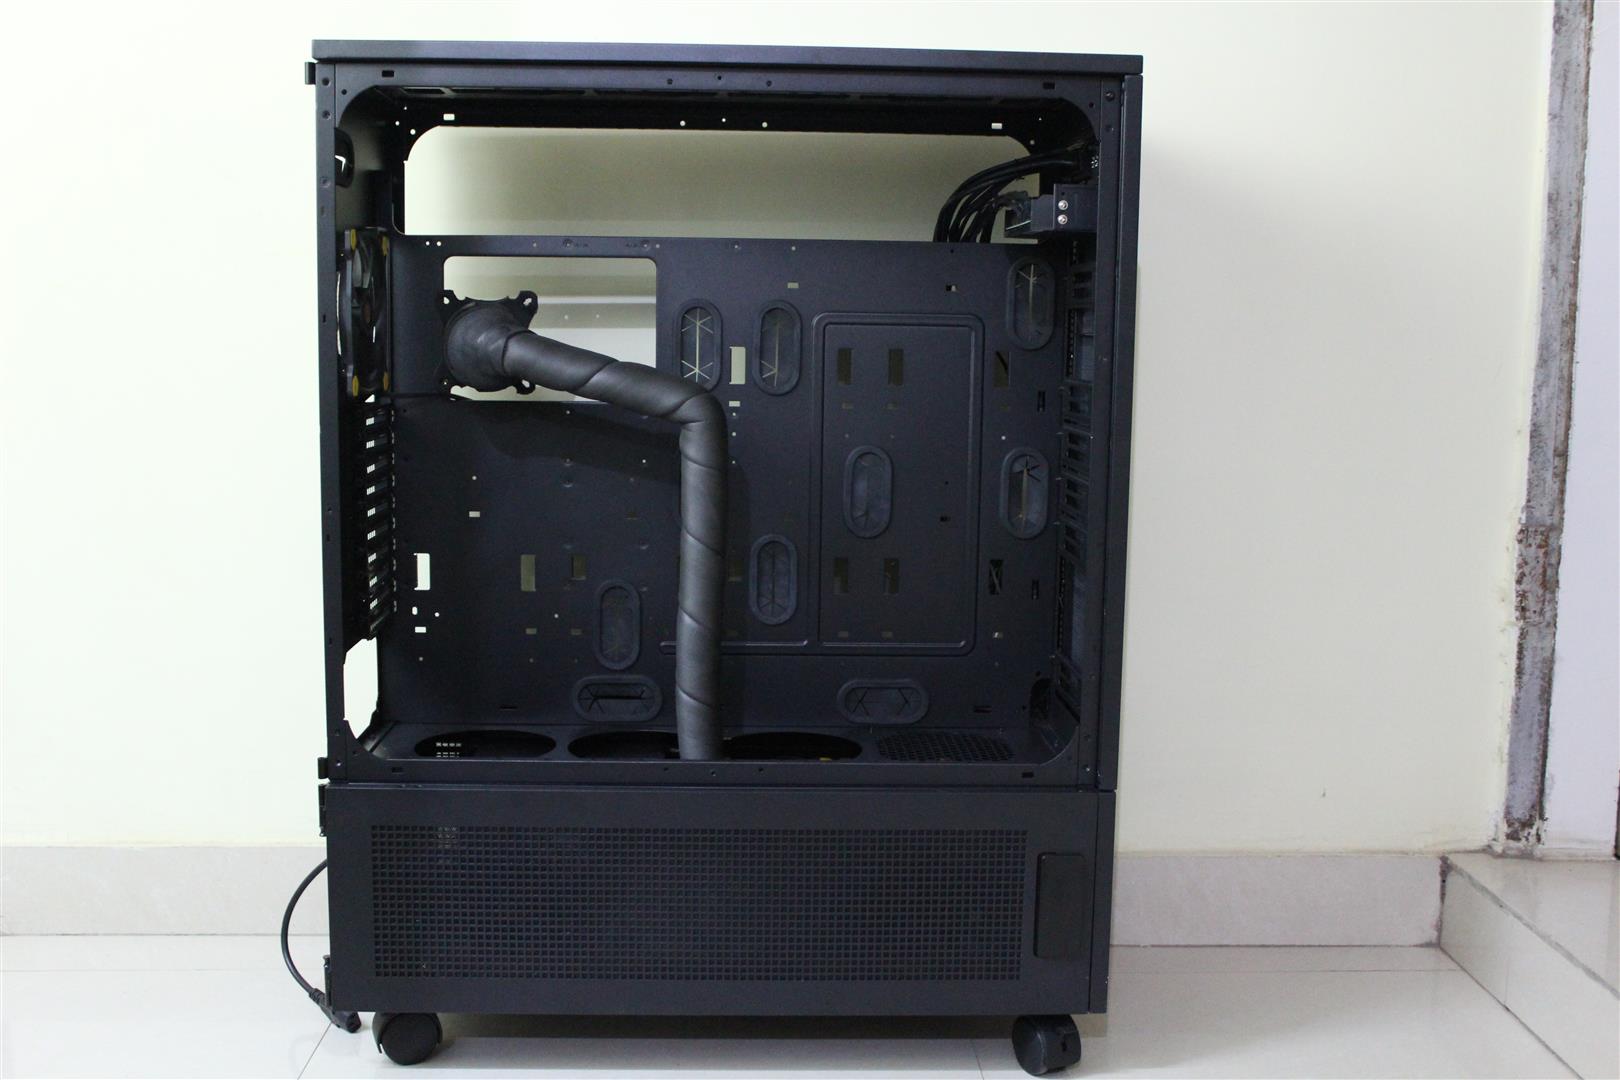
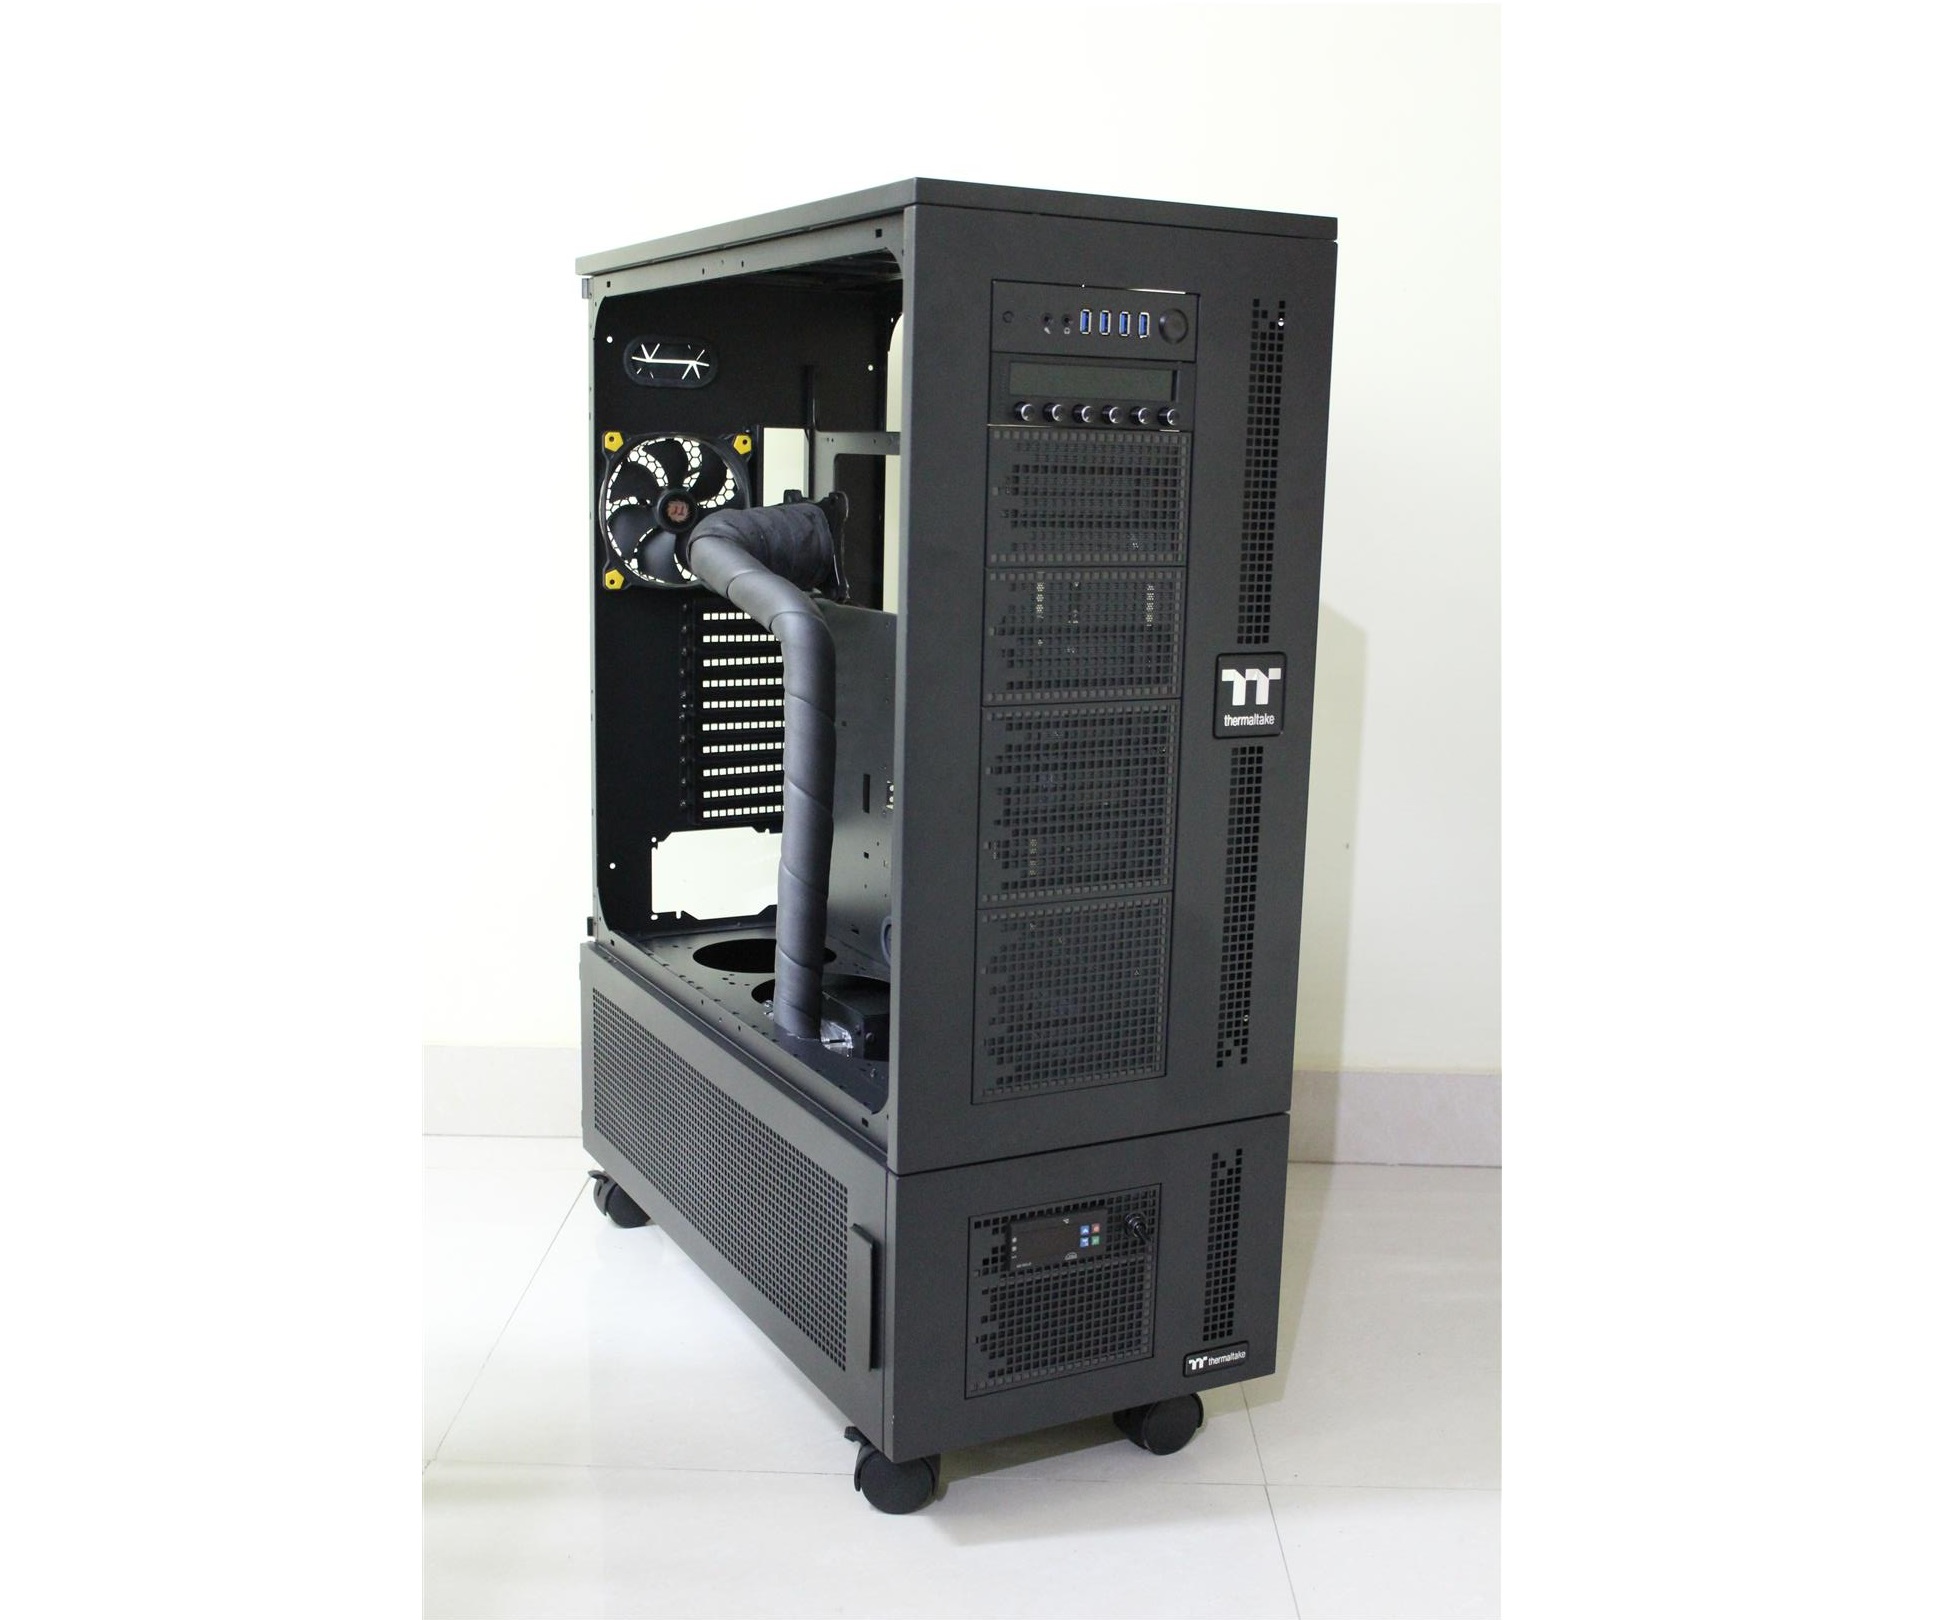
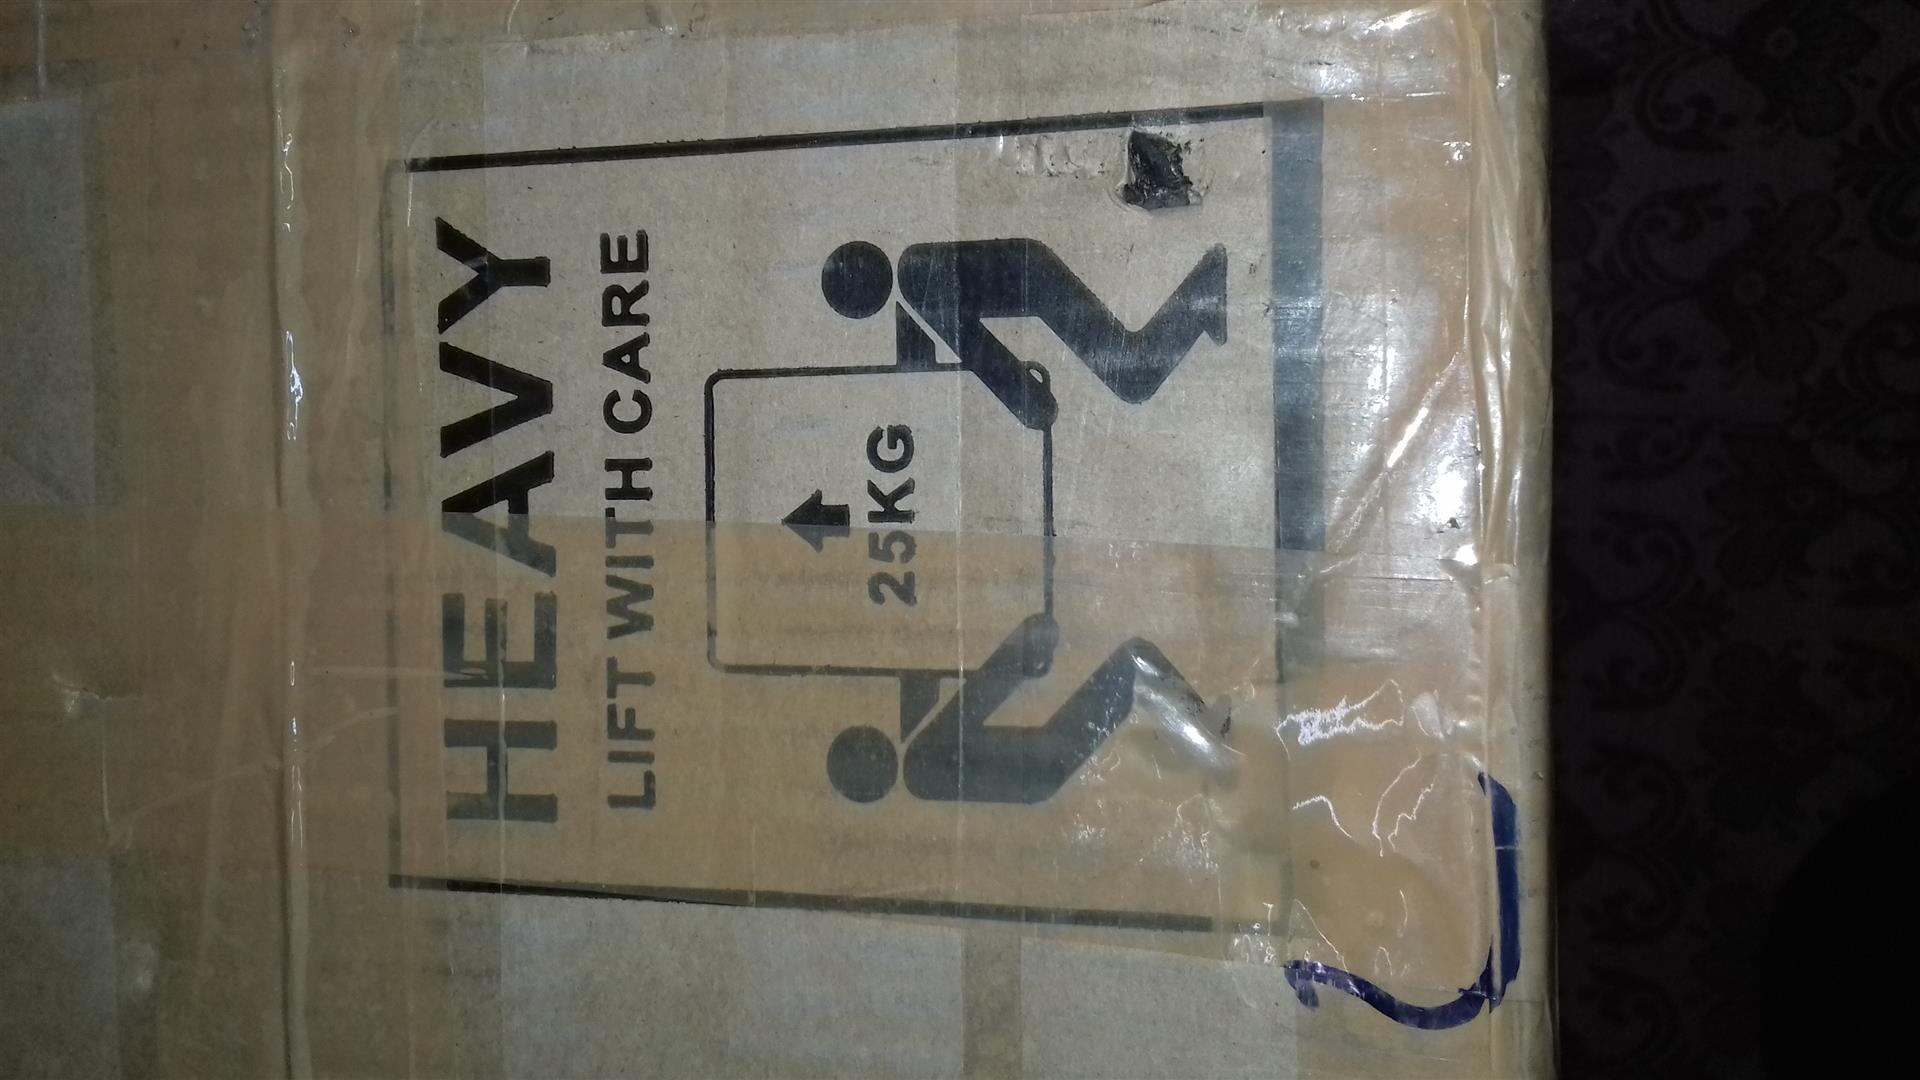
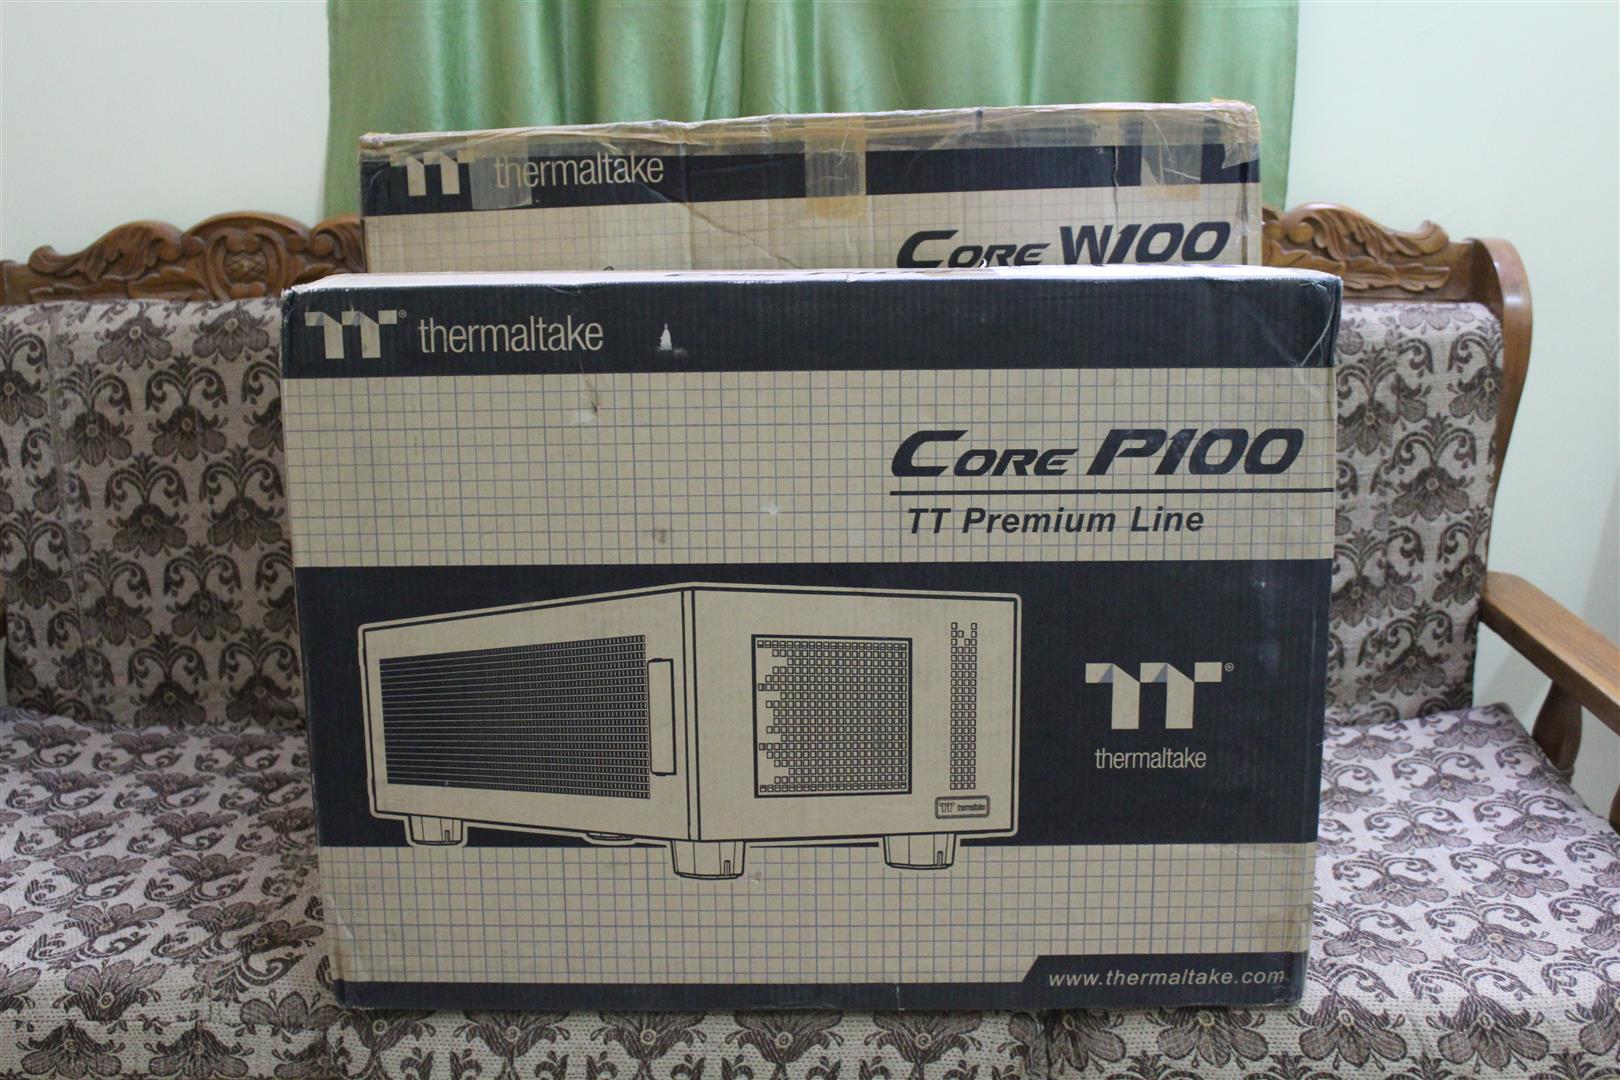
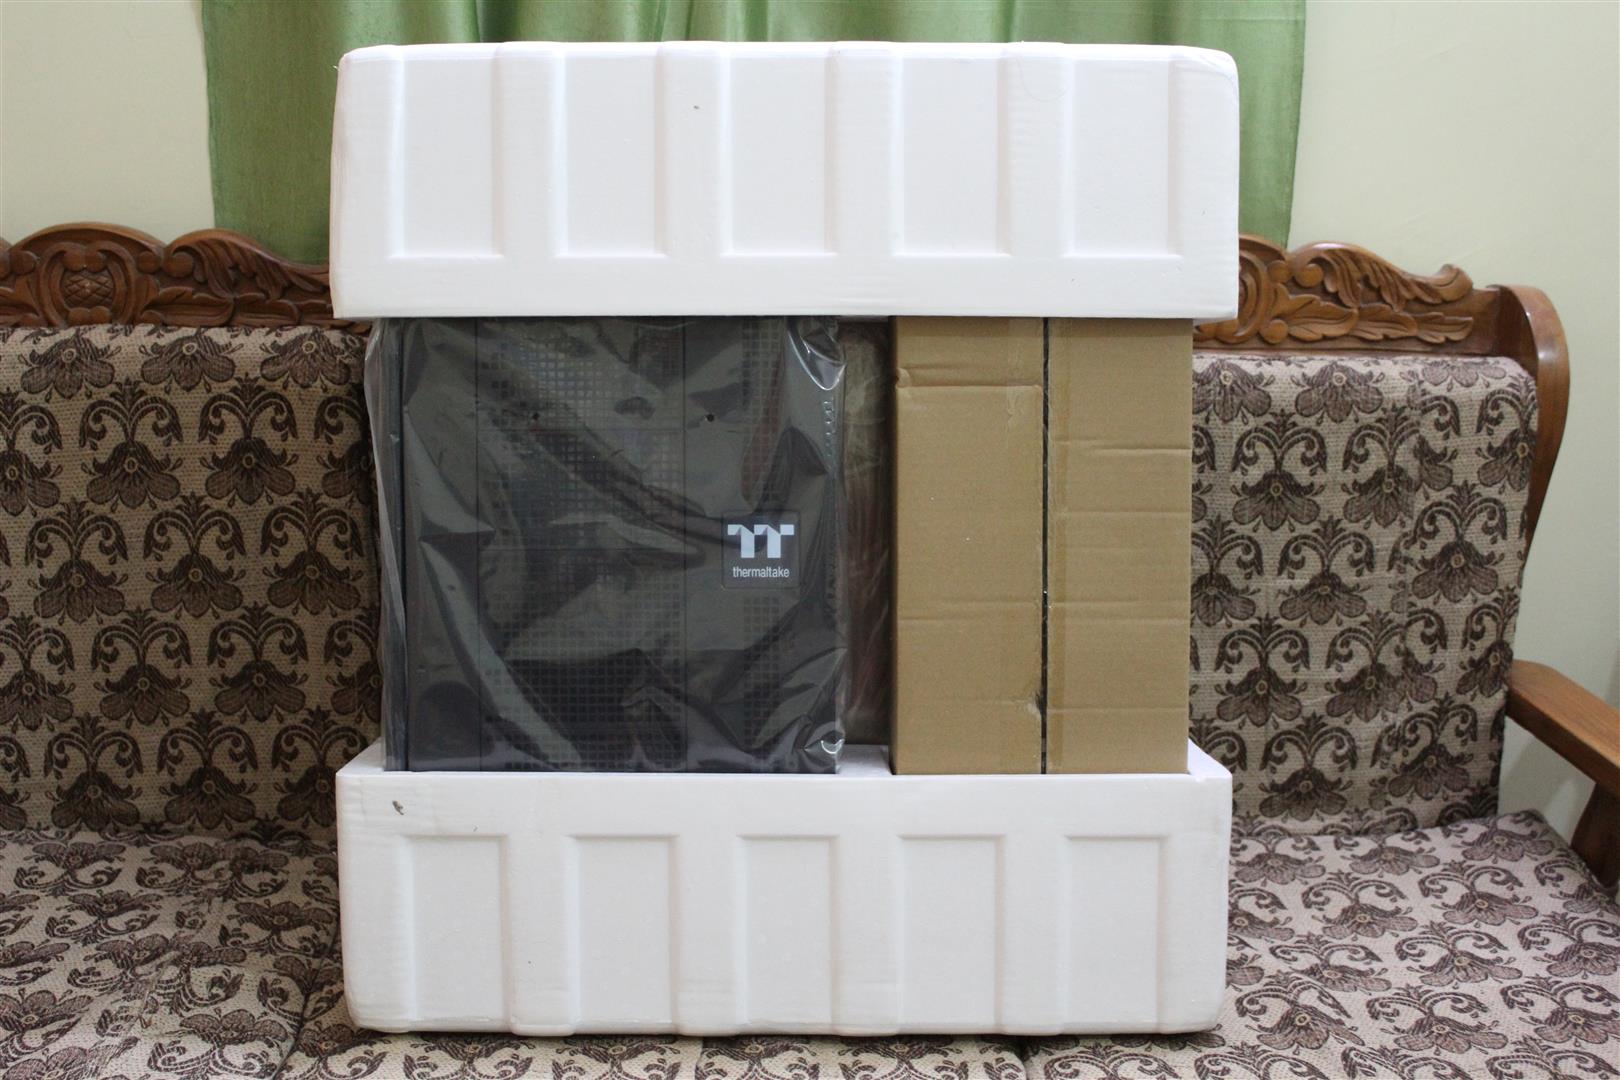
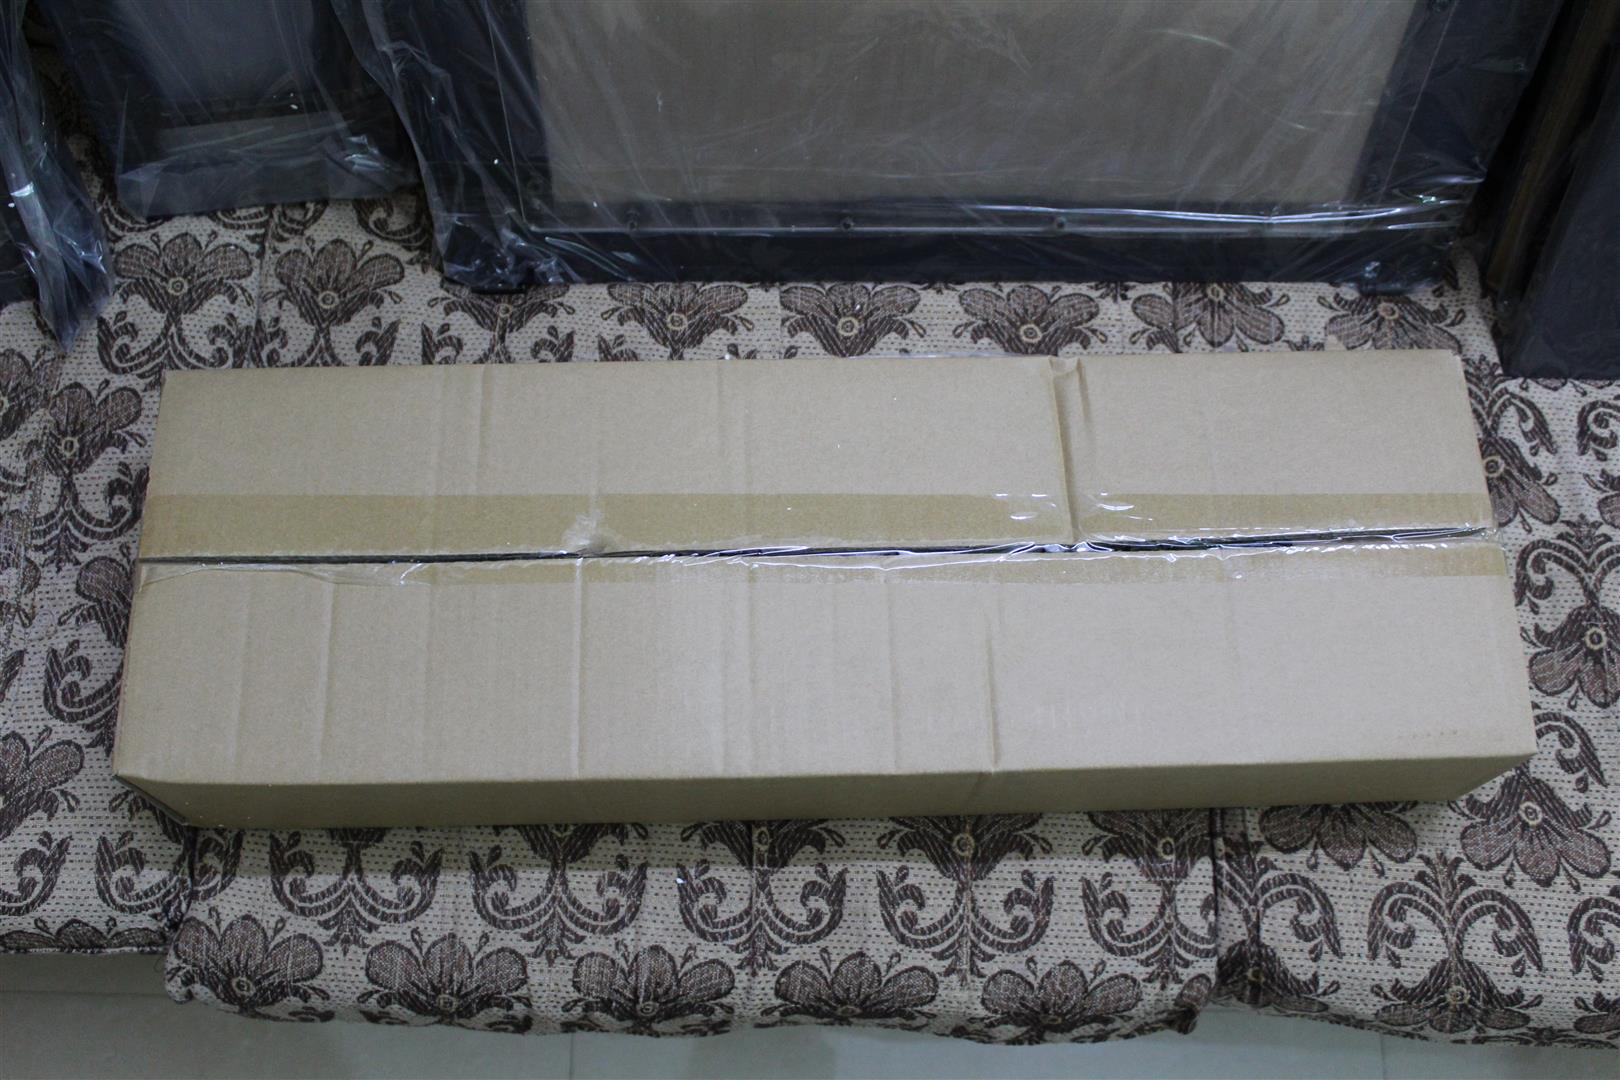
First the Thermaltake Core WP100 Super Tower Chassis arrived in two big and heavy boxes. One box had the Core W100 and other the Core P100. Both are individual cases by themselves, but stacking them together makes the monster Core WP100 Chasis.
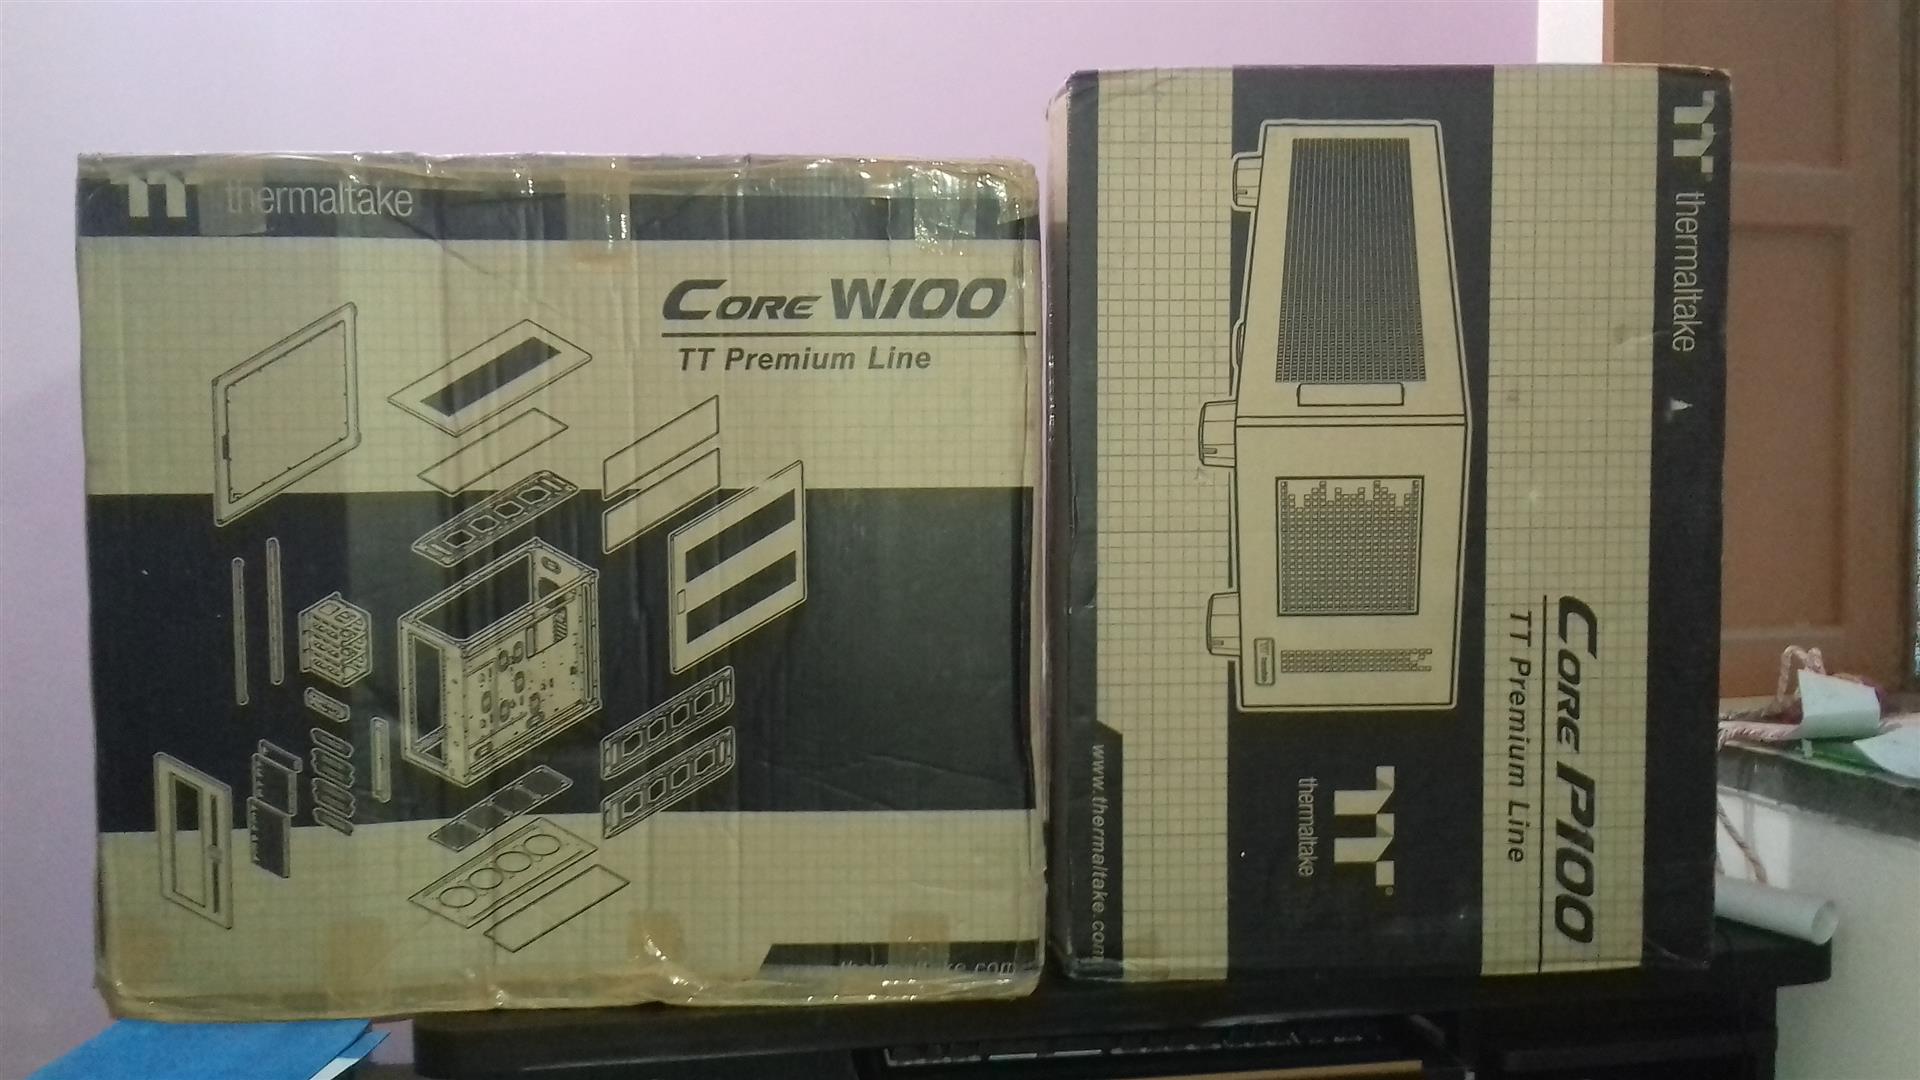

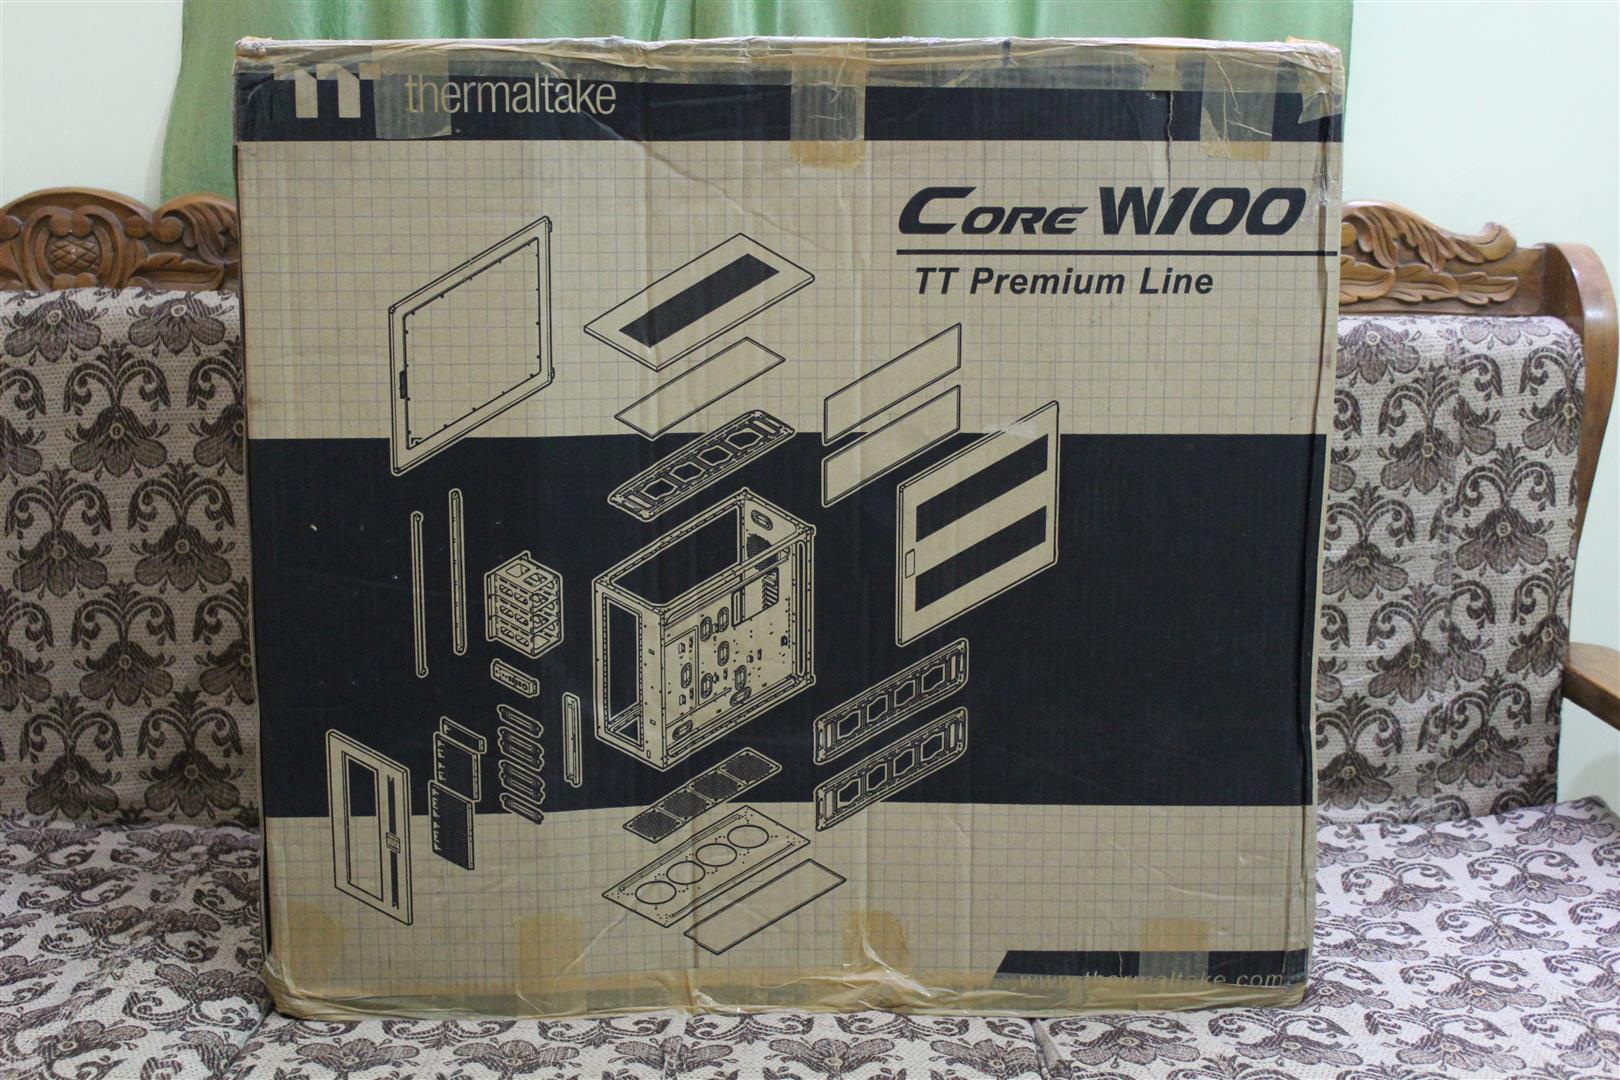
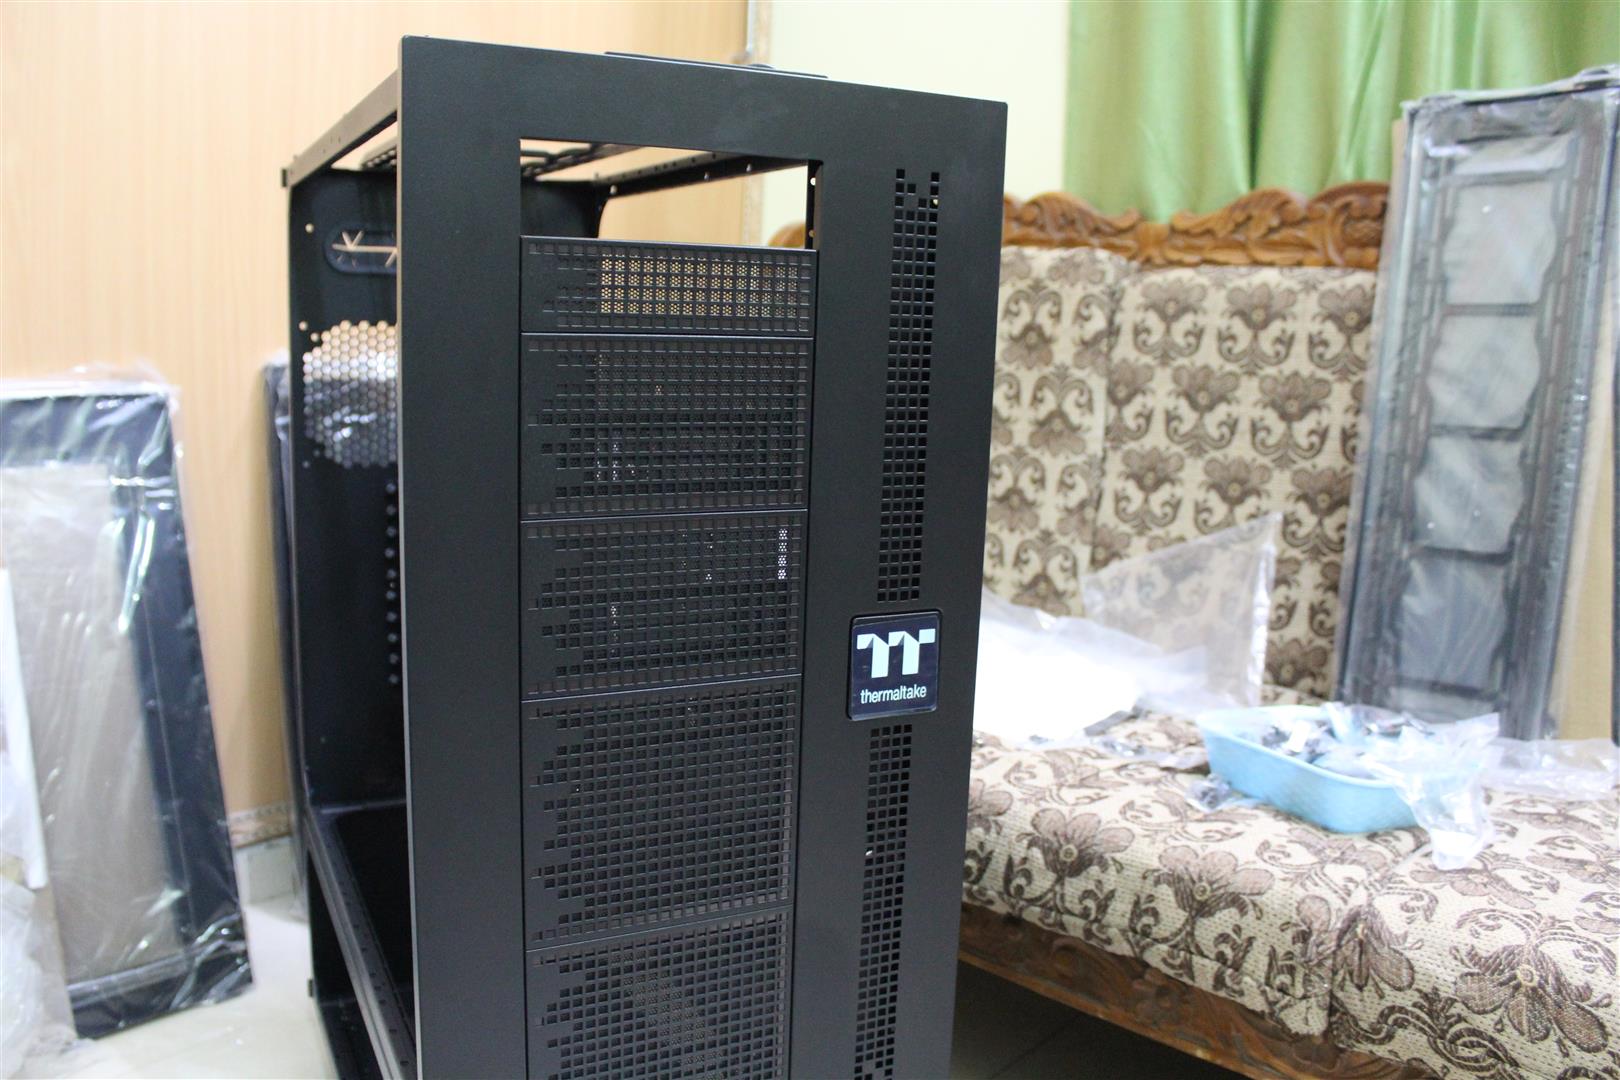
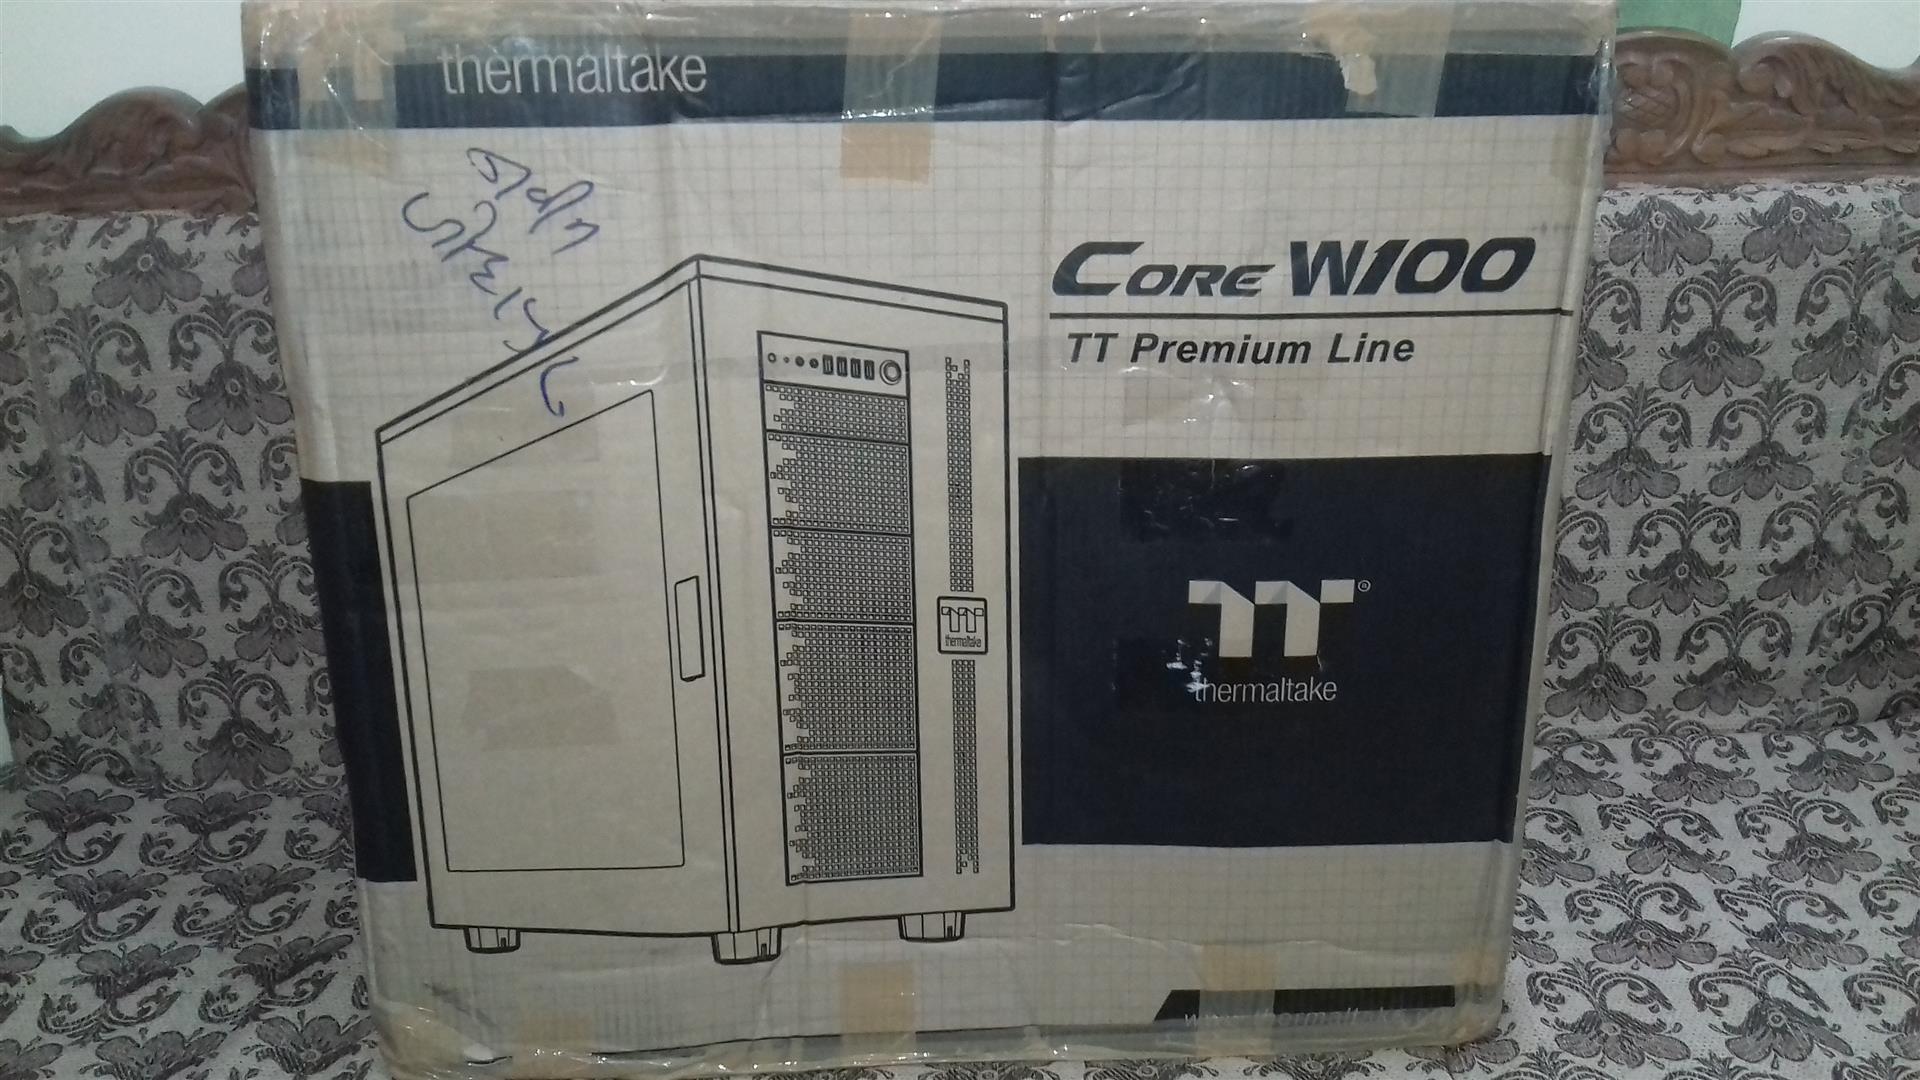
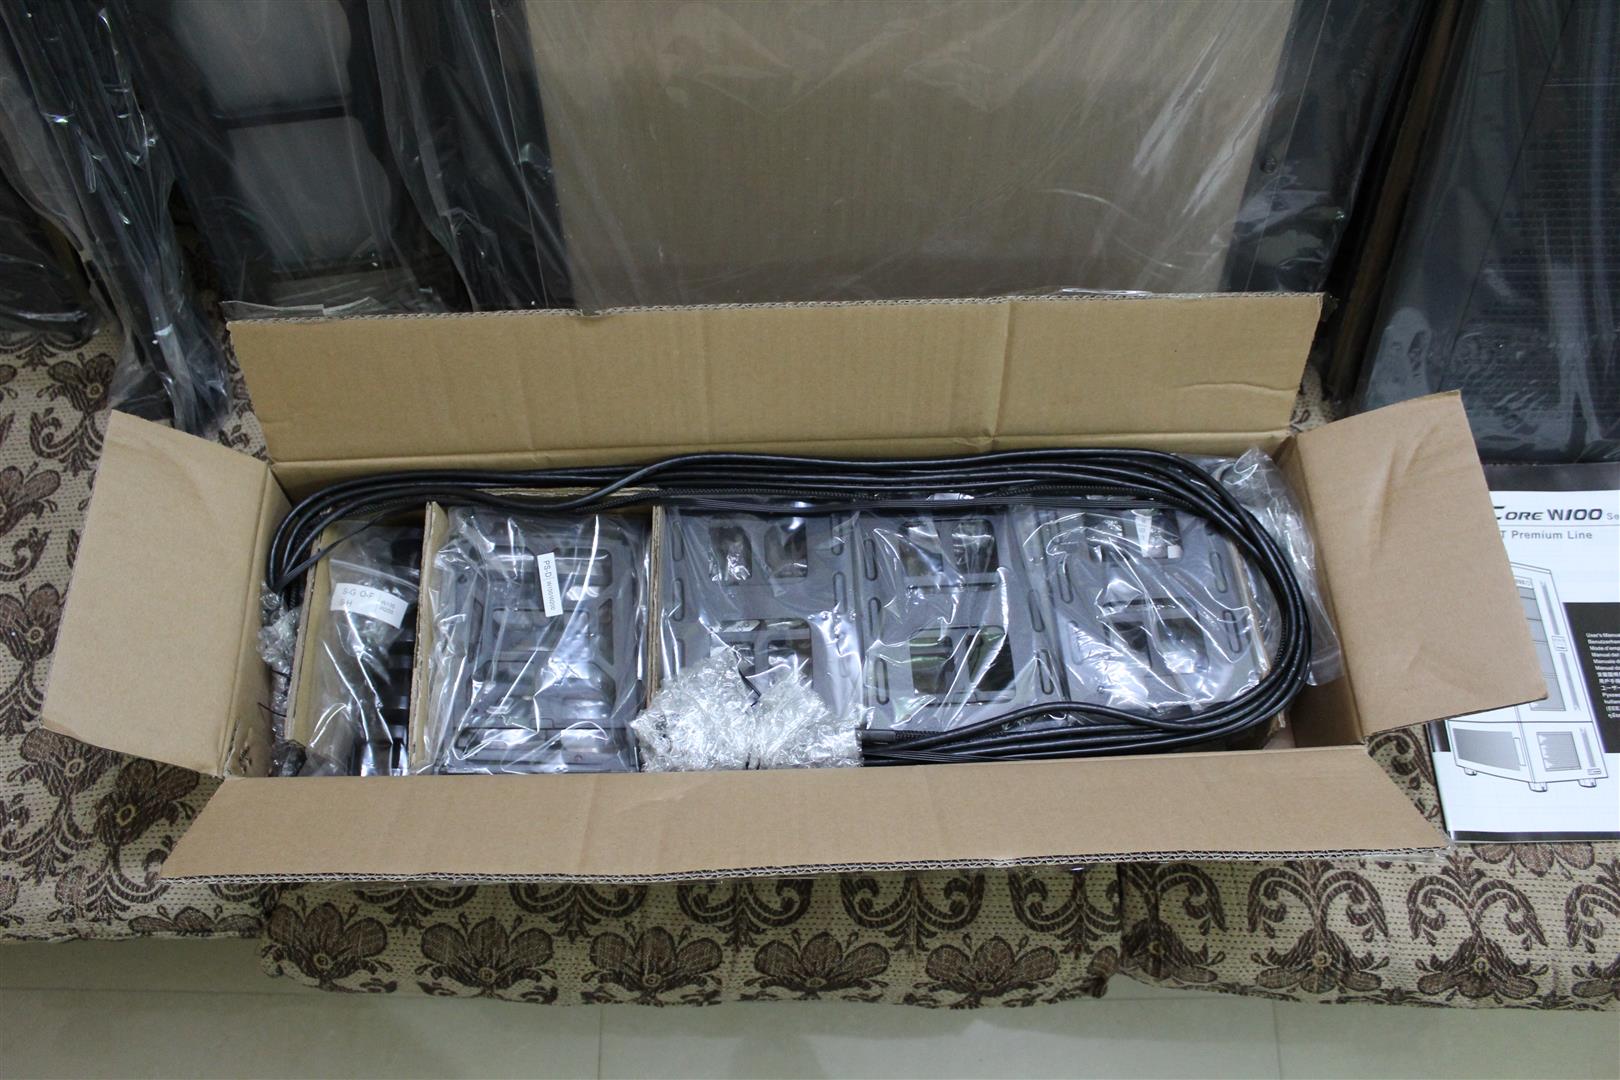
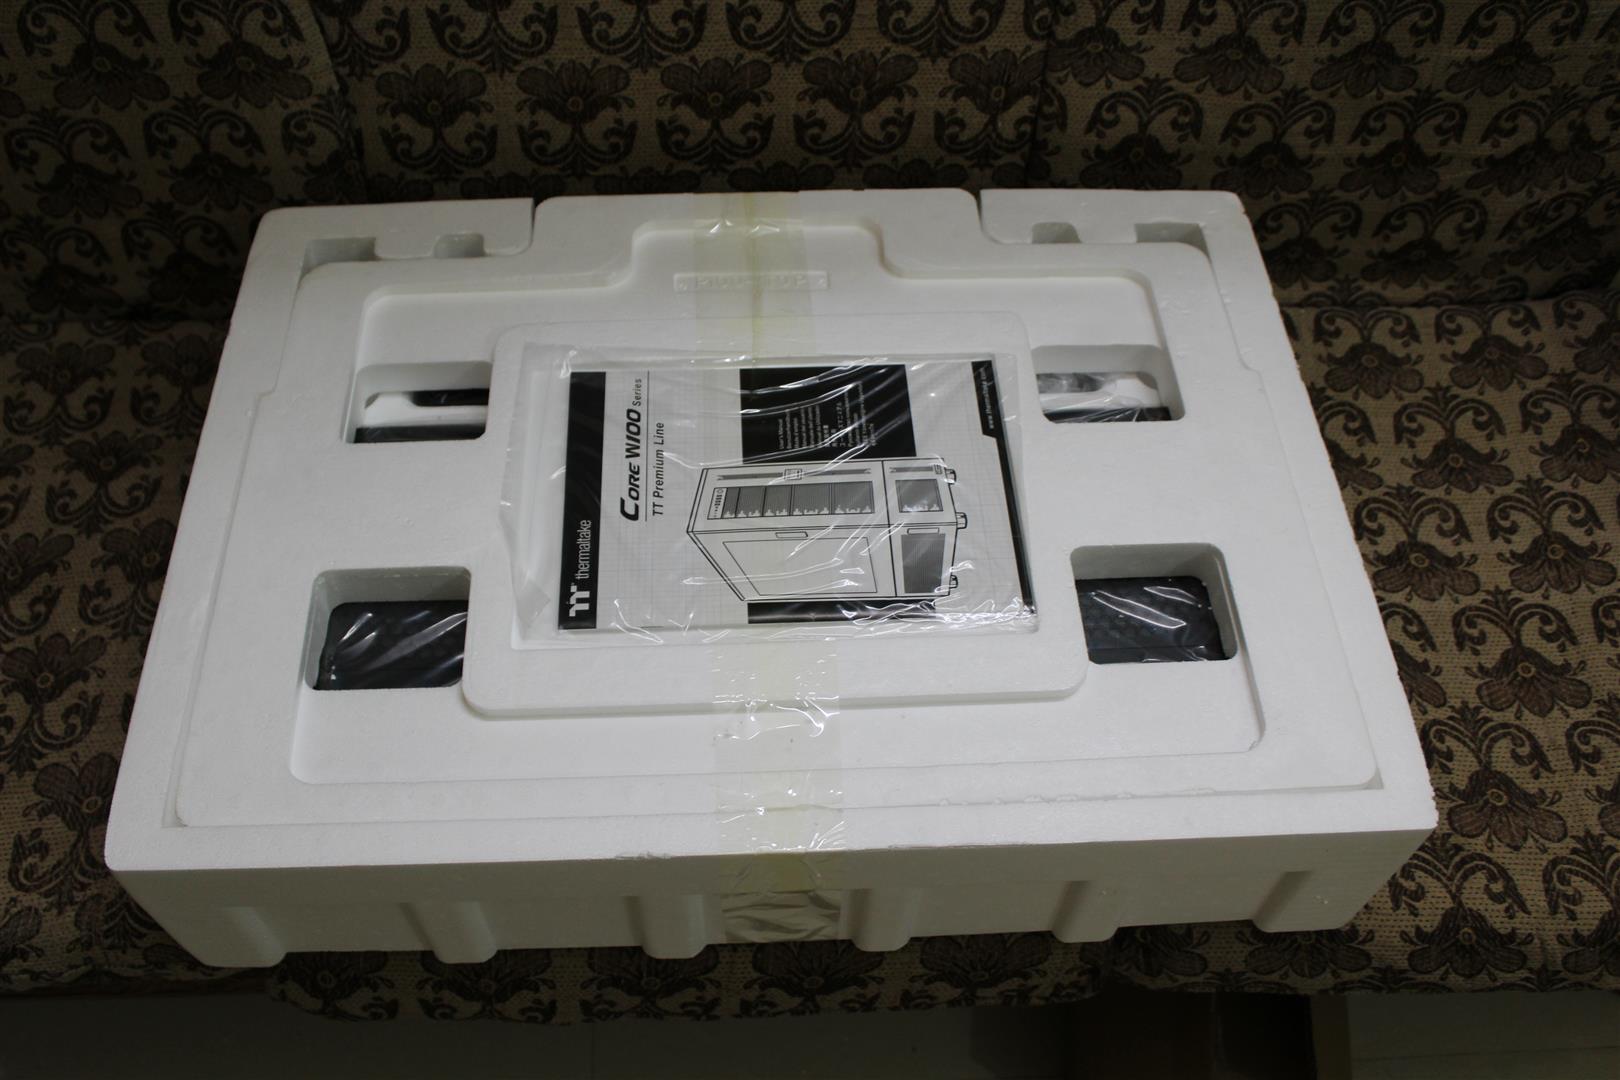
Now let’s un-box the cases. We start with Core W100.
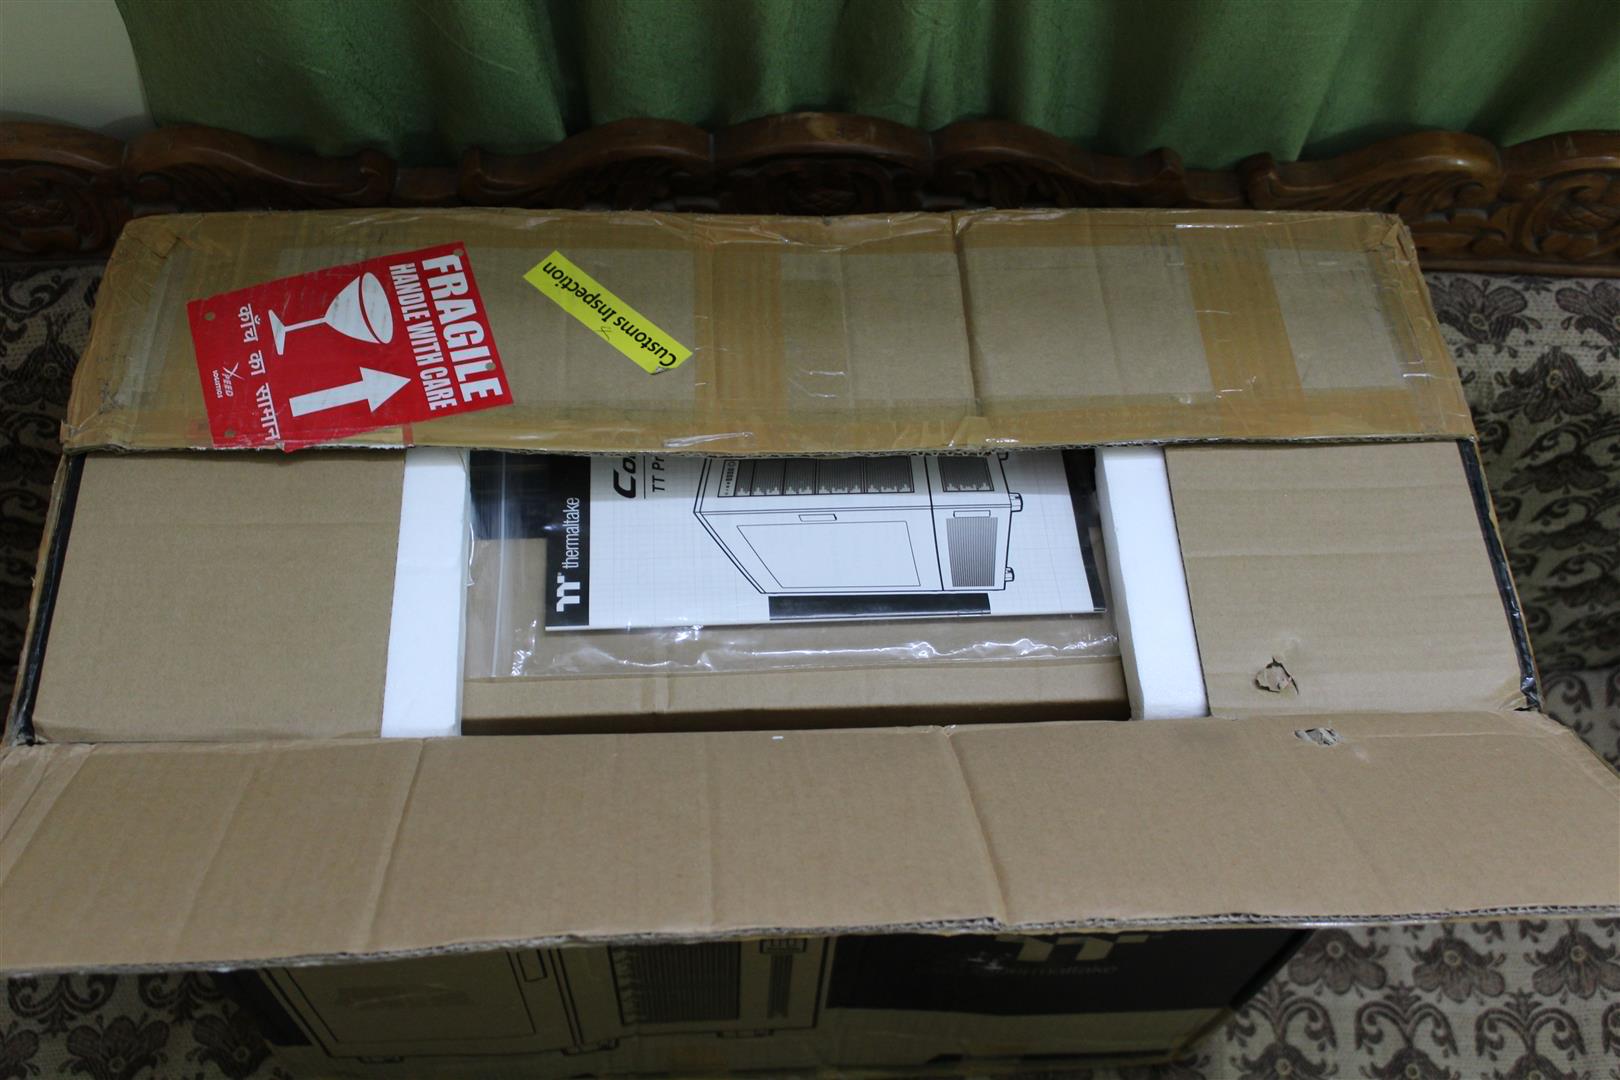

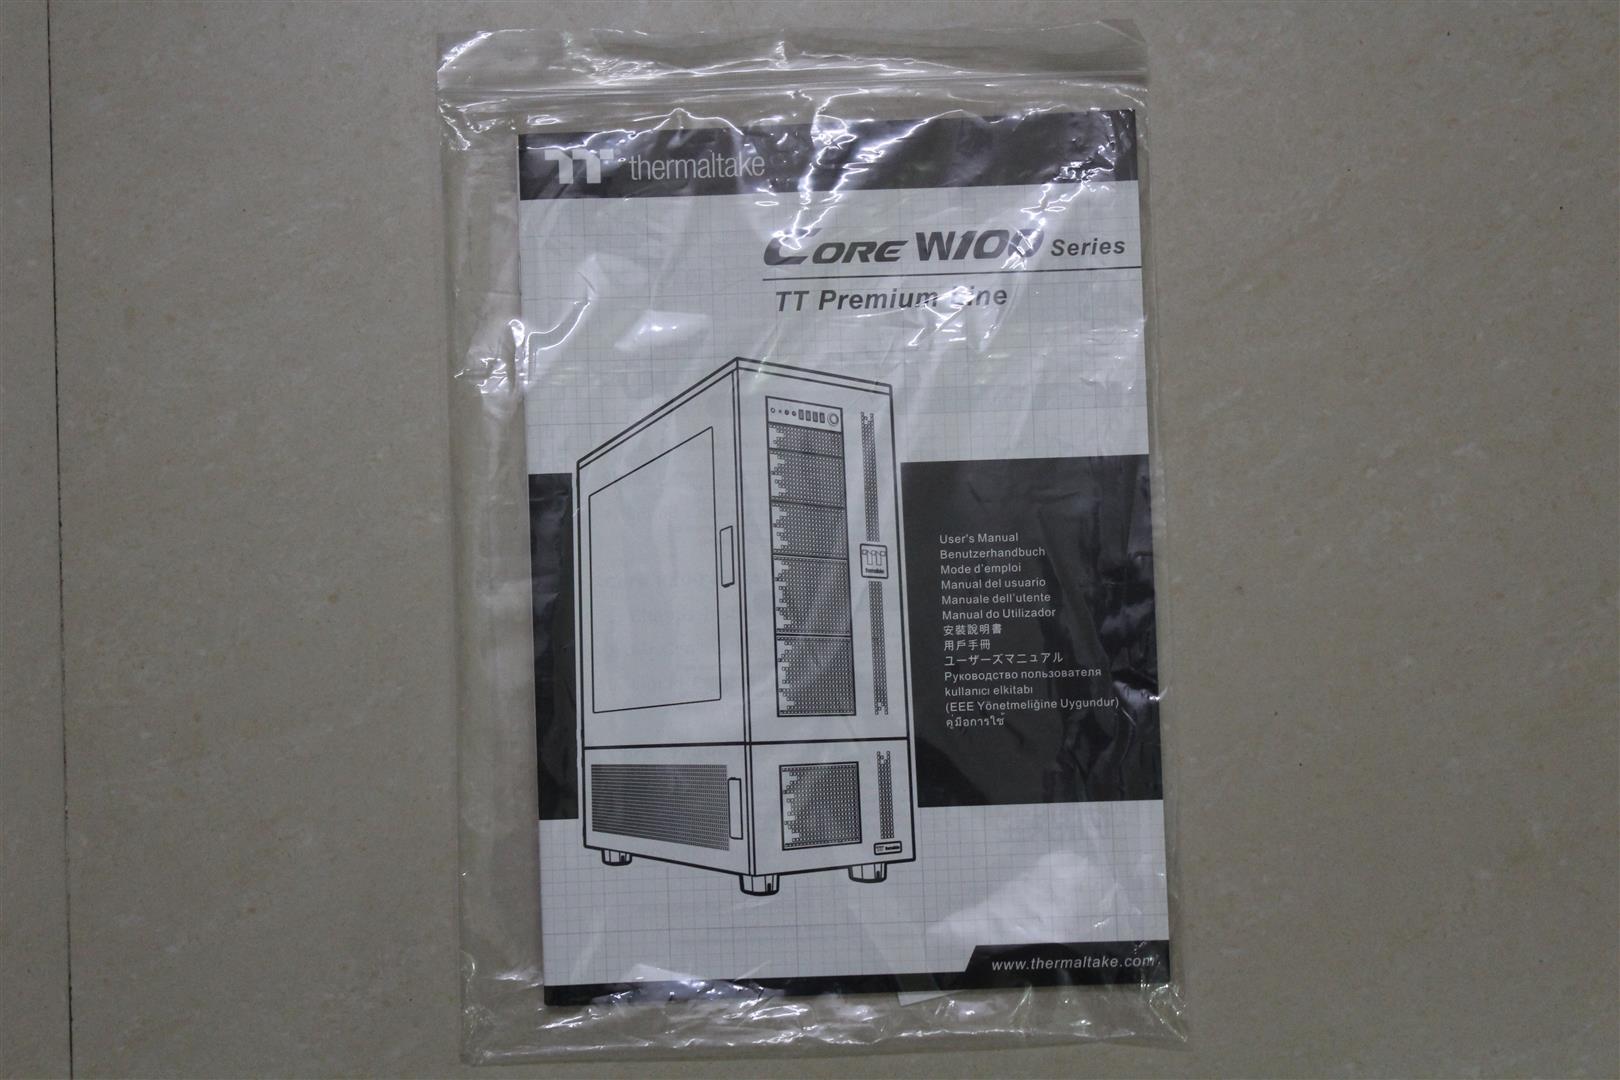
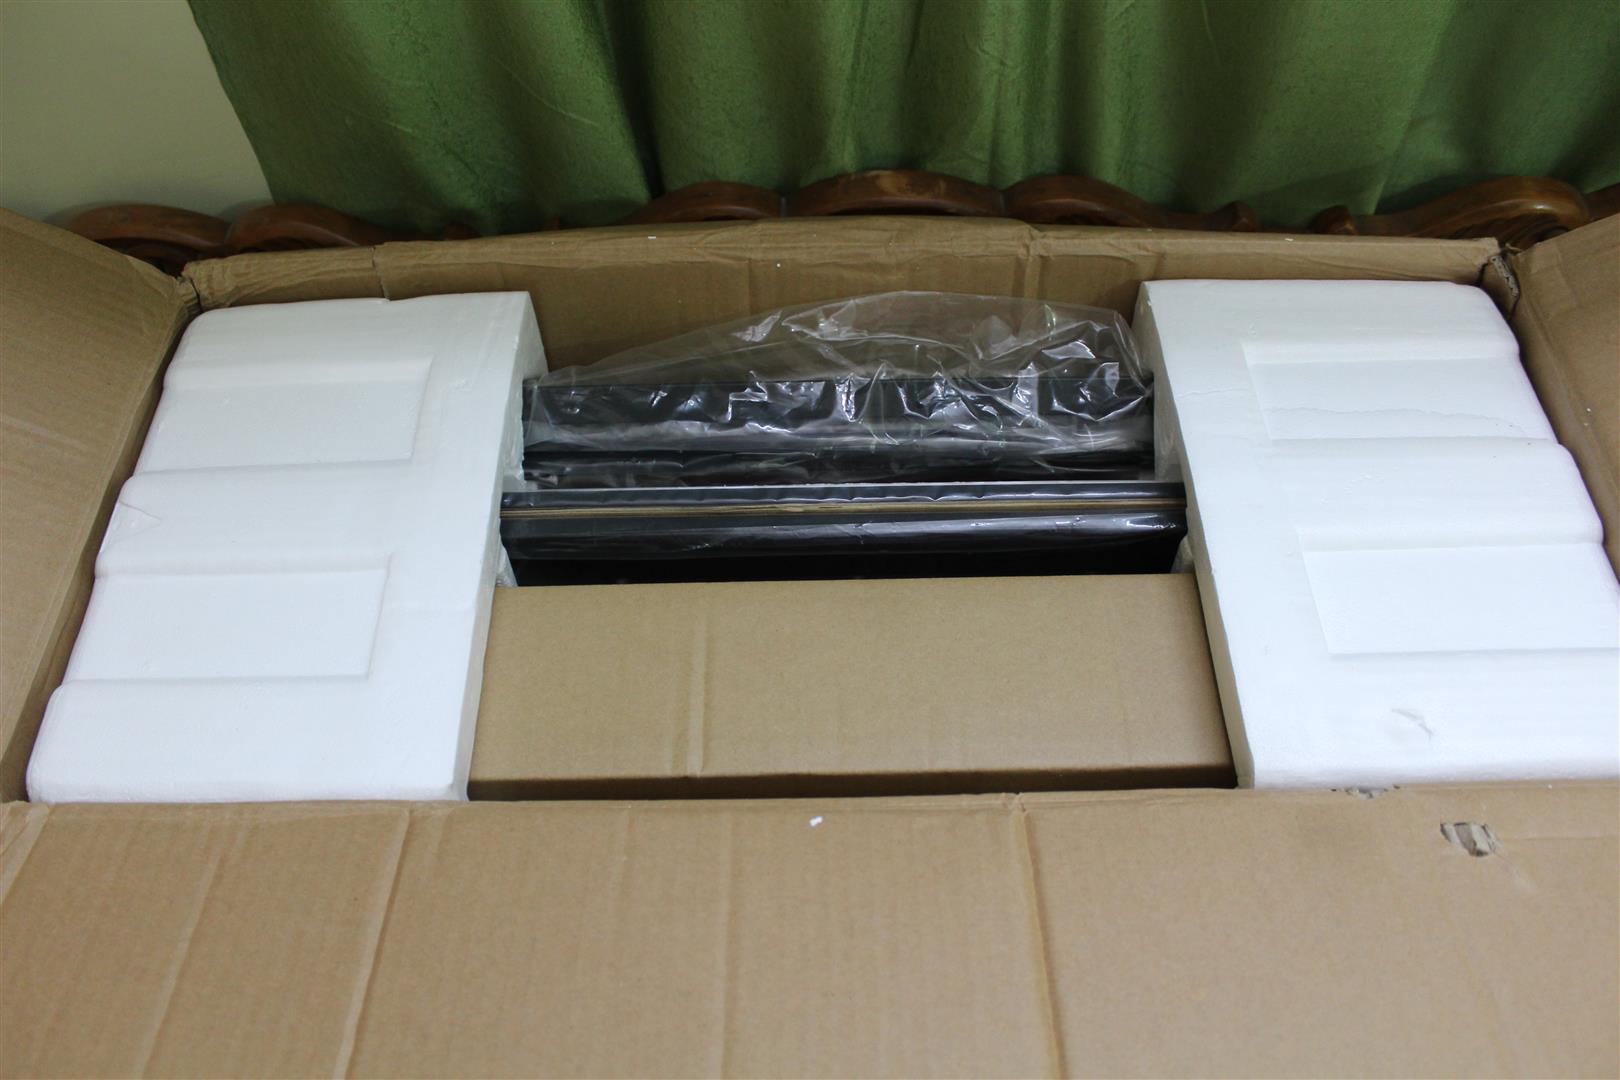
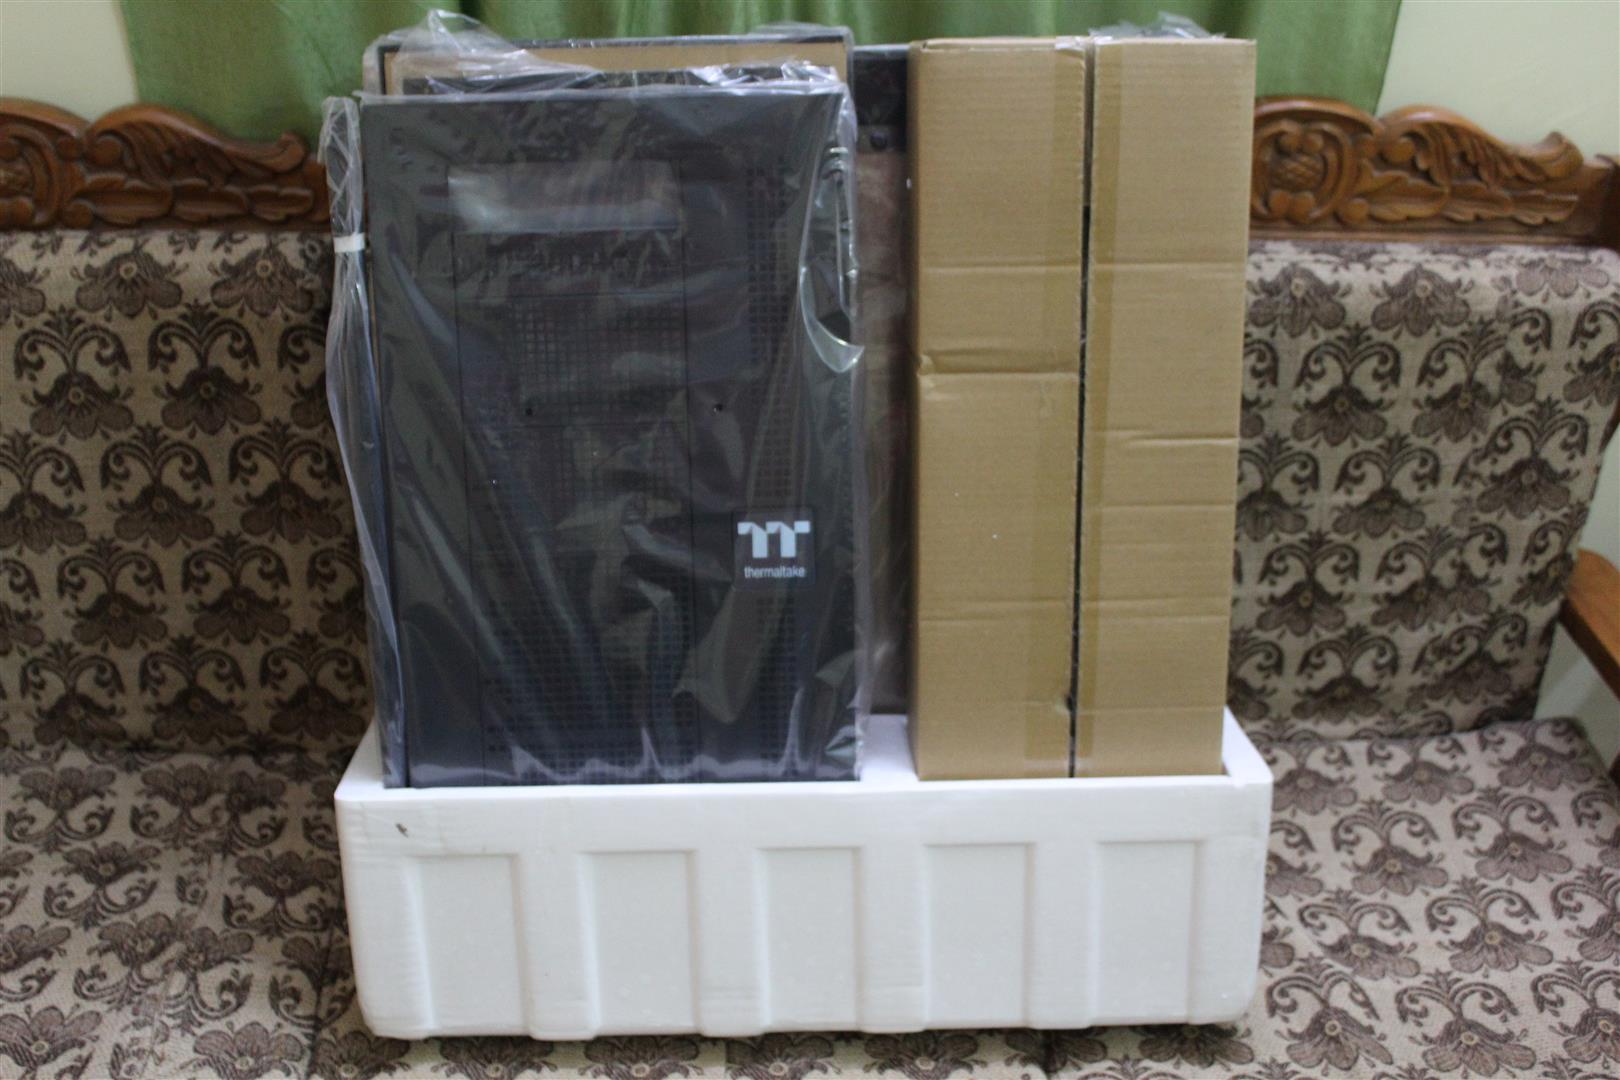

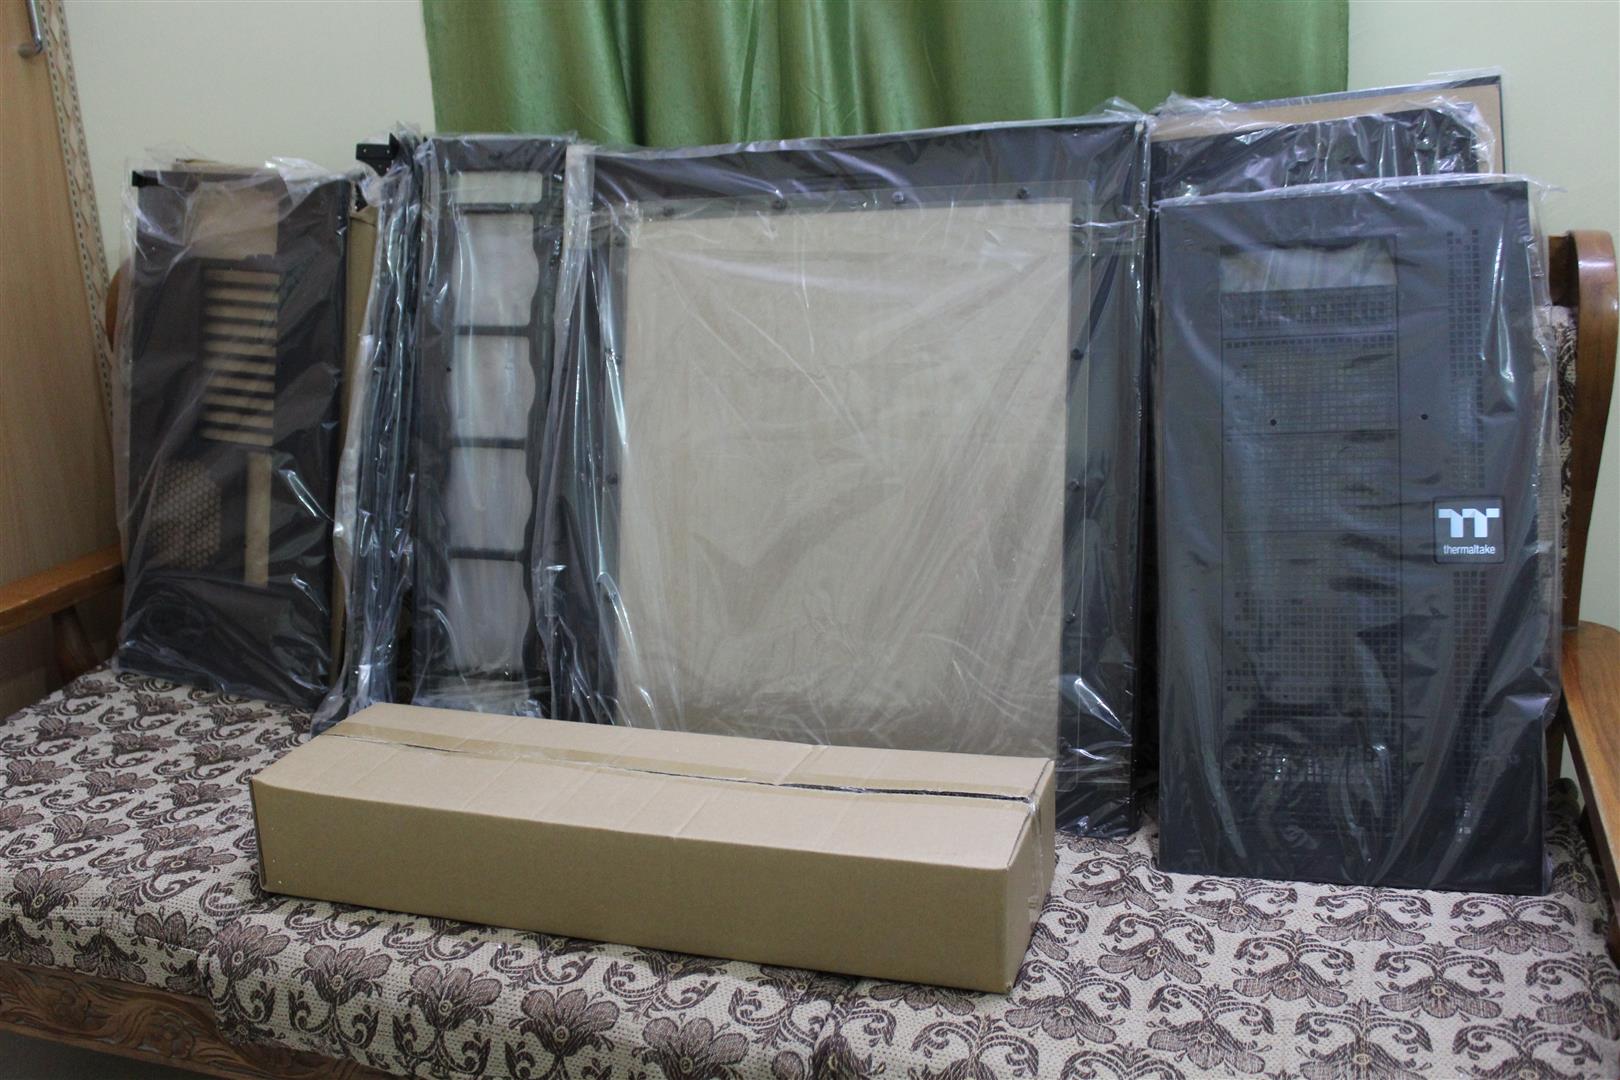
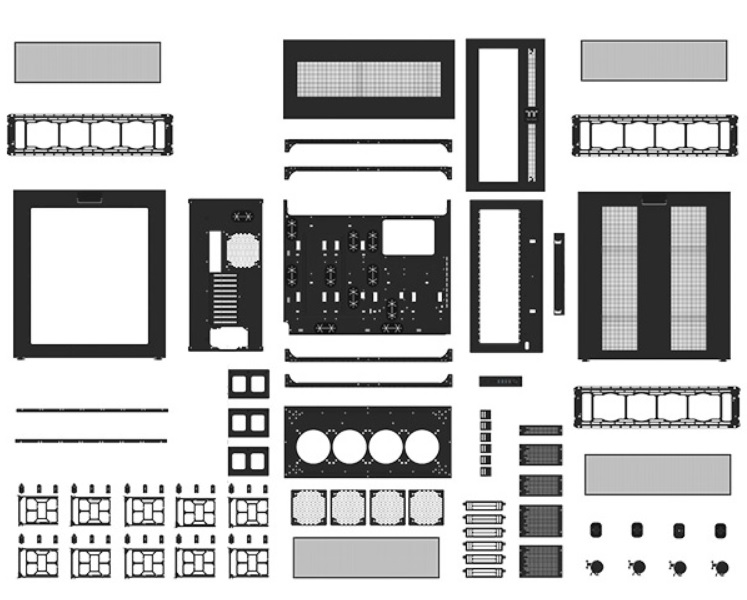
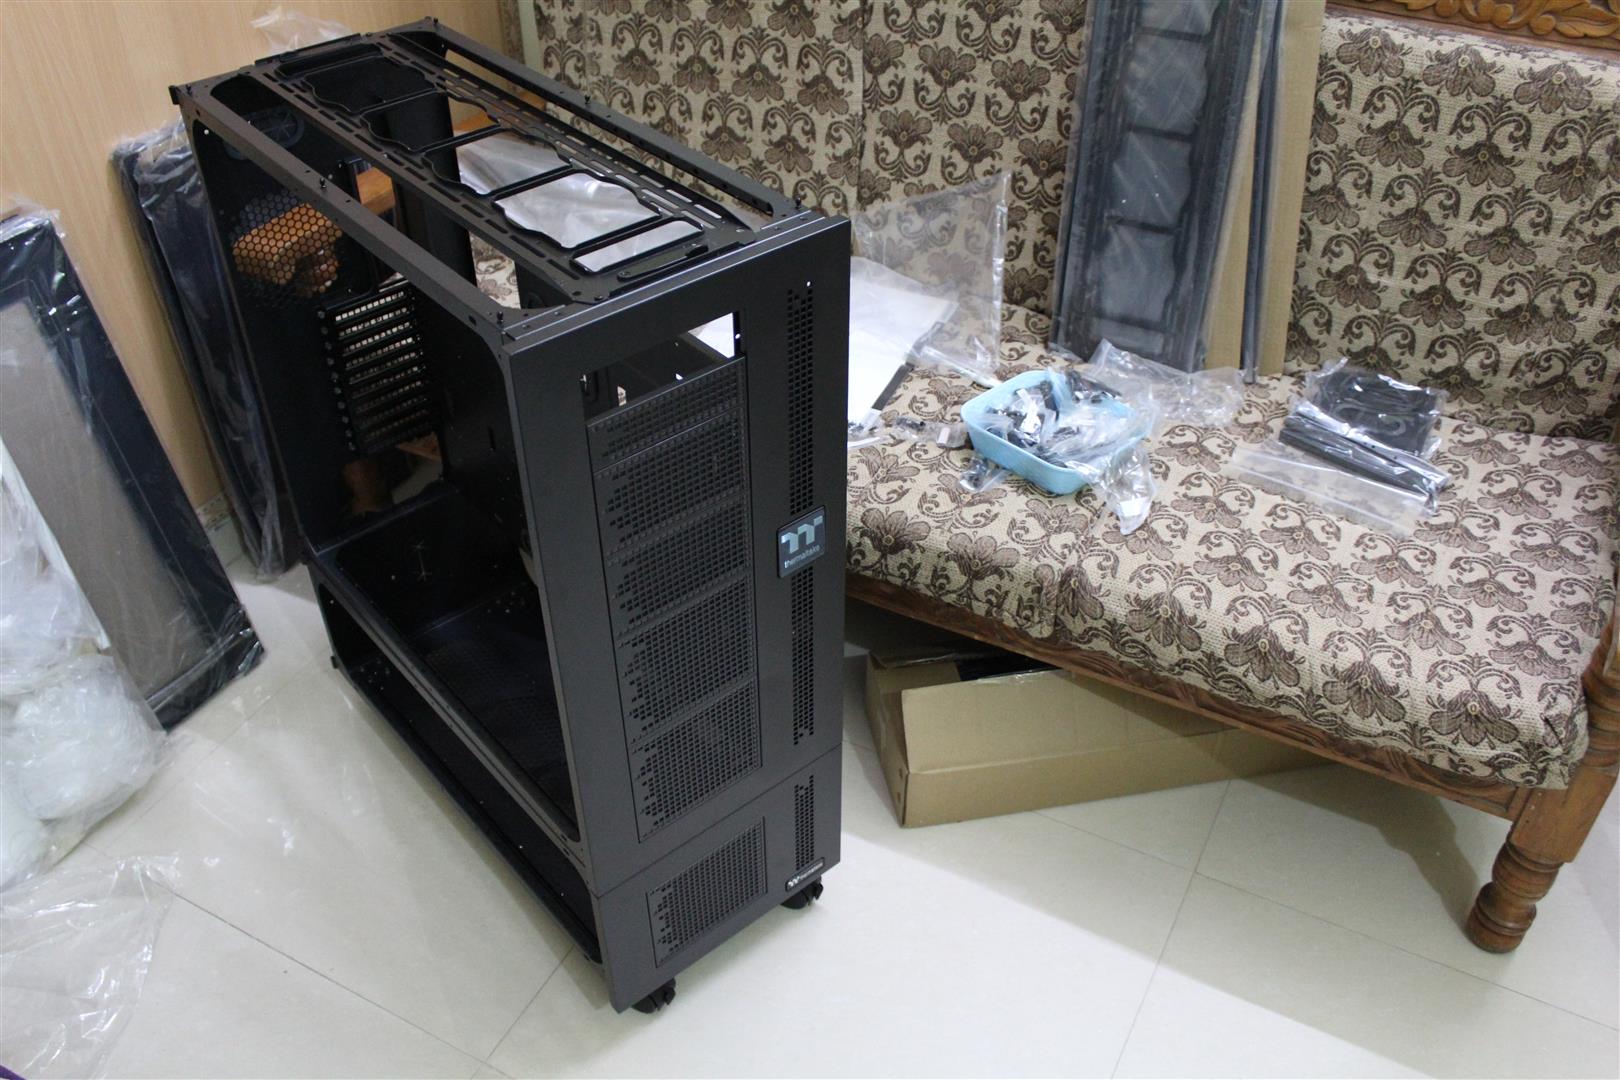
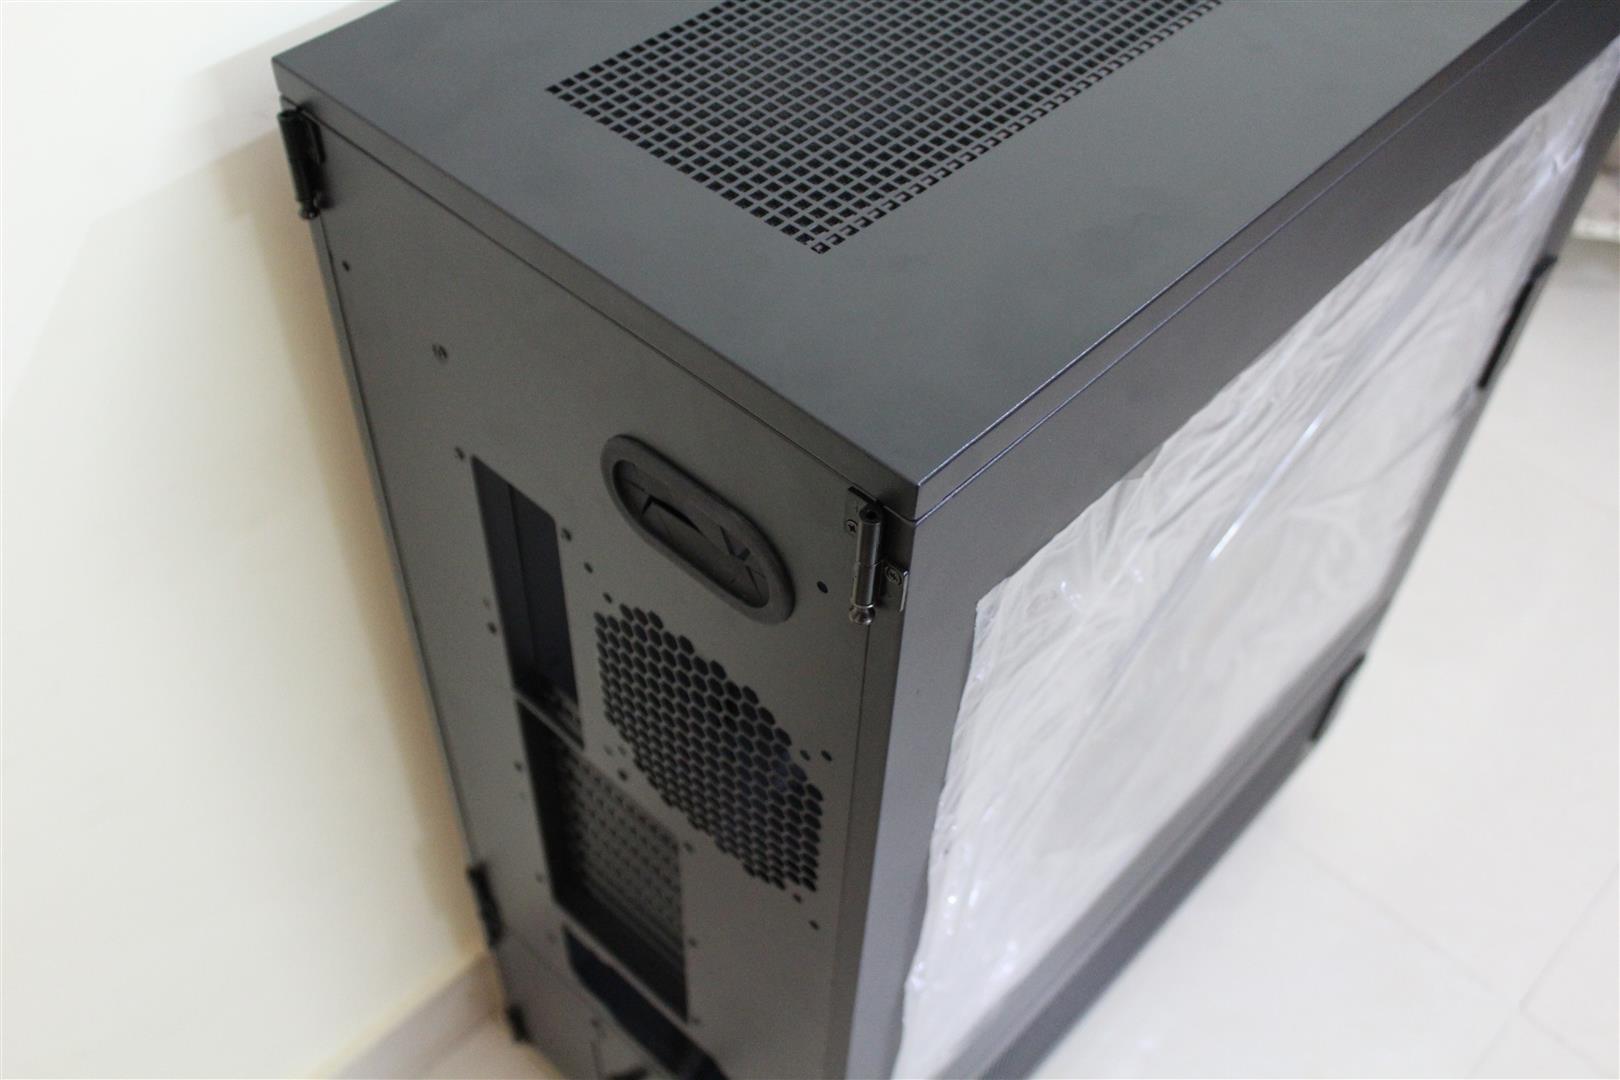
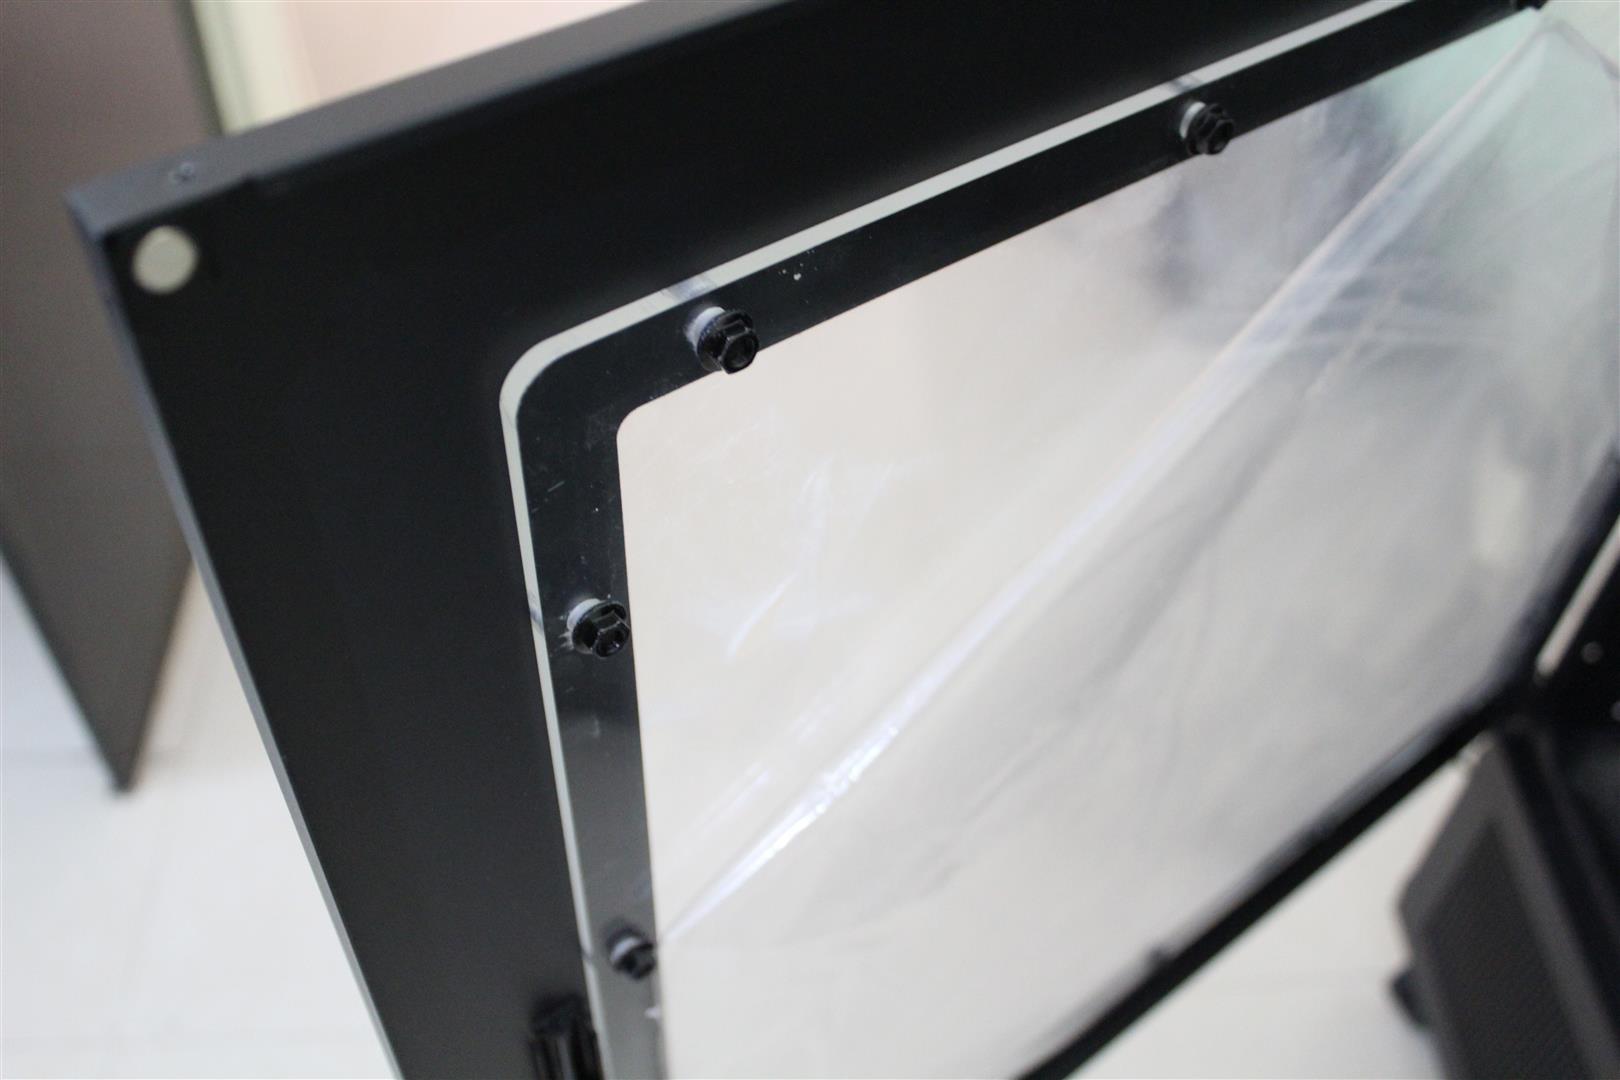
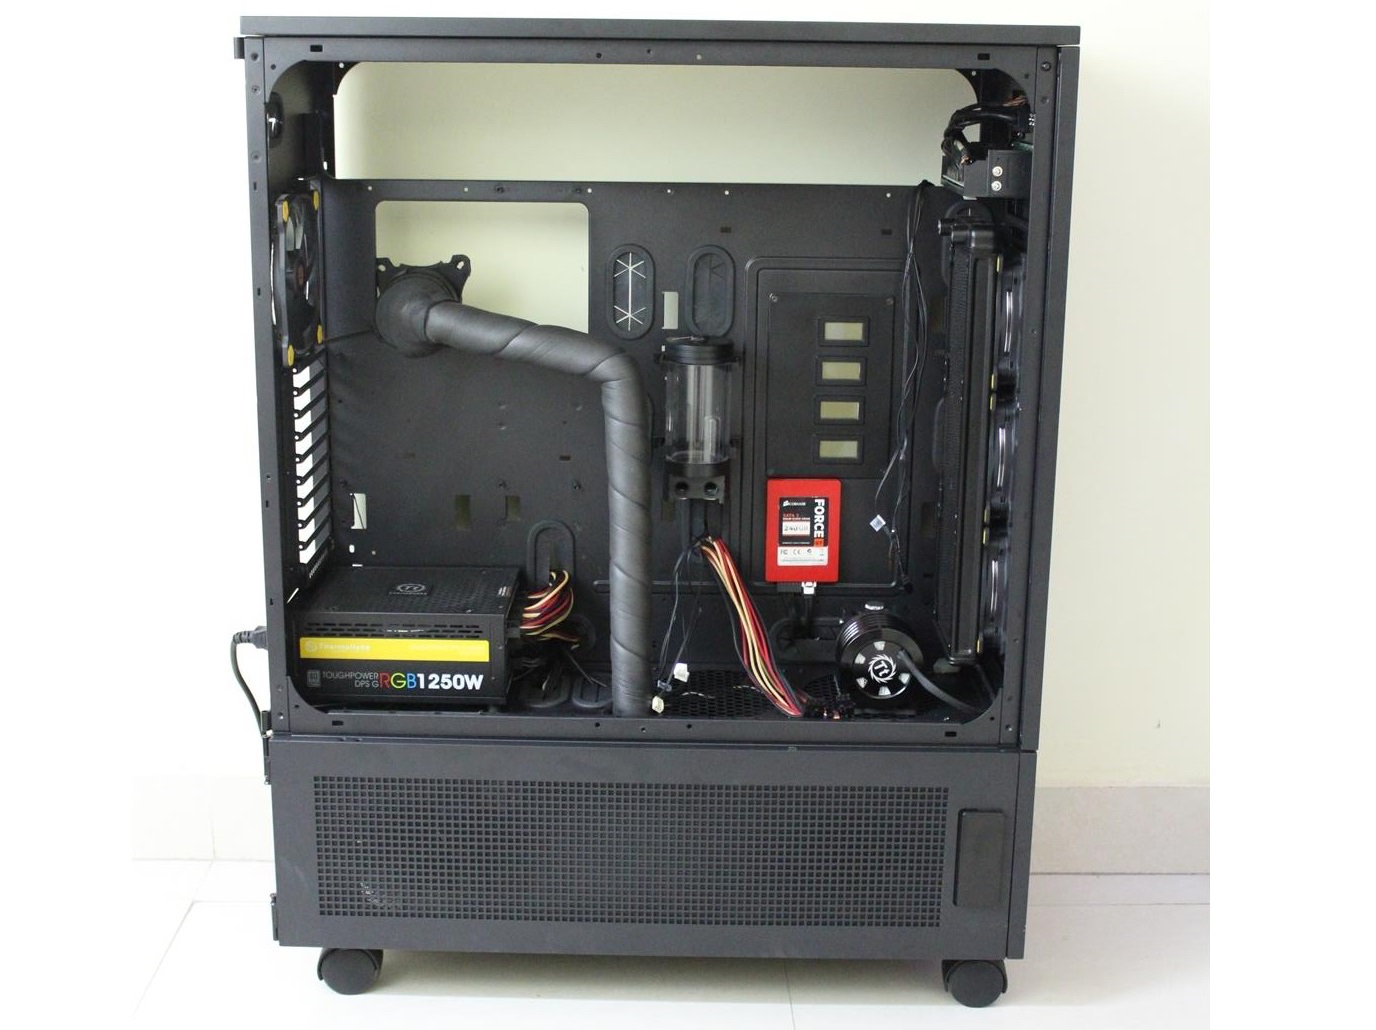
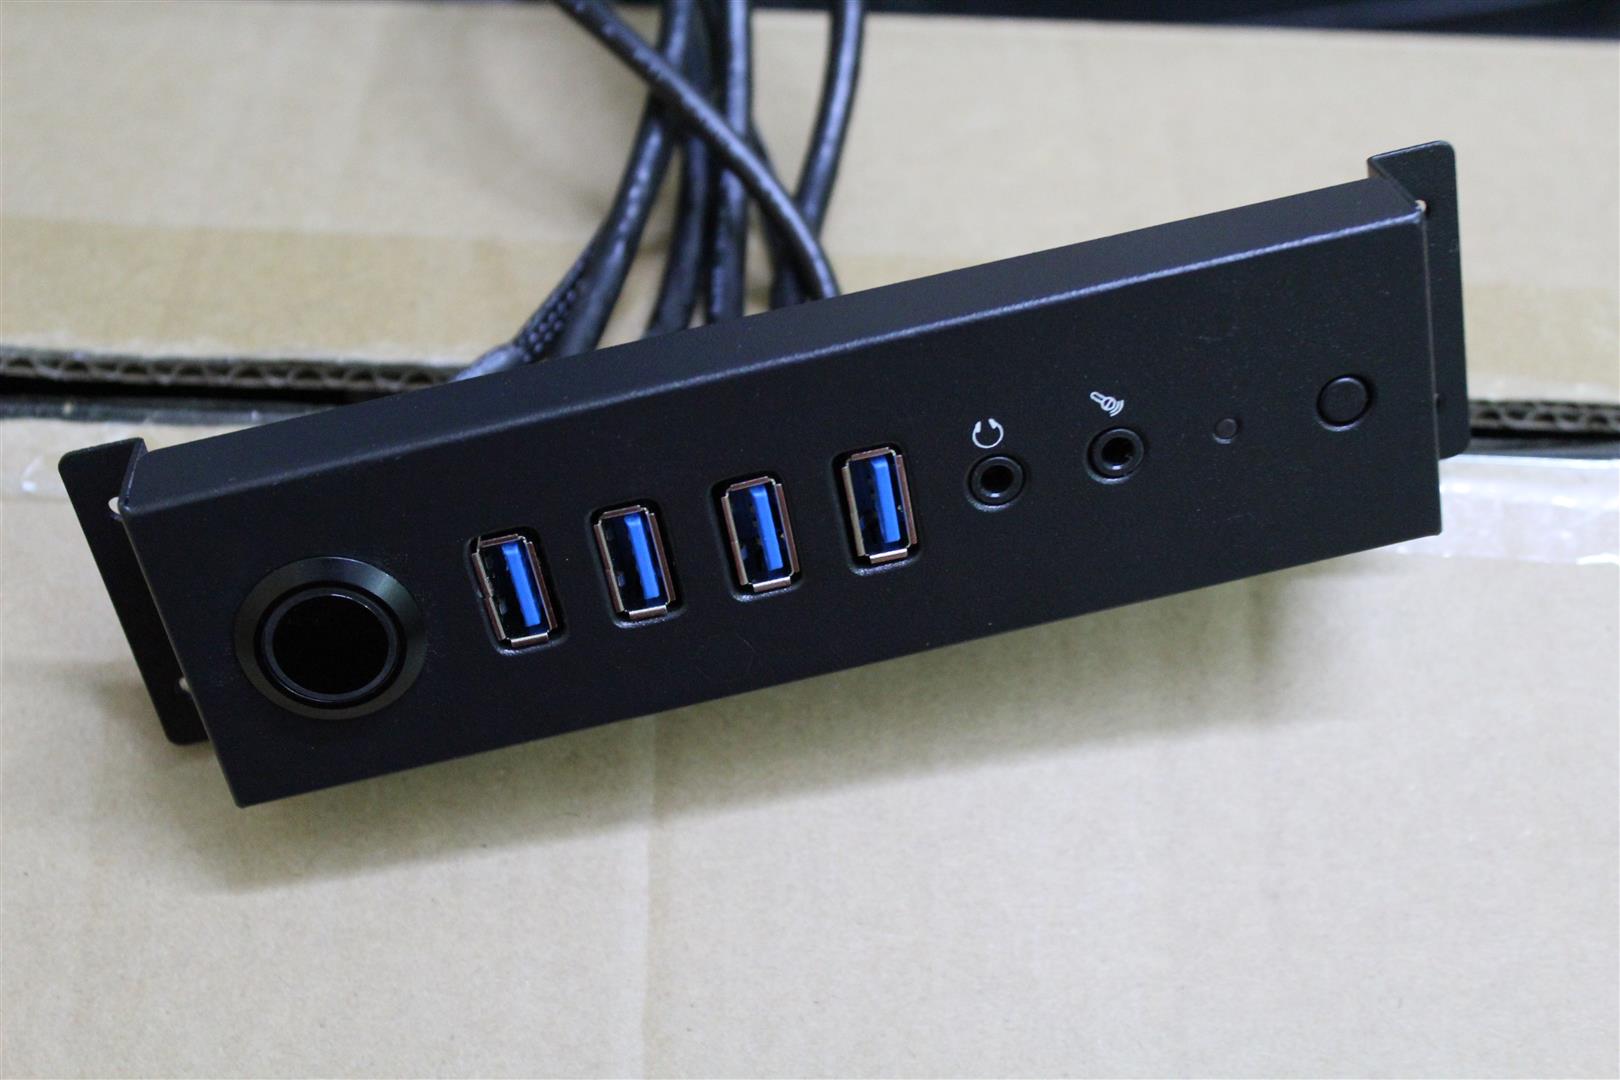
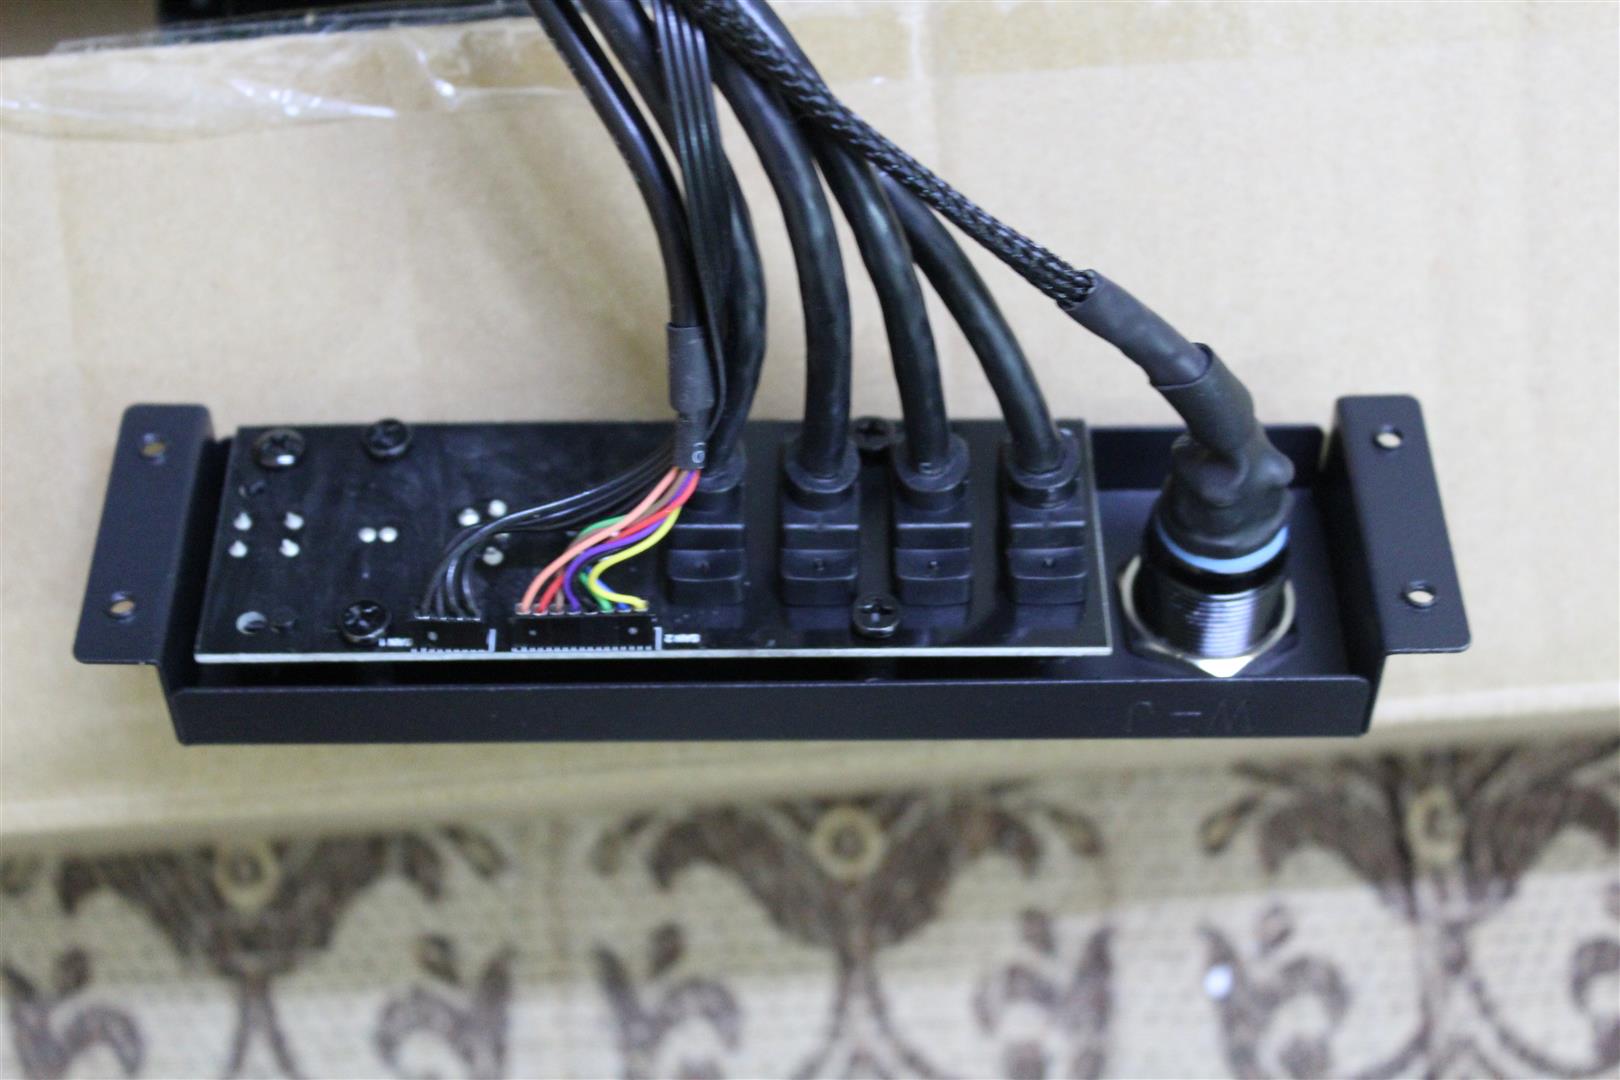
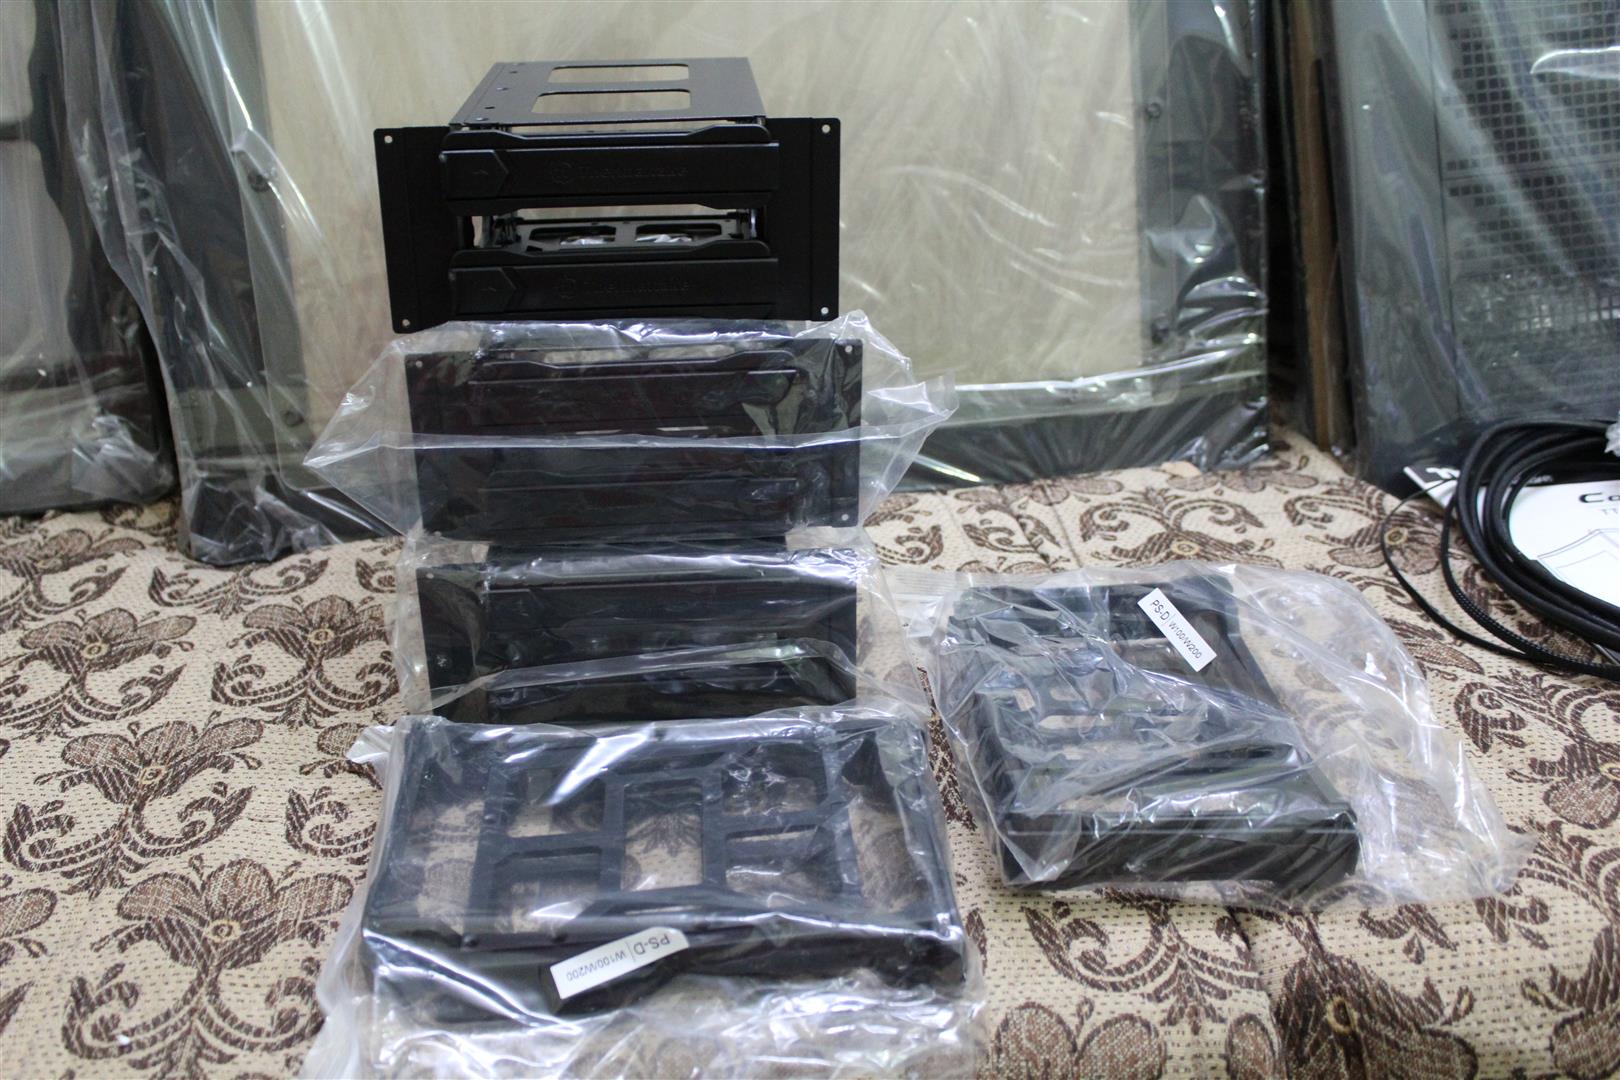
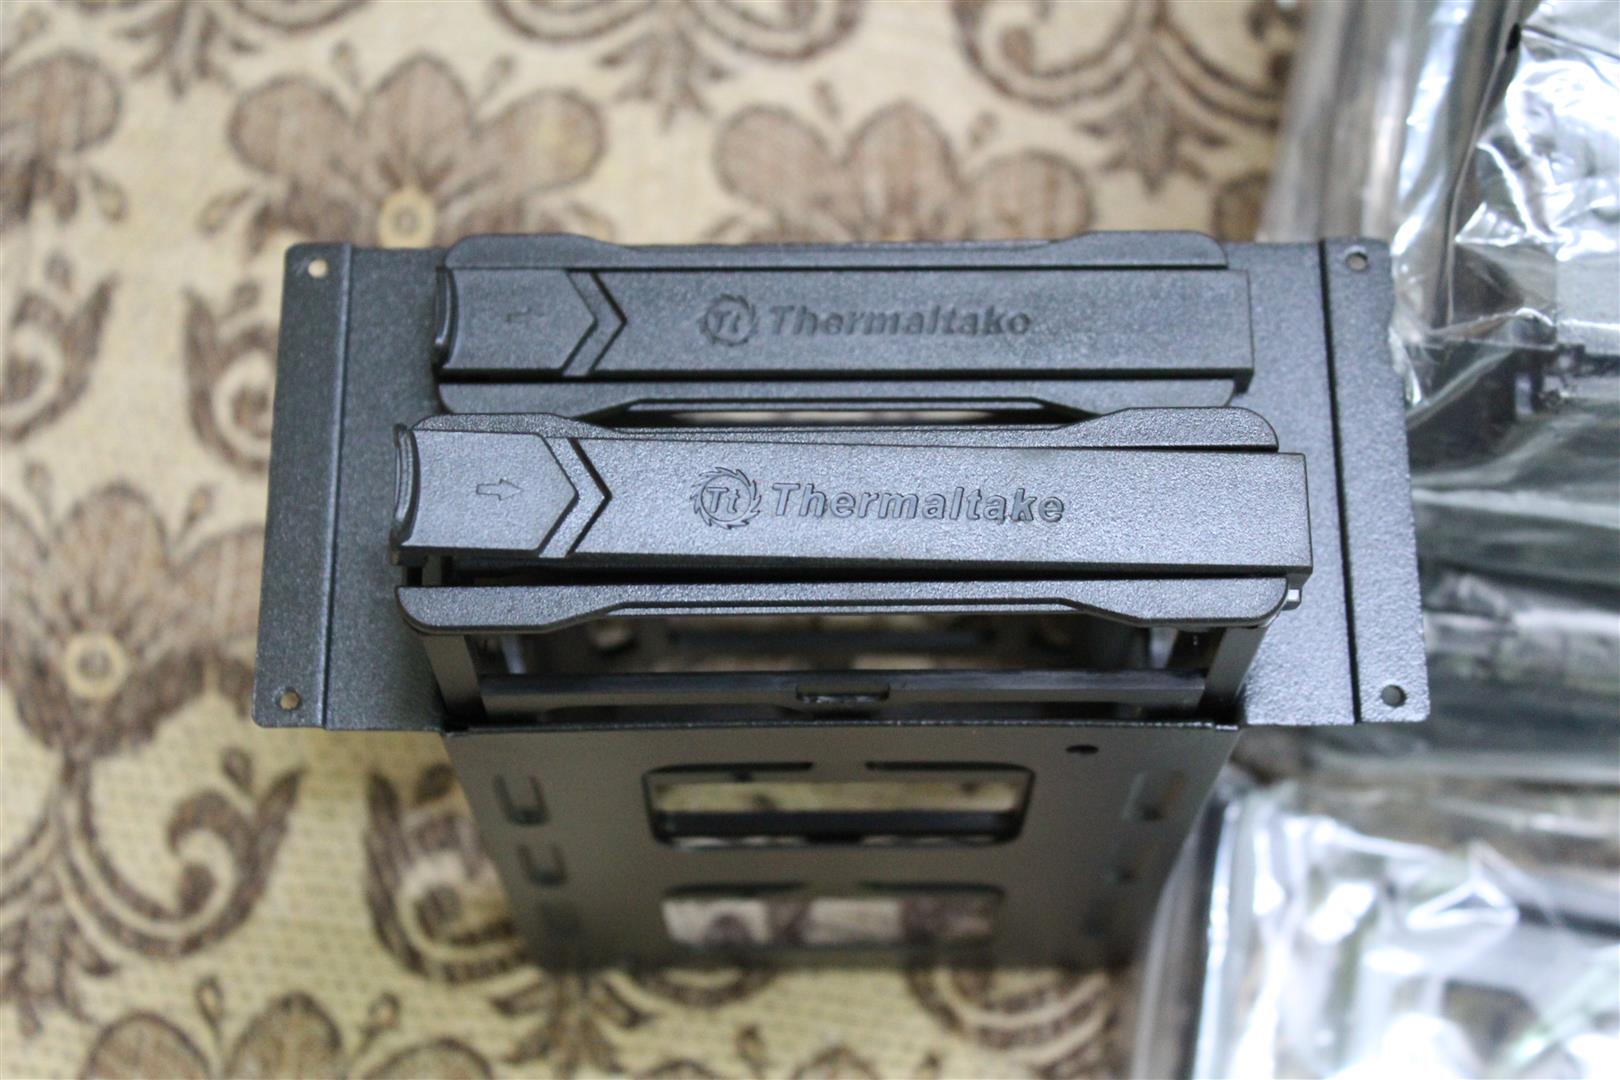
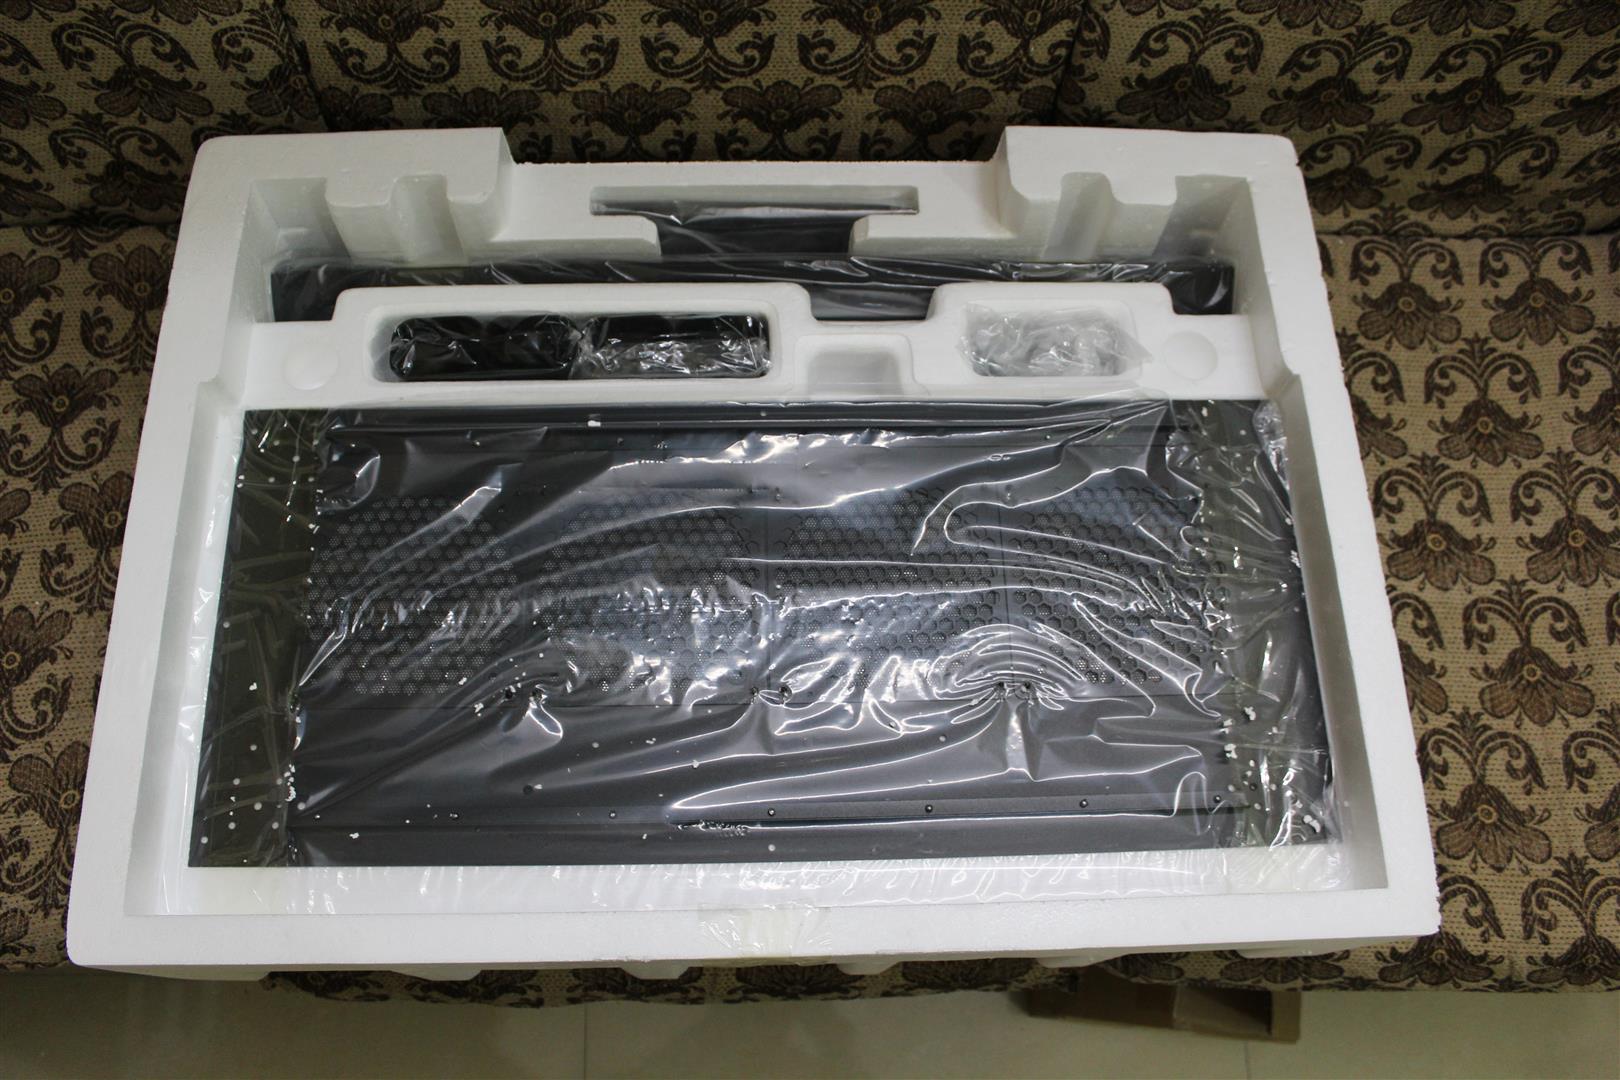
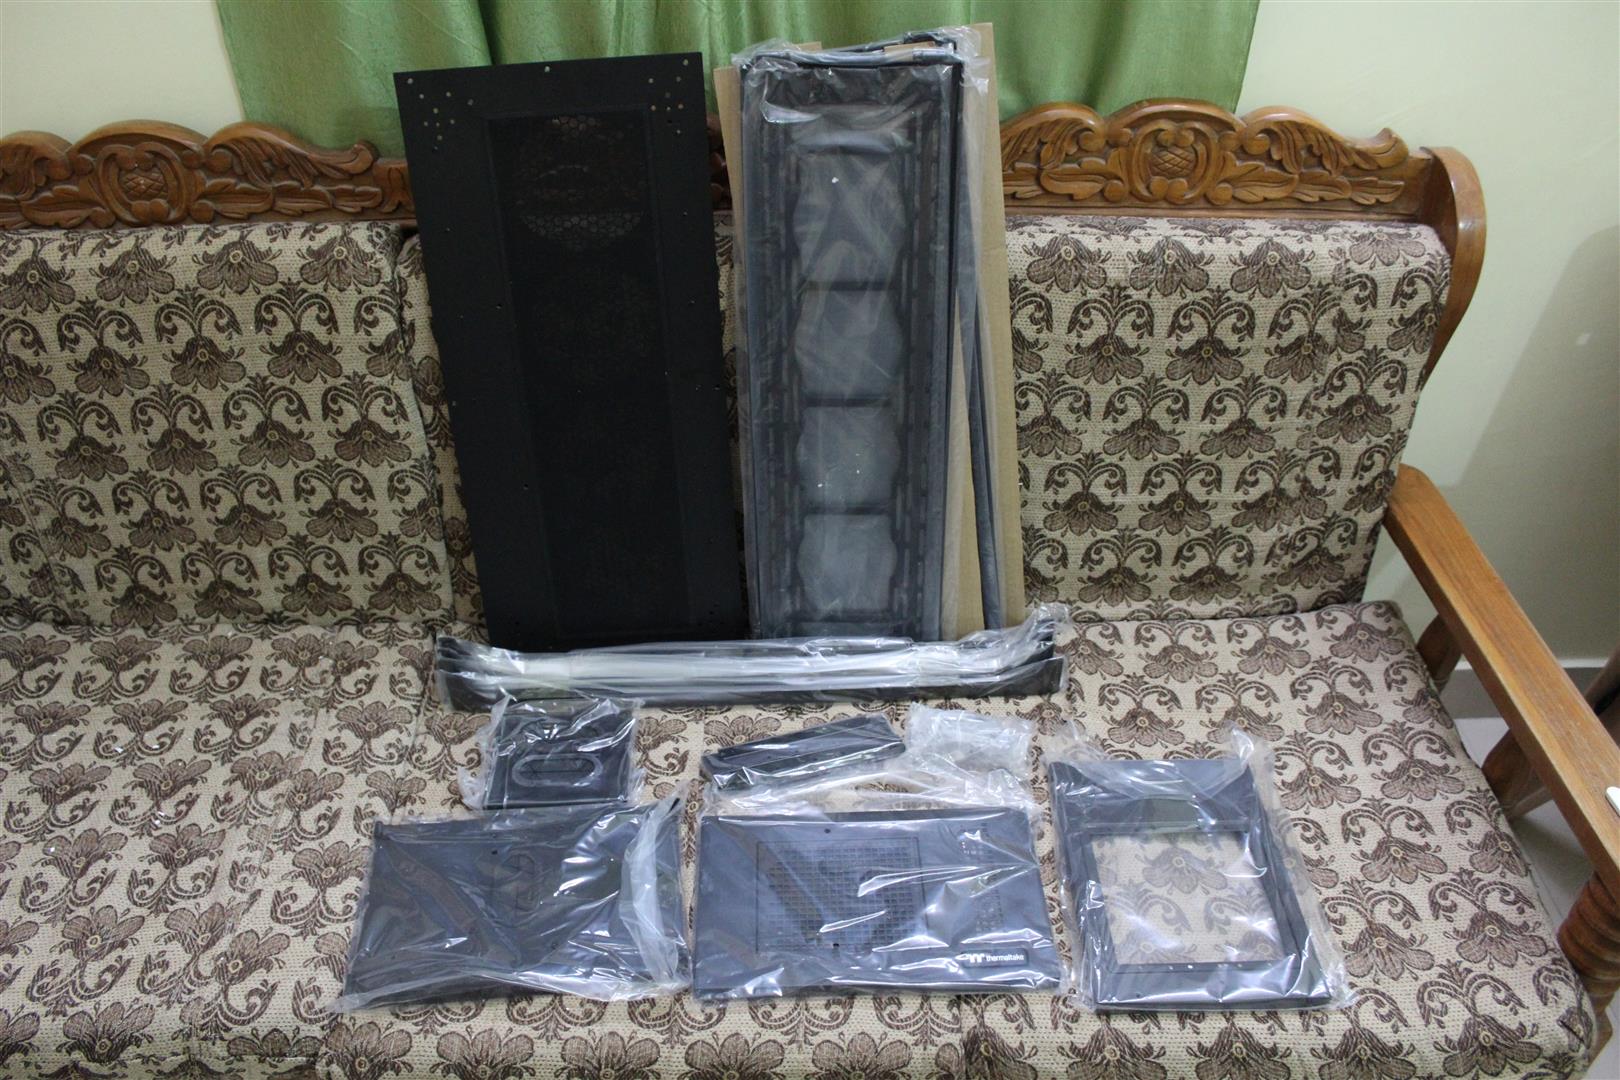
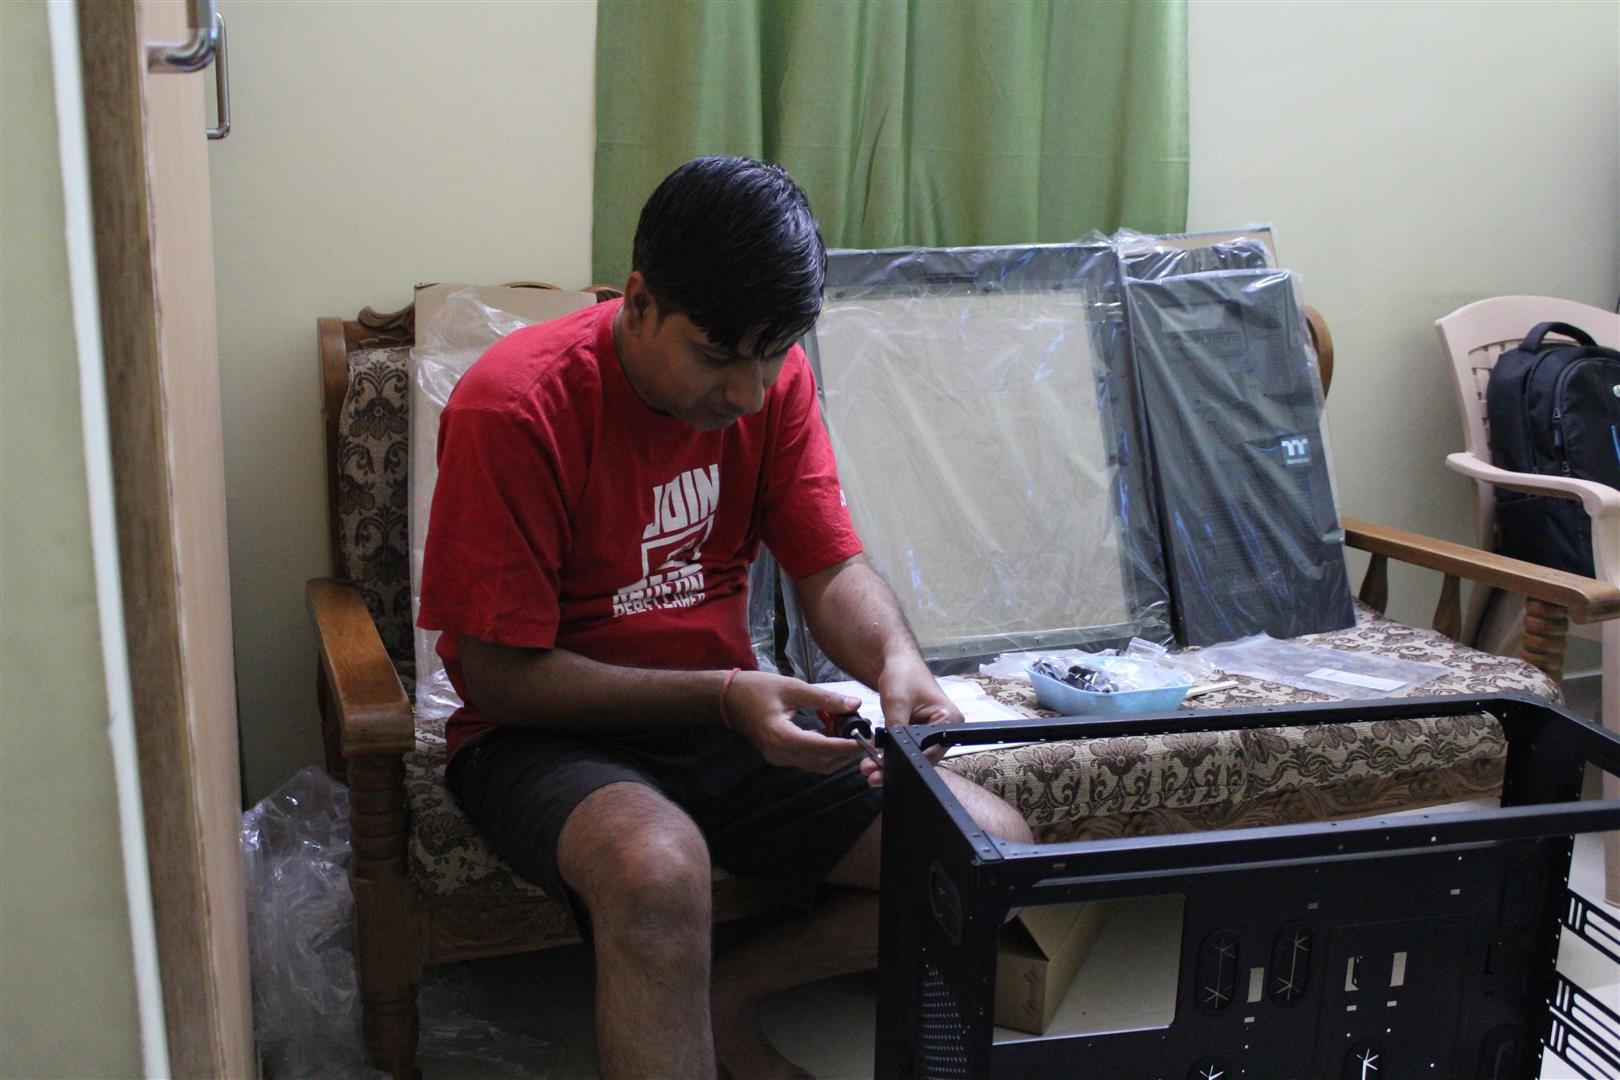
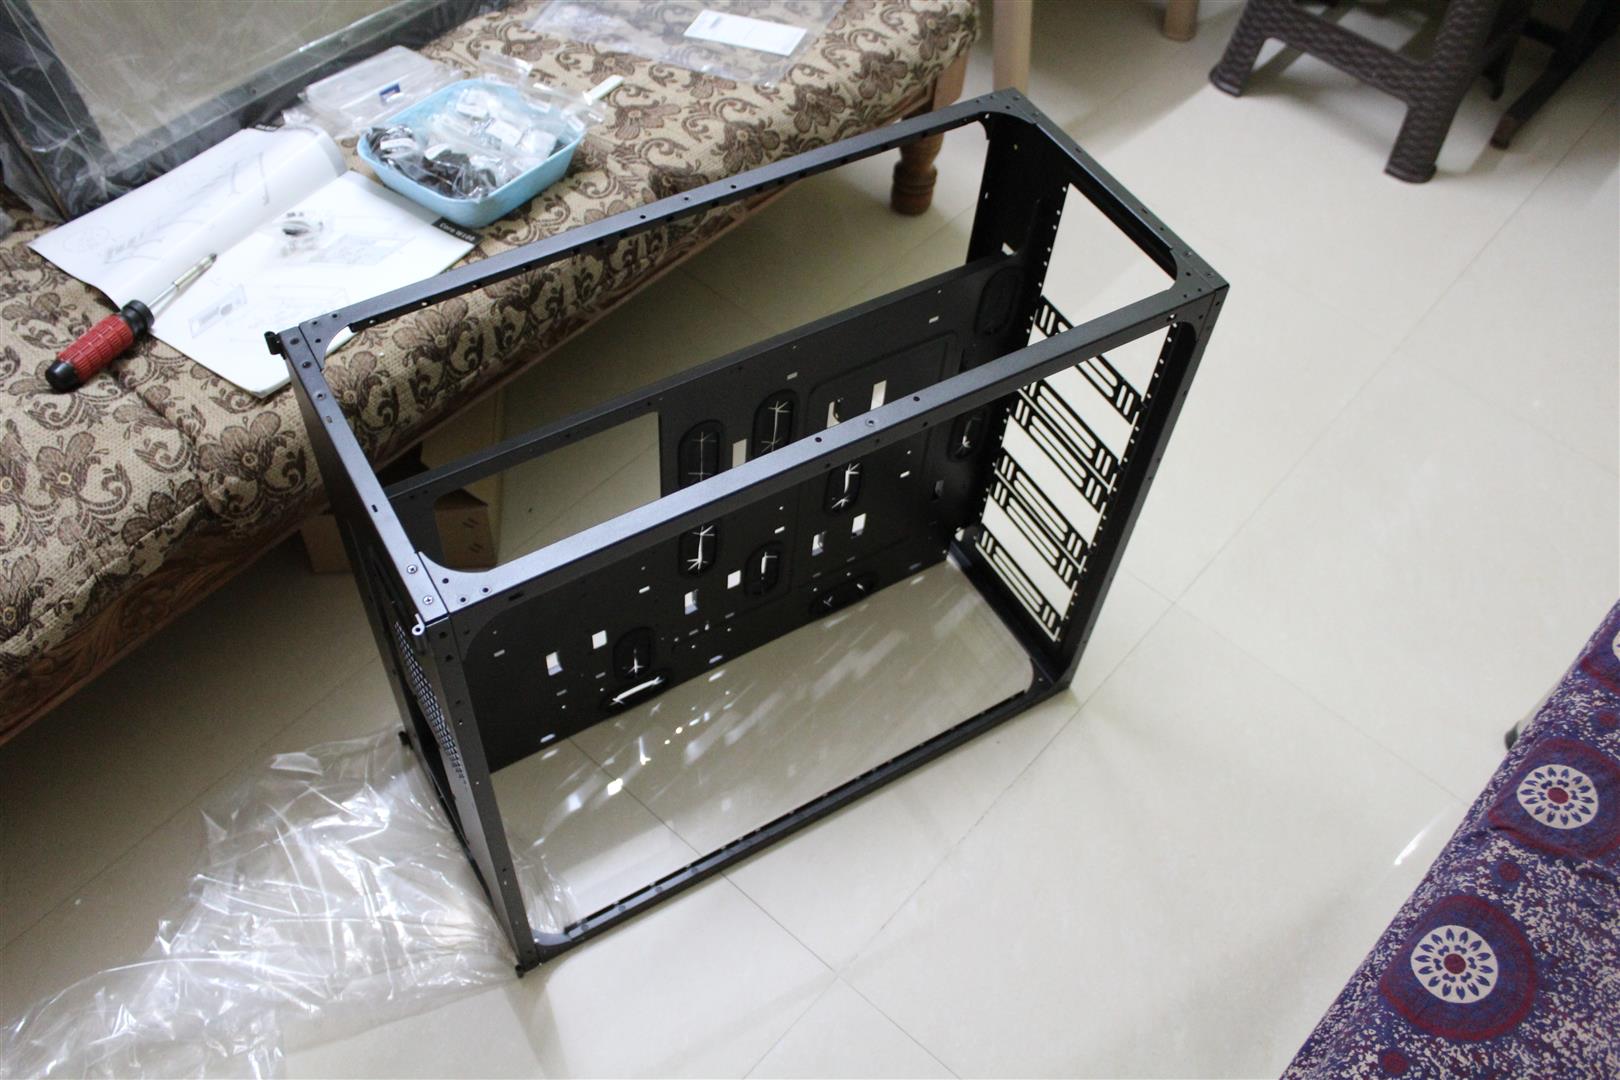
Case build experience with Thermaltake Core W100 Chassis is unique as this case is not like other cases in the market. As mostly all Pc cases are pre factory build and came ready to be used out of the box but not this one. Thermaltake Core WP100 Super Tower Chassis comes in de-assembled bits and pieces, with proper labelling and complete build guide. So one have to assemble this case piece by piece. A total do-it-yourself experience, a priceless experience for me.
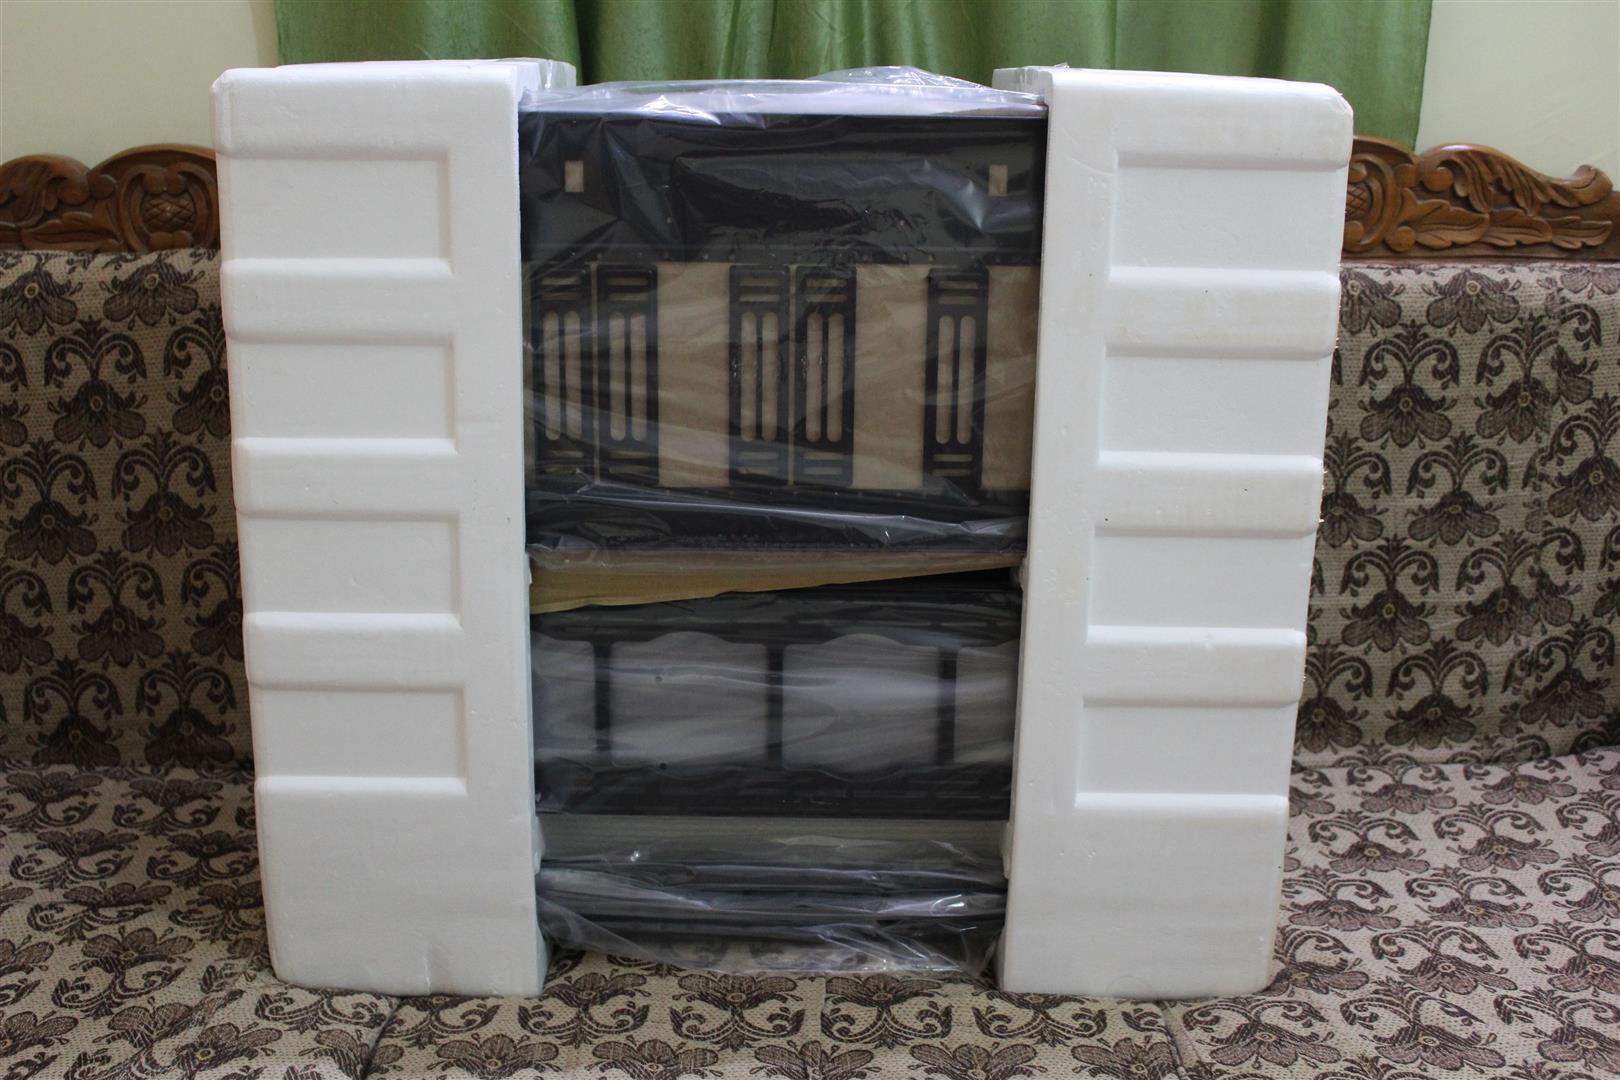
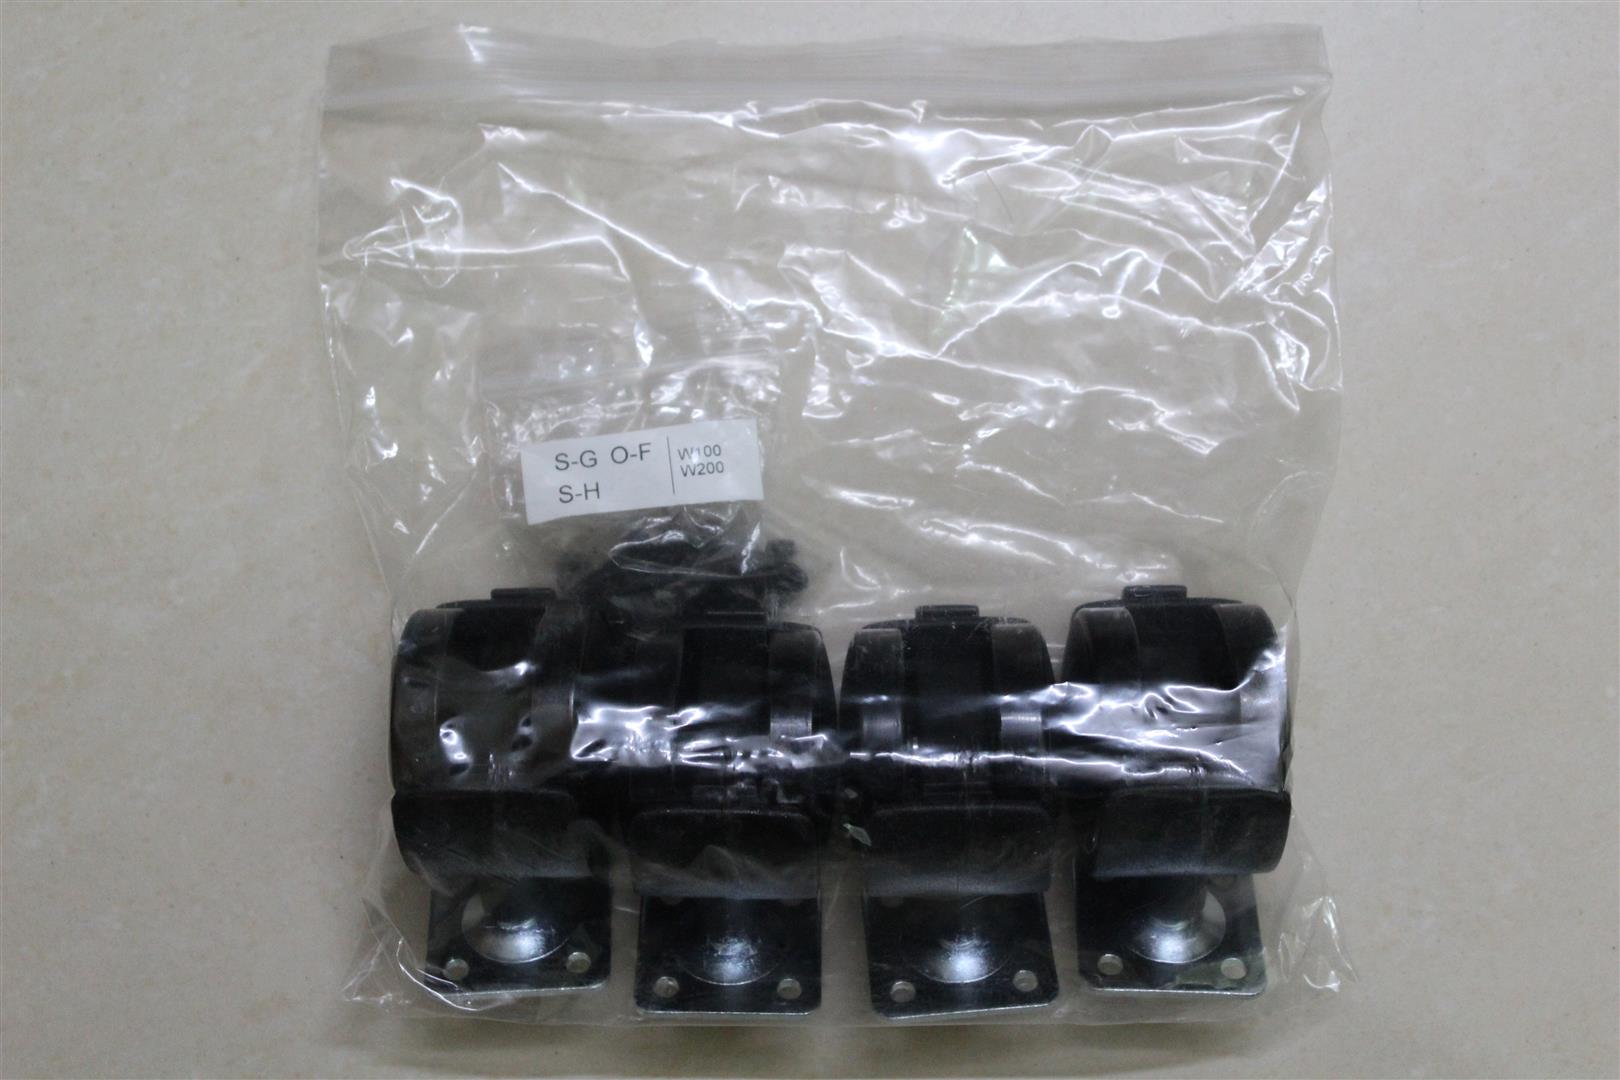
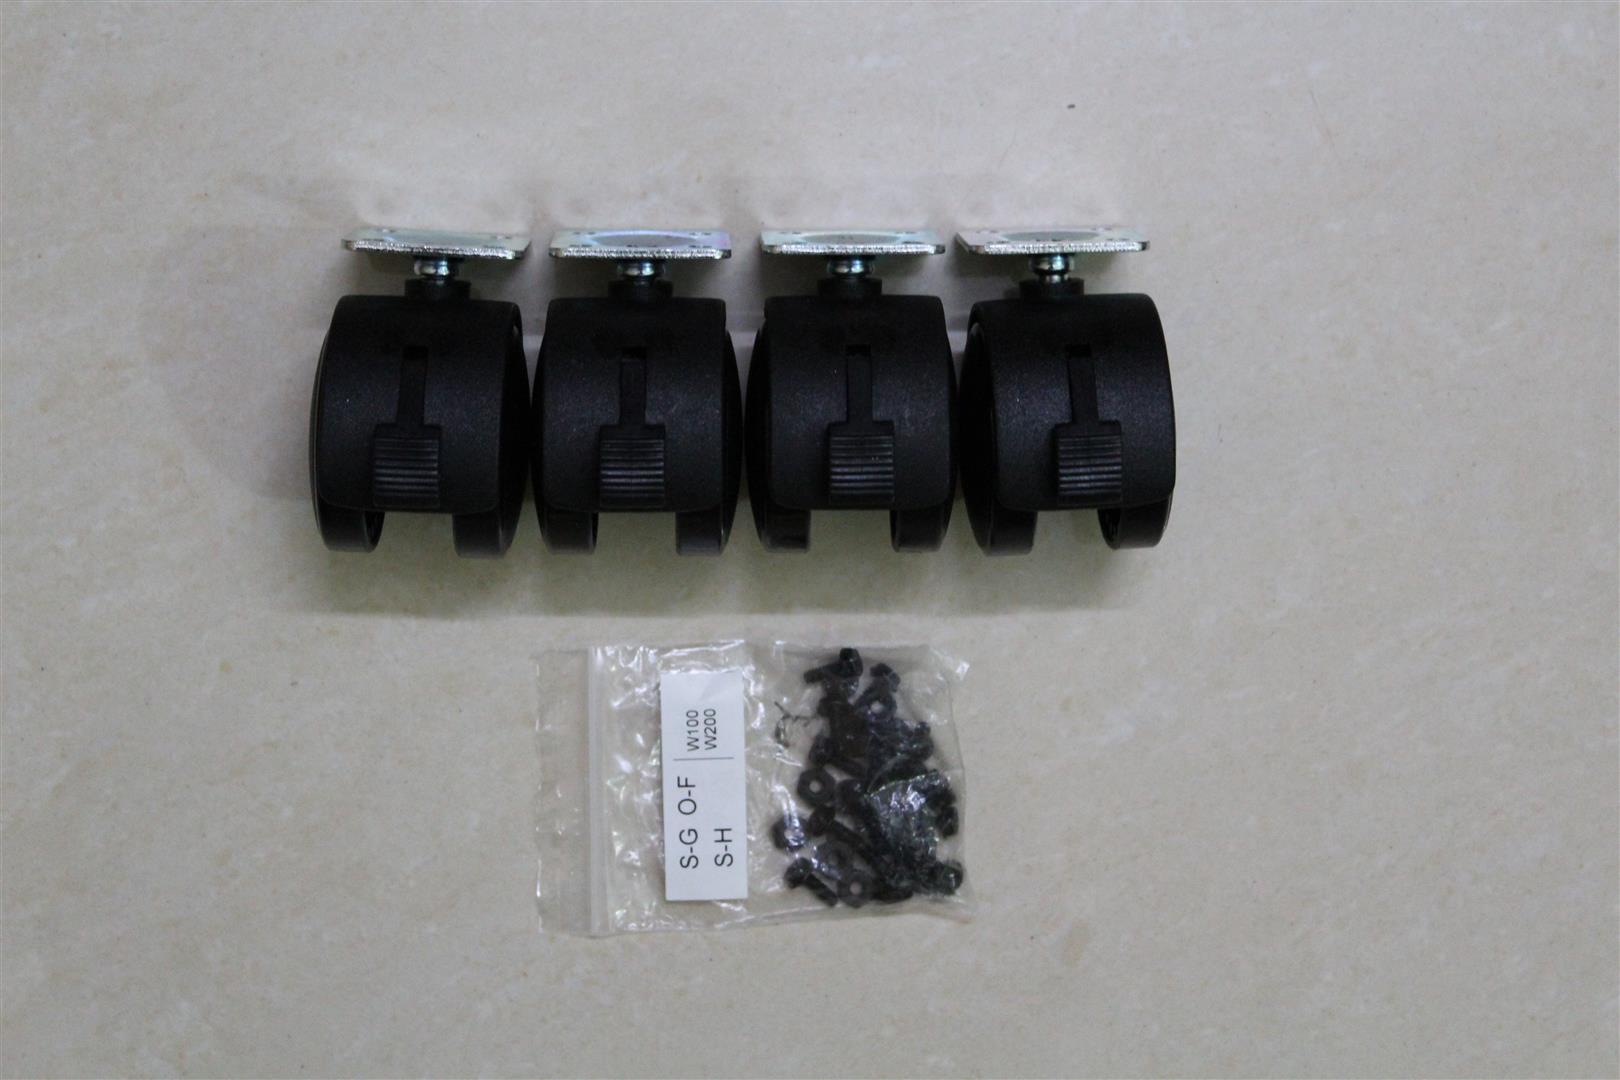
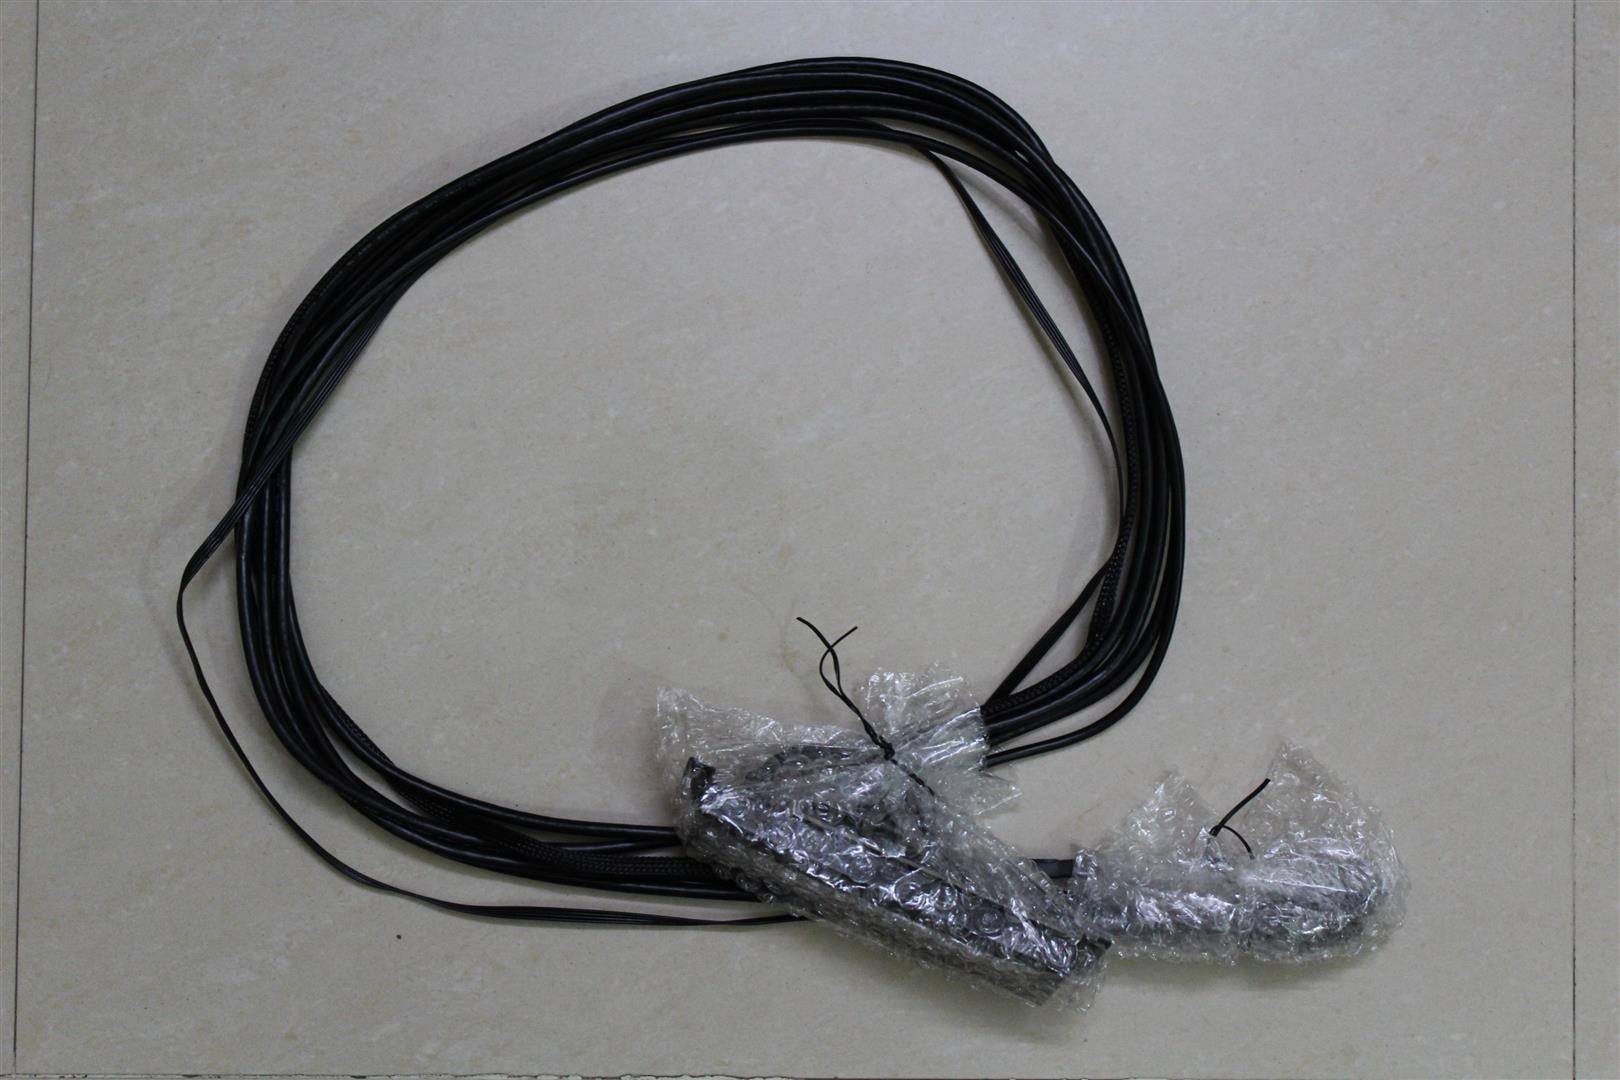
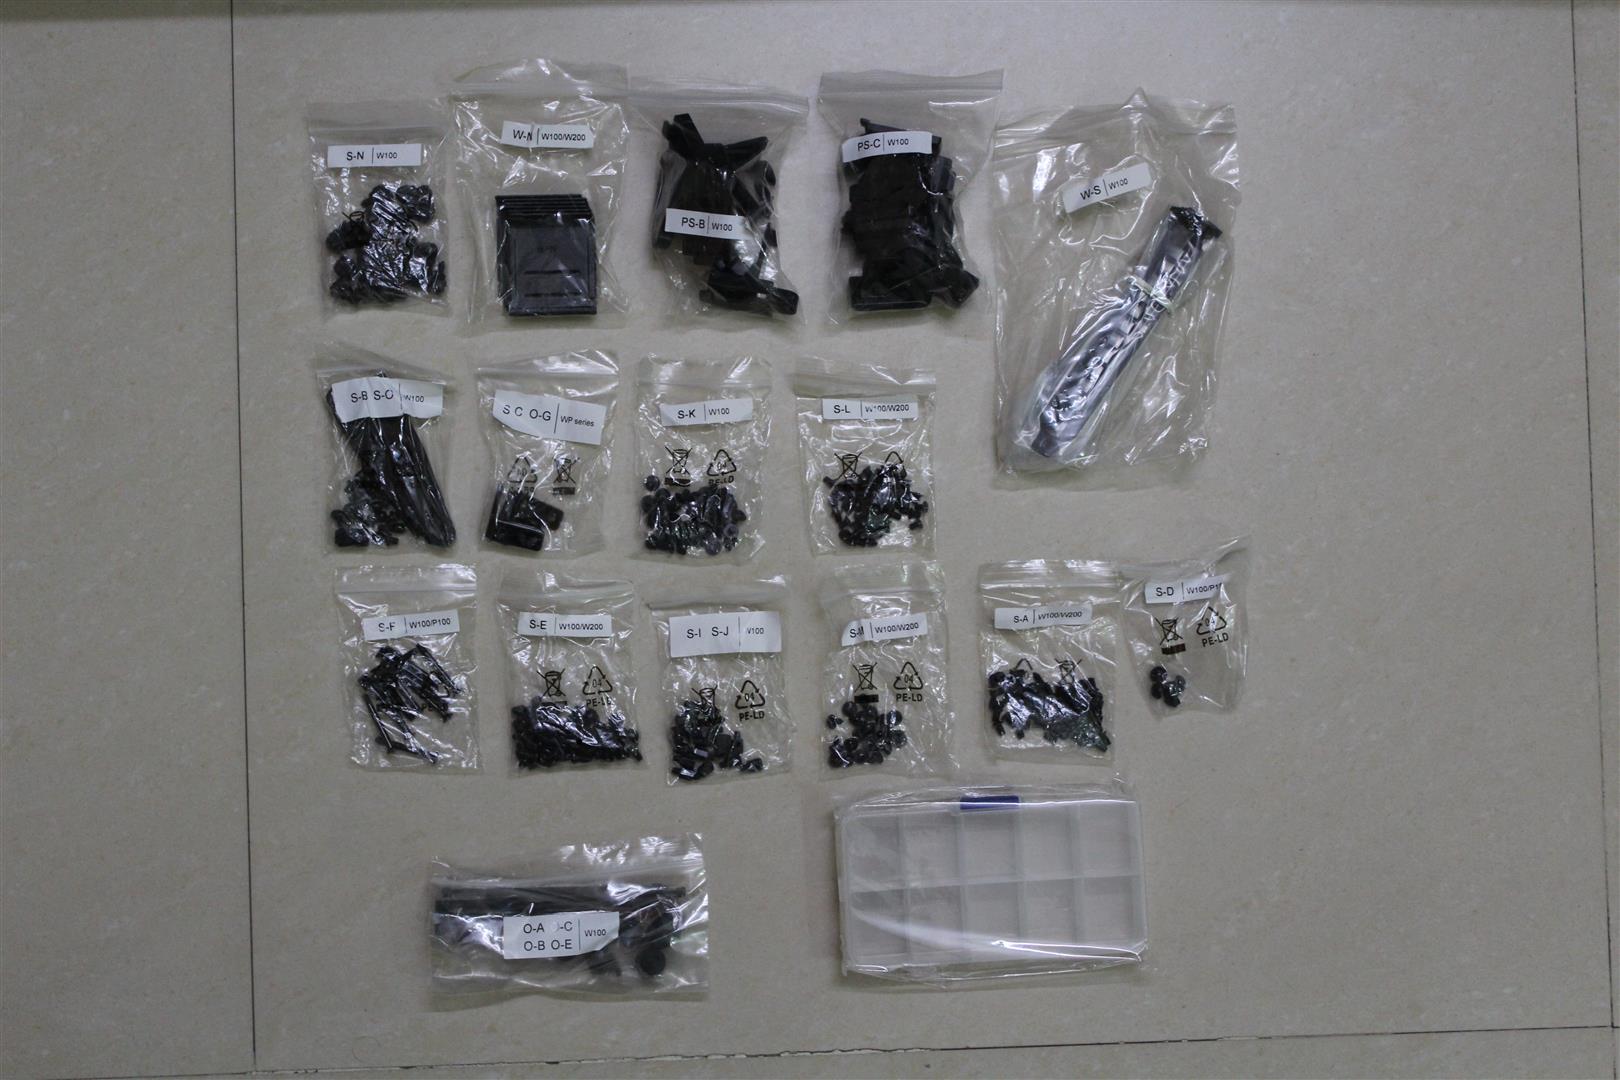
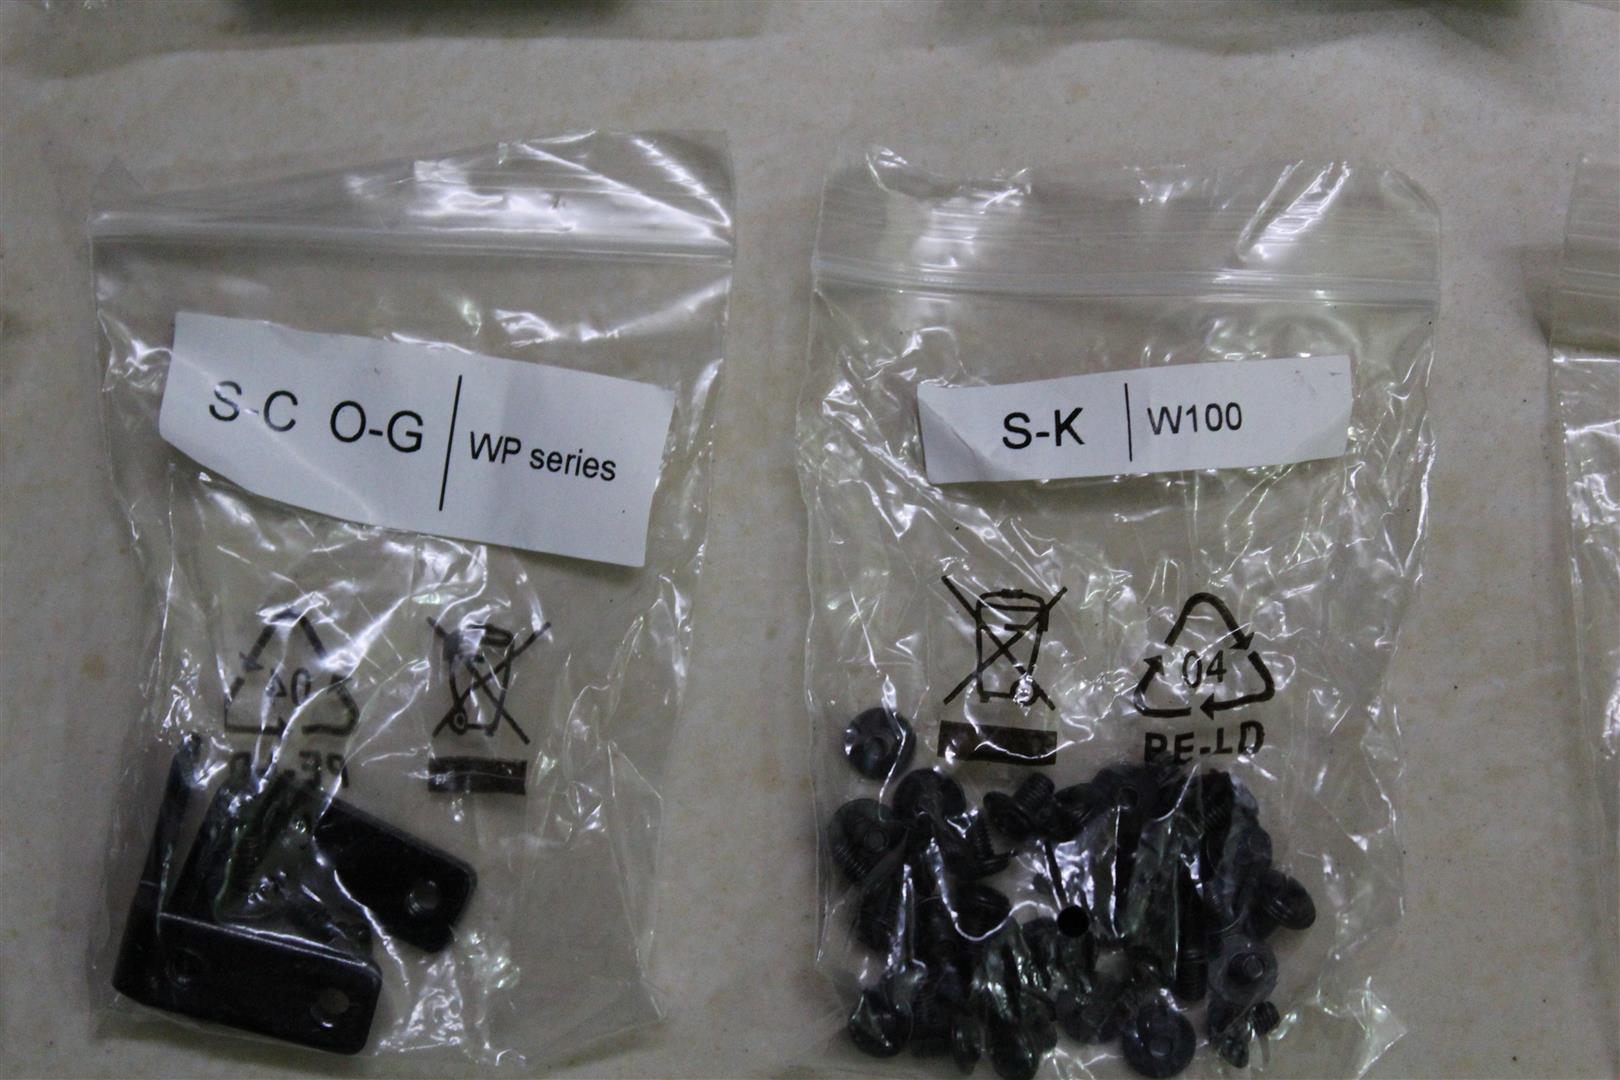
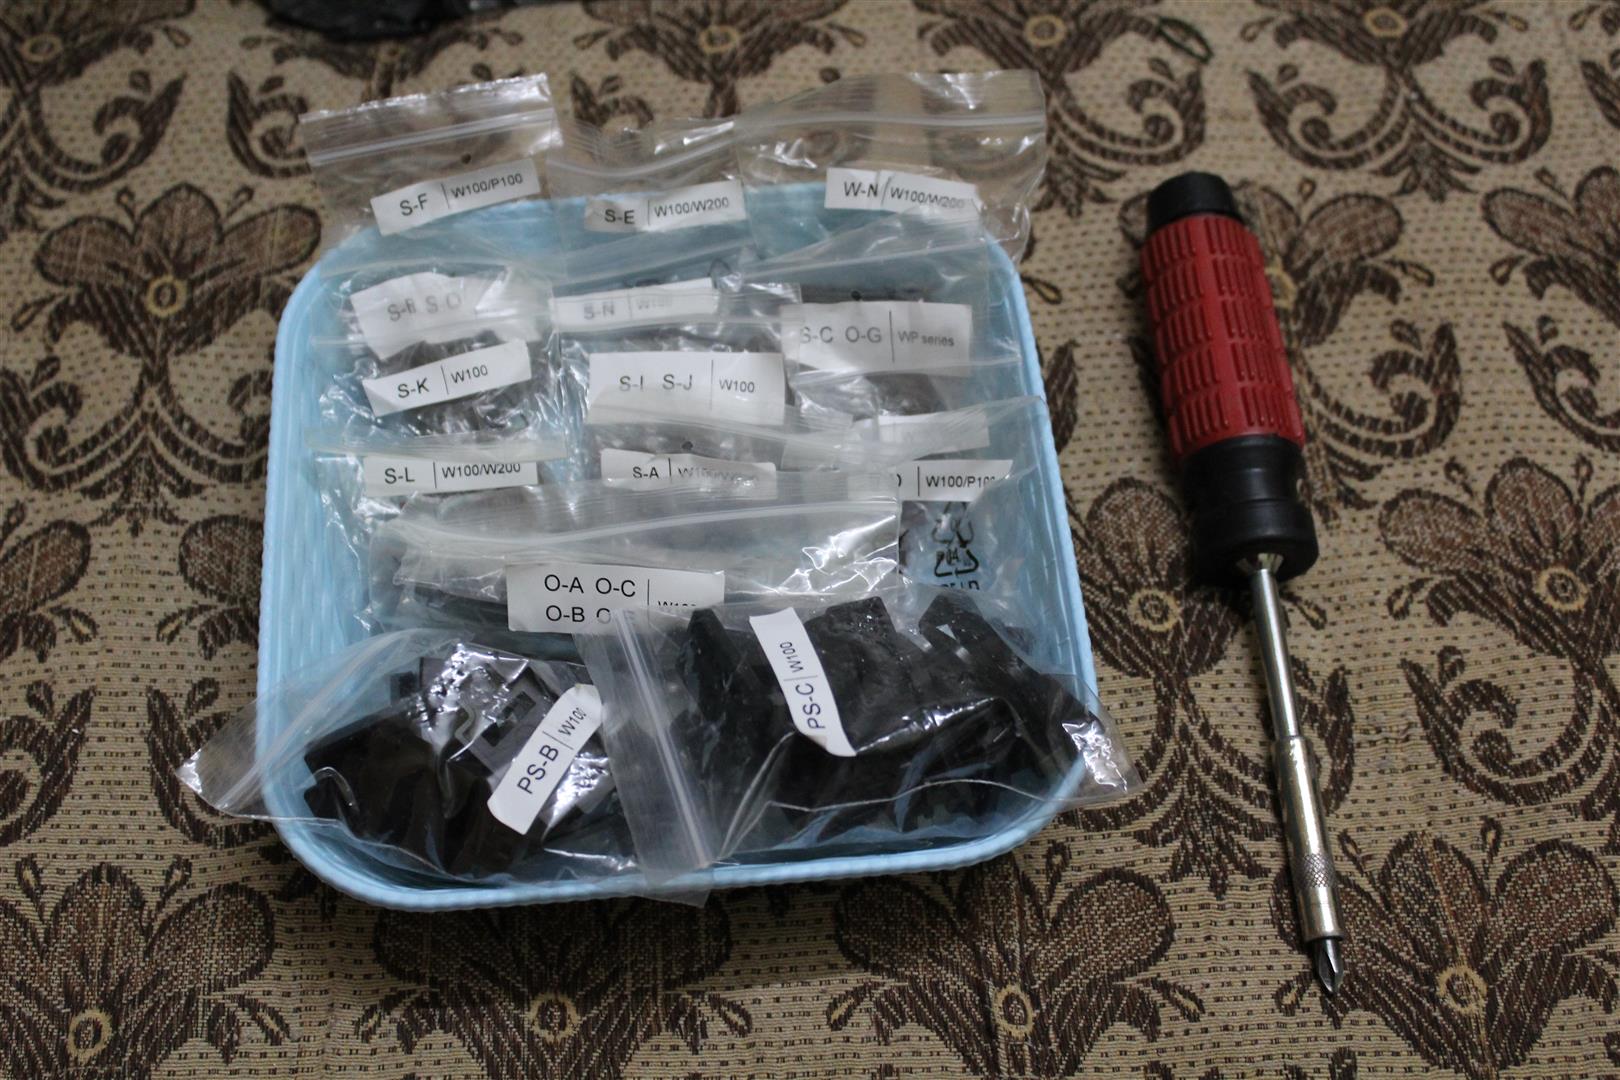
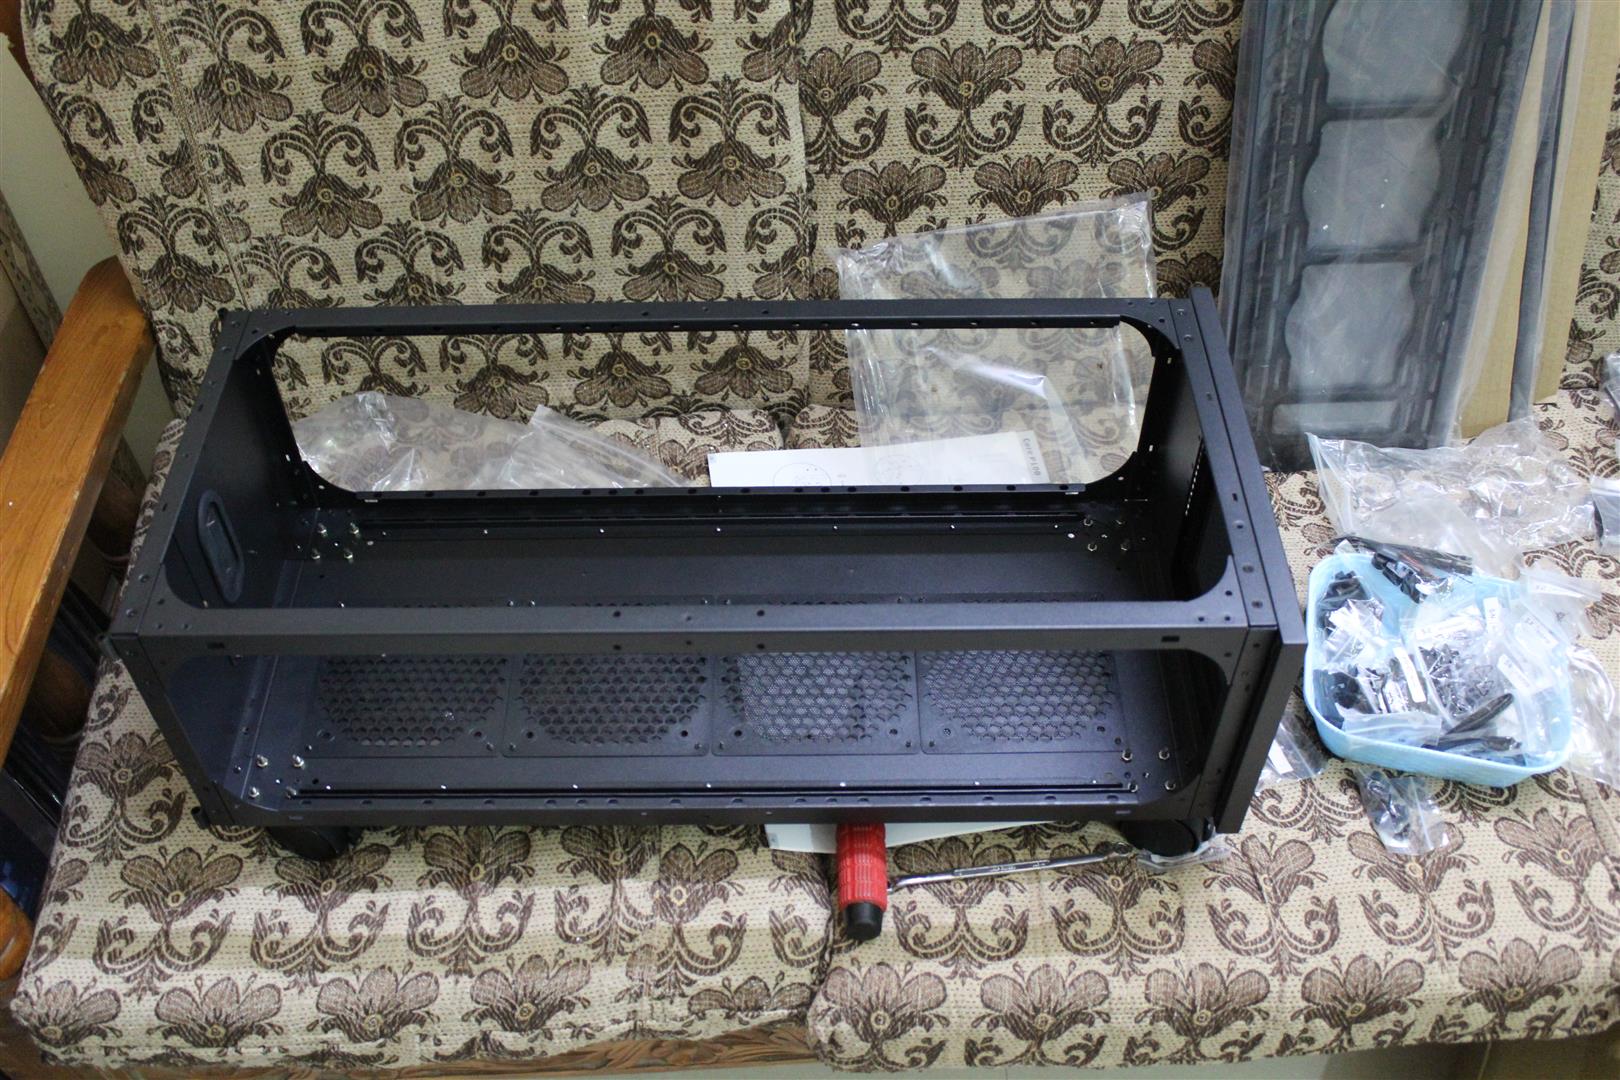
Beside all side panels and structural parts, the Core W100 case comes with a big accessories box, with lot of screws, for build the case together .

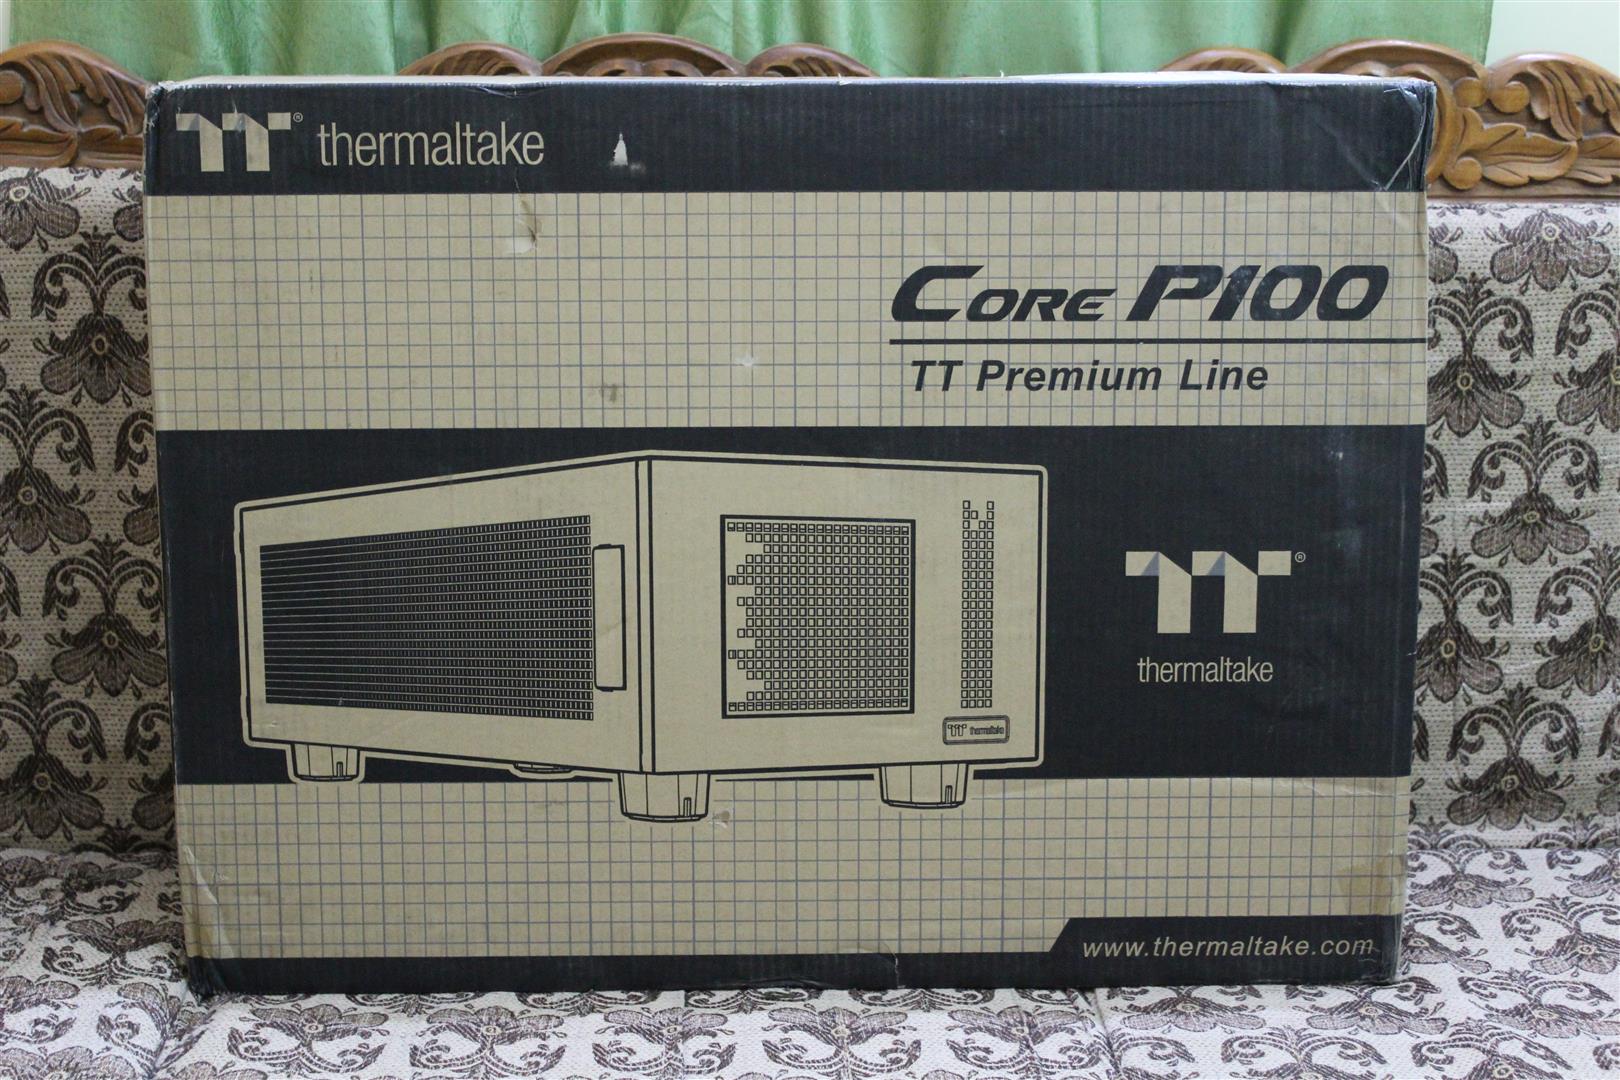
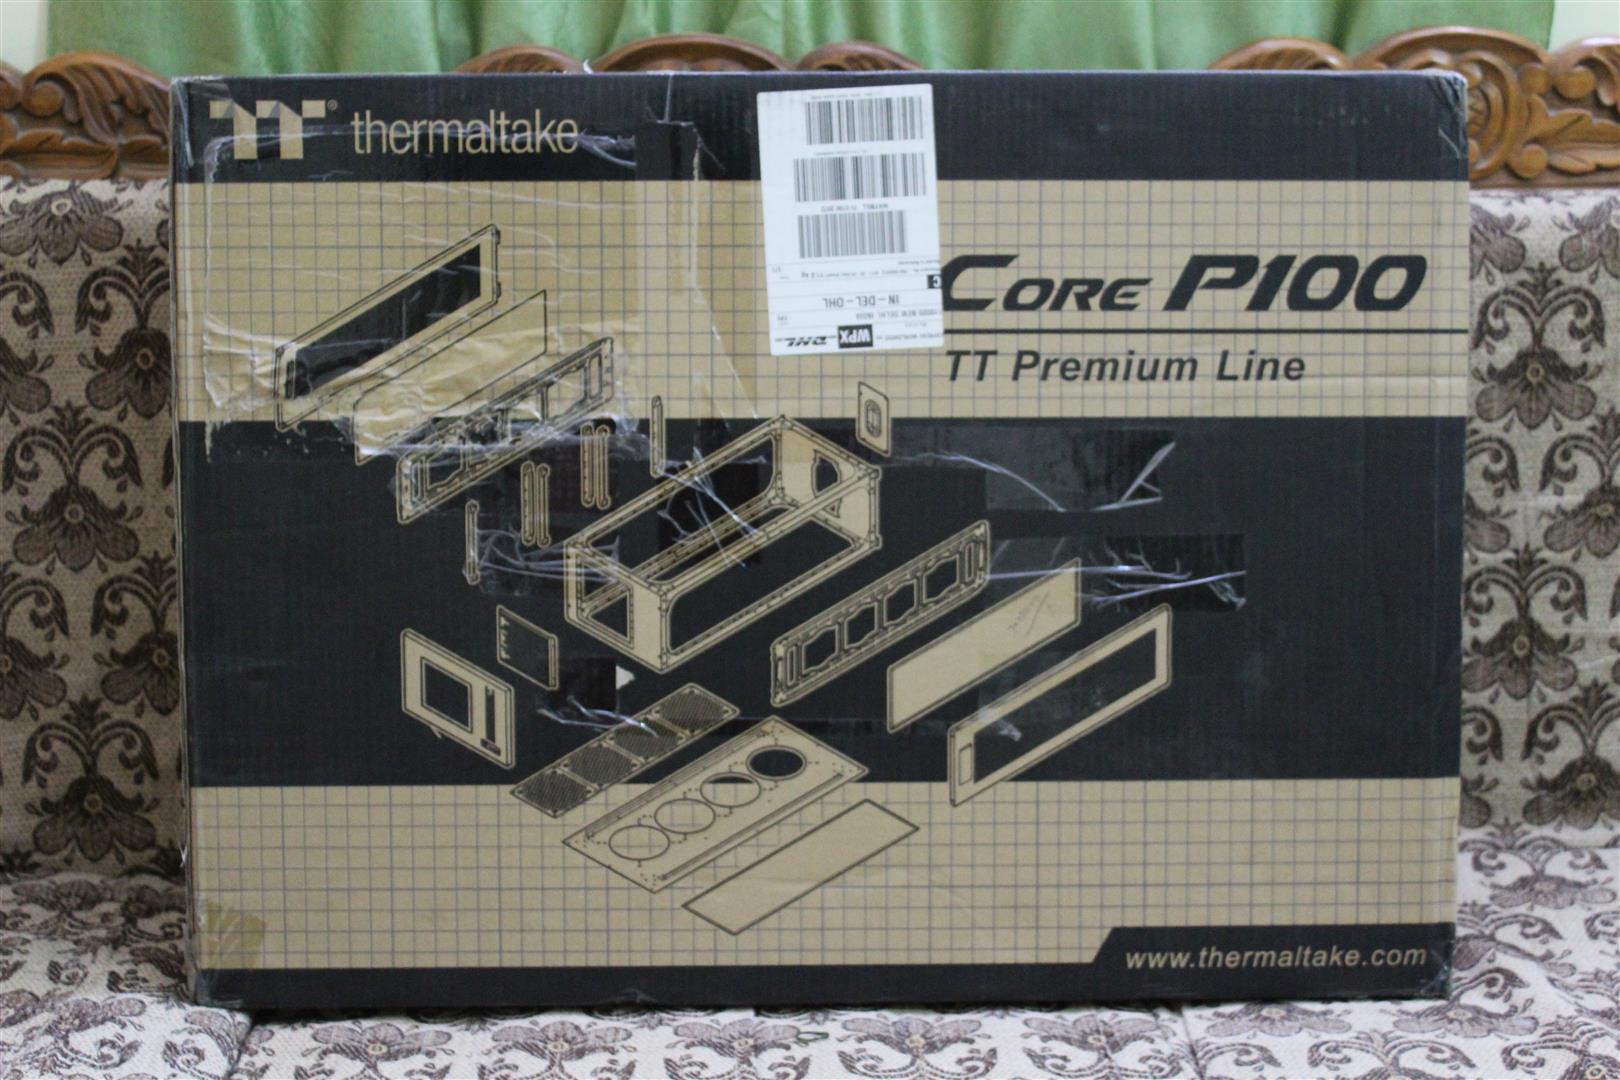
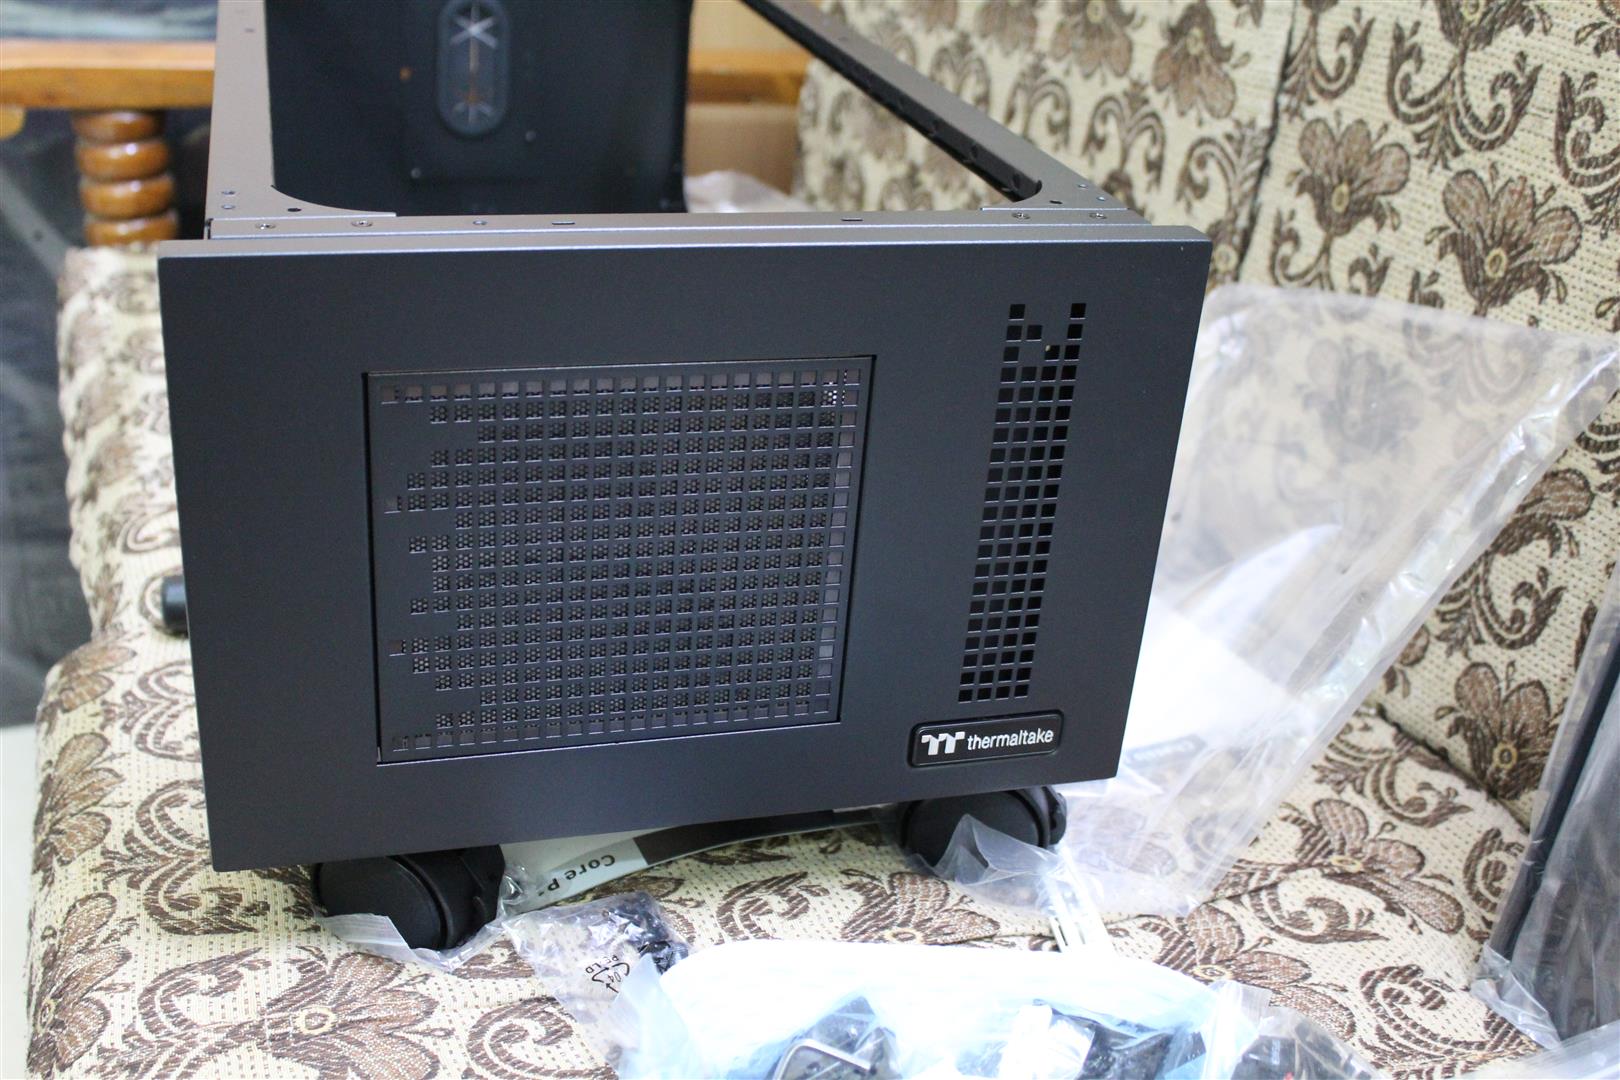
Now un-box the second half of the Thermaltake Core WP100 Super Tower Chassis, the Core P100 case.

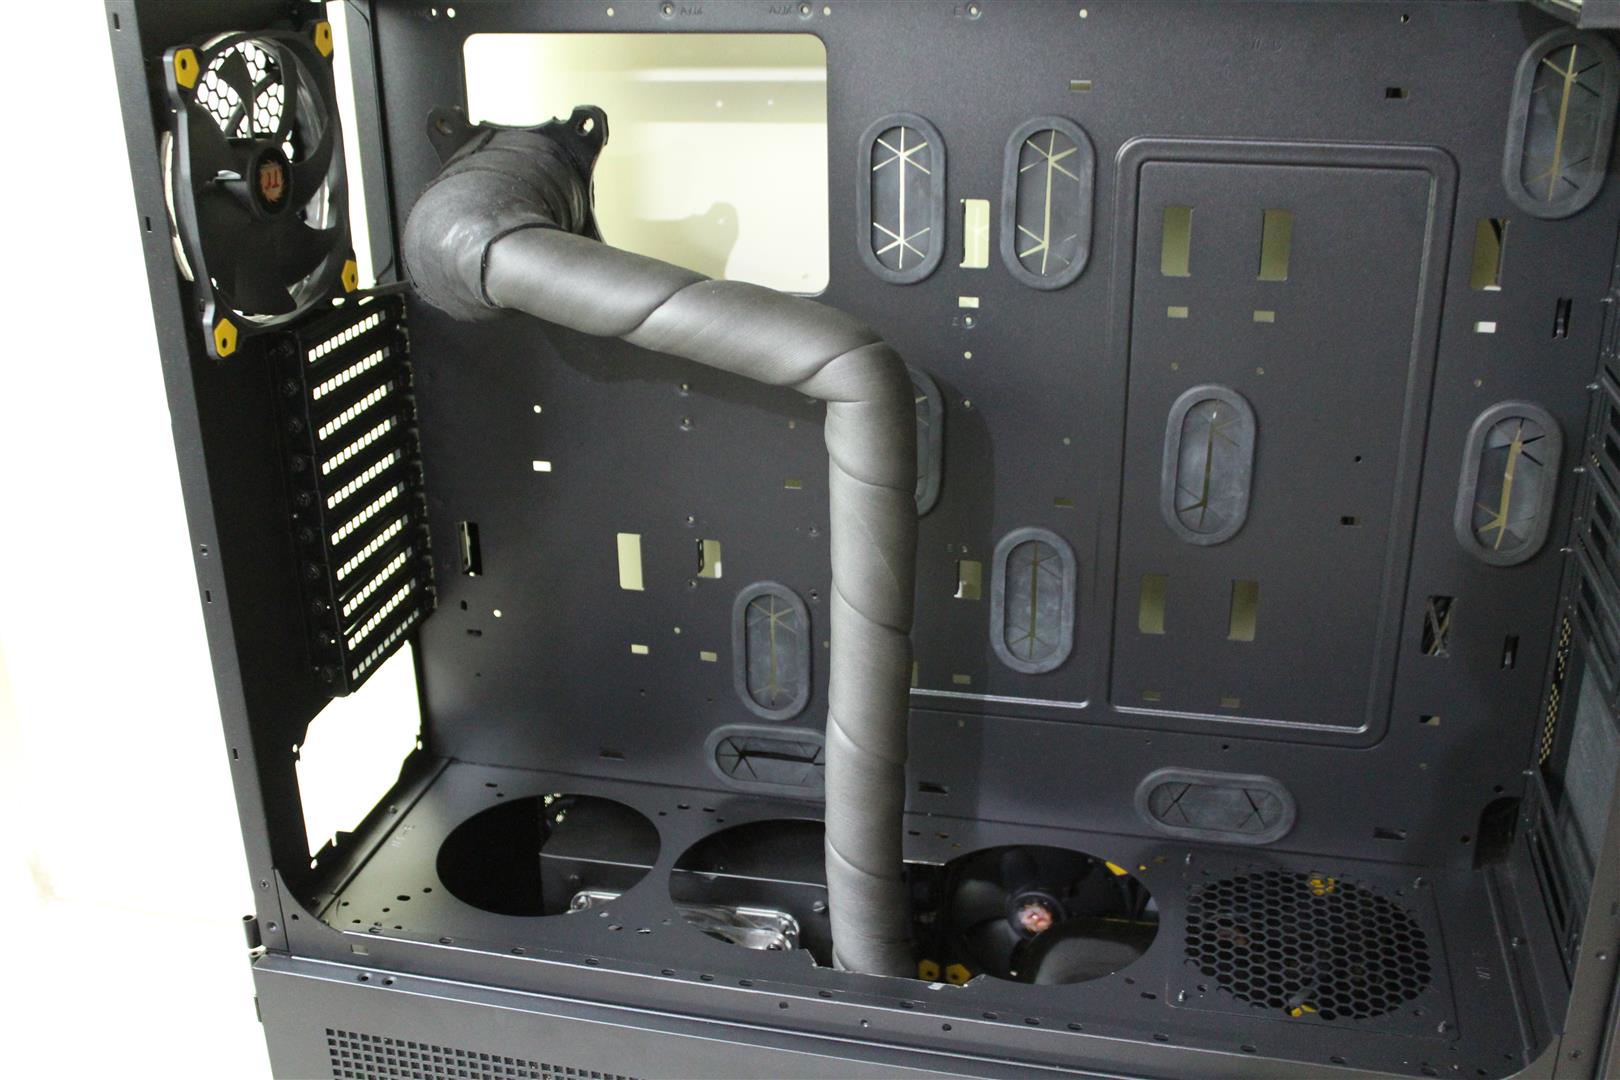
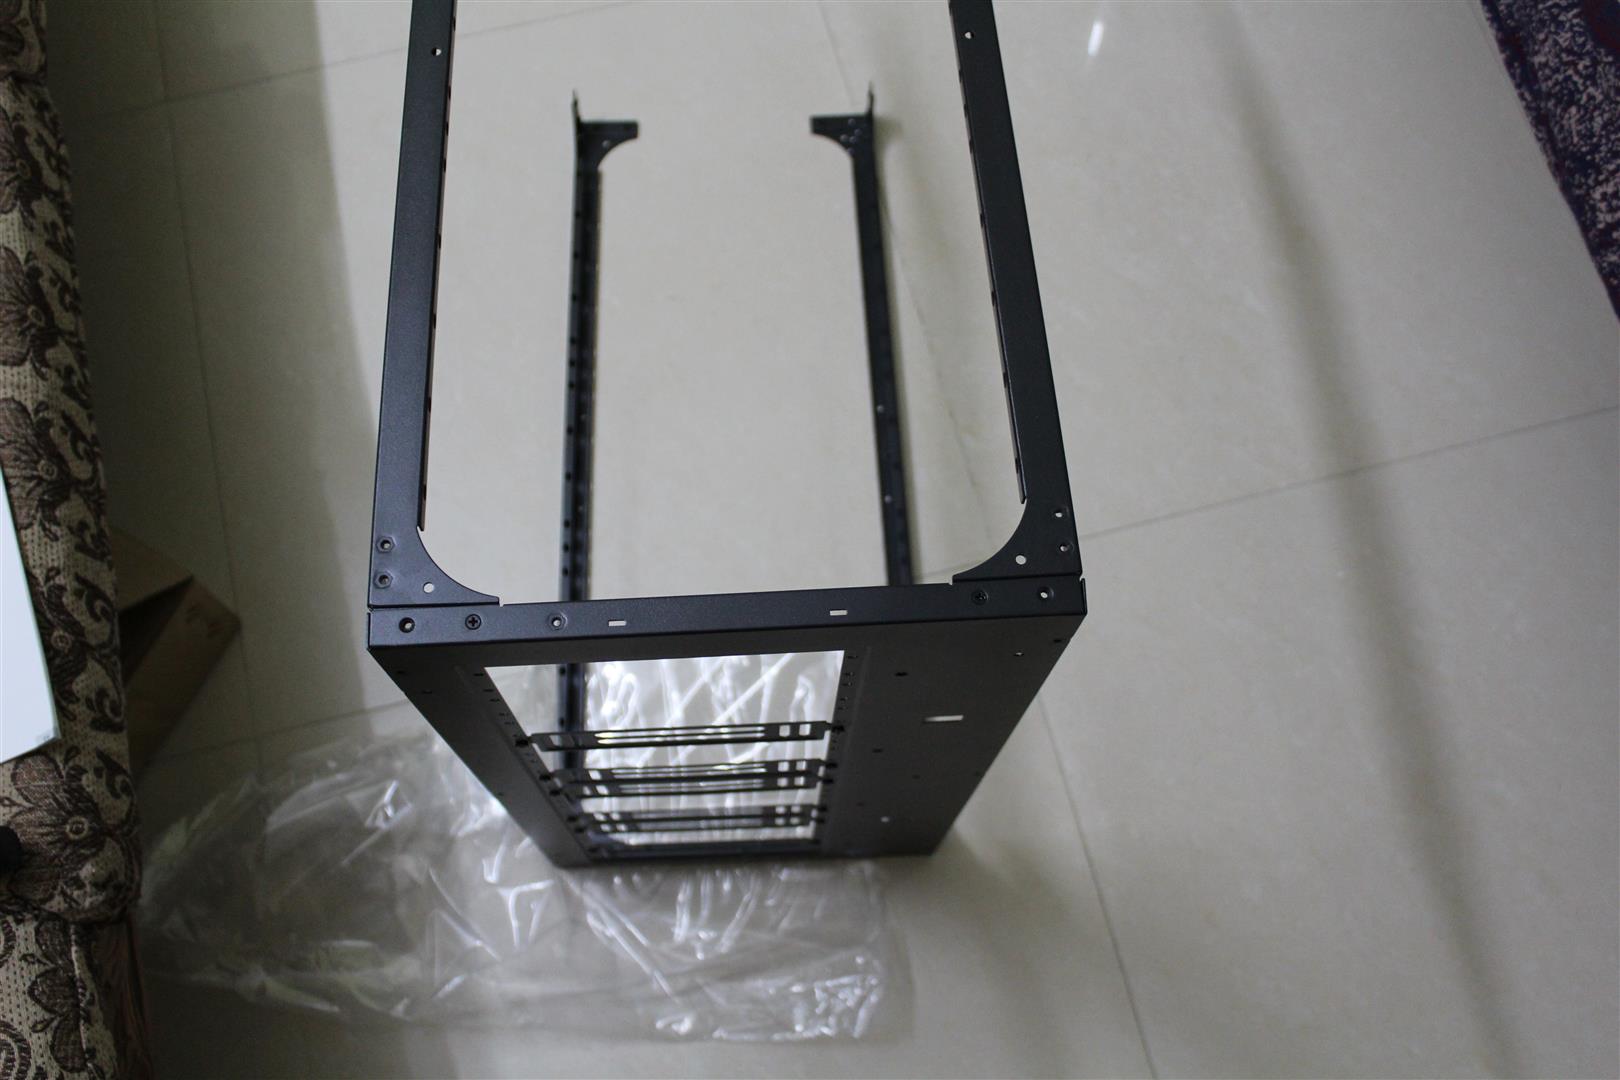
Now let’s start the build.


Hello to all,
As most of you know, in year 2011 I build a “Phase Changer Rig” . An extreme overclocking rig. Capable to cool down the CPU below -38C. One of its kind in India.
It was a complete scratch build using MDF board and aluminium square rods. Till date case is in good nick, only thing I did wrong was not to cover sides of lower phase changer section.
Nothing bad, but recently due to absence of the side covers I accidentally mange to damage the condenser and broke a copper tube. Resulting in a complete failure of the phase change unit.
Now this has to be fixed. But this MDF case is about six years old, so I said to myself the fixed phase change unit defiantly needs a new and safe home now. So my hunt for a suitable case began.
As I have recently worked with few of Thermaltake cases, the first option came in my mind was the Thermaltake Core WP100 Super Tower Chassis. A two chamber case perfect for my needs.
After going through the datasheet and checking dimensions, the Thermaltake Core WP100 Super Tower Chassis fits best for this super build giving new life to my 24/7 extreme overclocking Phase Changer build.
I called the new Case build as SUPERBUILD. Where CPU will be pushed to extreme limits at sub-zero temperature and I will also overclock the GPU using custom liquid cooling . So this build will be a super overclocking beast.
Like to thanks Thermaltake for supporting my idea and the build.
First the Thermaltake Core WP100 Super Tower Chassis arrived in two big and heavy boxes. One box had the Core W100 and other the Core P100. Both are individual cases by themselves, but stacking them together makes the monster Core WP100 Chasis.
Now let’s un-box the cases. We start with Core W100.
Case build experience with Thermaltake Core W100 Chassis is unique as this case is not like other cases in the market. As mostly all Pc cases are pre factory build and came ready to be used out of the box but not this one. Thermaltake Core WP100 Super Tower Chassis comes in de-assembled bits and pieces, with proper labelling and complete build guide. So one have to assemble this case piece by piece. A total do-it-yourself experience, a priceless experience for me.
Beside all side panels and structural parts, the Core W100 case comes with a big accessories box, with lot of screws, for build the case together .
Now un-box the second half of the Thermaltake Core WP100 Super Tower Chassis, the Core P100 case.
Now let’s start the build.
Last edited: