like this, tried to do something similar - even bought 2 hdmi to av adapters from flipkart for 150 bucks each ... Would only consider this a novelty (or a proof-of-concept) project and won't really recommend this for actual usage - definitely not with the analog A/V outs on these no-brand...

techenclave.com
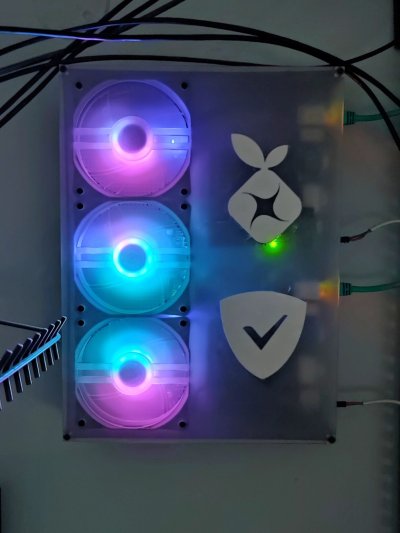
It took a while (finances are such a mess) but the first of my many mini-itx projects is done. Well, the first revision of the first one anyway (holes aren't correctly spaced in the dxf I made
@tech.monk):
View attachment 169928
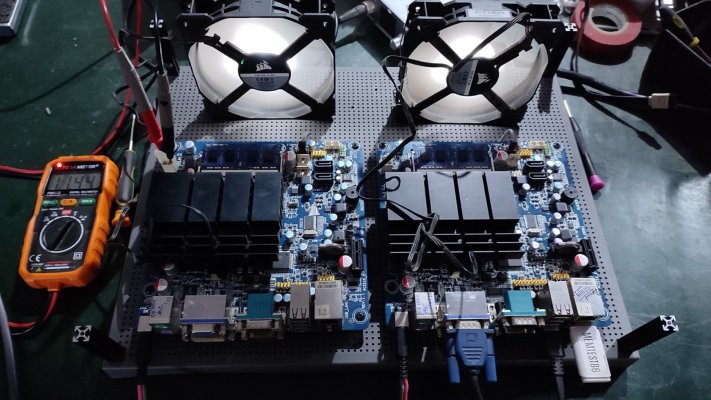
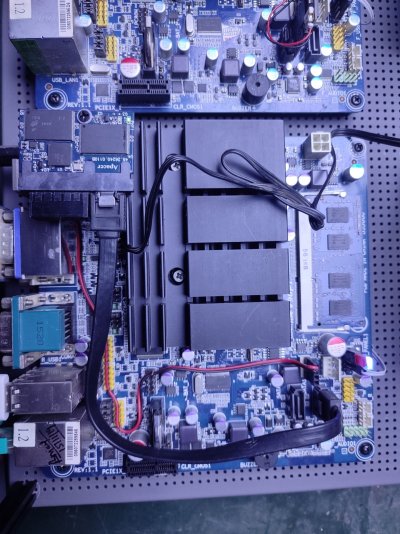
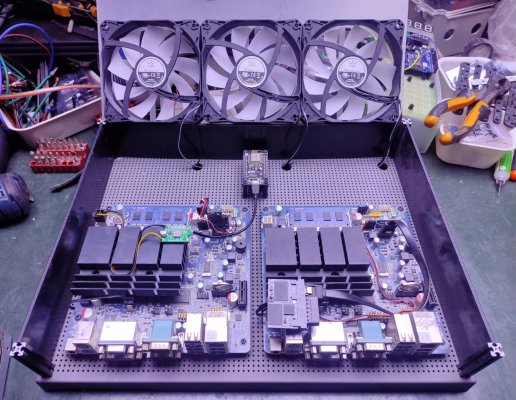
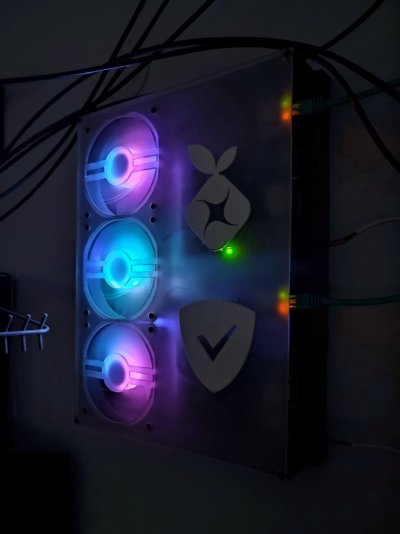
It's a dual/redundant wall-mounted adblocker server thing. It has two mini-itx motherboards each featuring that ultraslow VIA U3300 processor with 2GB of ram running Diet-Pi, one with pihole and the other with adguard. These boards are run directly off 12v and each costed Rs 900 from a dealer on OLX who salvaged them from old point-of-sale systems.
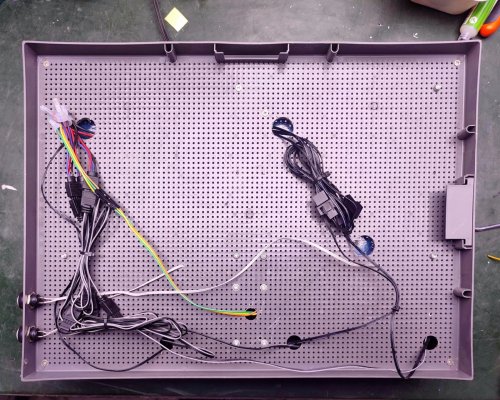
The two motherboards are mounted on a IKEA memo board, one from their SVENSAS series:
https://www.ikea.com/in/en/p/svensas-pegboard-with-letters-dark-grey-40458704/
I've some rough photos that make up a mini project worklog below.
Some testing to see what the end voltage is after a 3m run, these boards will crash if the voltage falls below 11.4v:
View attachment 169929
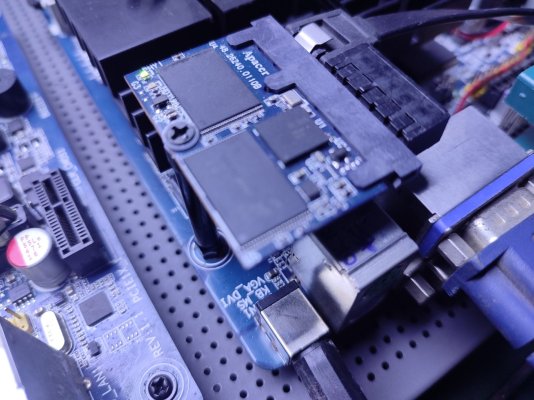
Over the years, I've collected odds and ends from buying stuff off OLX. One of these is this disk-on-module thing that plugs into the SATA port and runs off 5v, this module is 2GB:
View attachment 169931
This one is from a thin client and has a standard SATA interface:
View attachment 169932
I got this short SATA cable during the Aliexpress days:
View attachment 169933
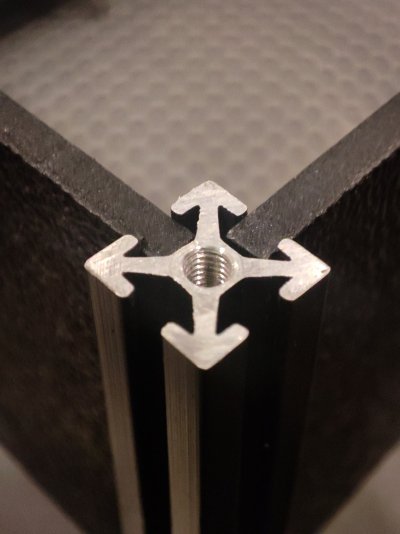
The corners have these 40mm tall pieces of 10x10 extrusion, called Makerbeam. These were purchased from tinkerforge.com and imported without customs through regular post. They help position the 3mm ABS plastic sheets I'm using as the walls of the enclosure, and they're threaded on both ends:
View attachment 169934
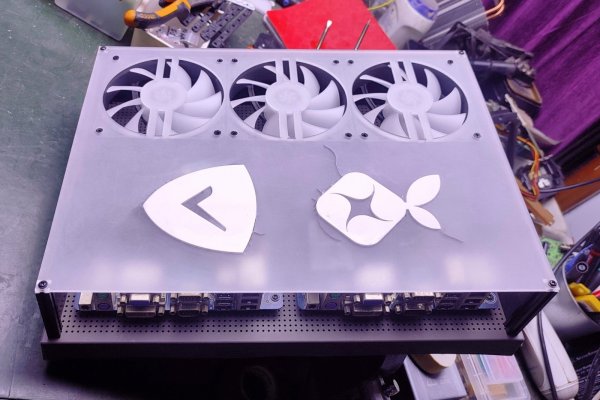
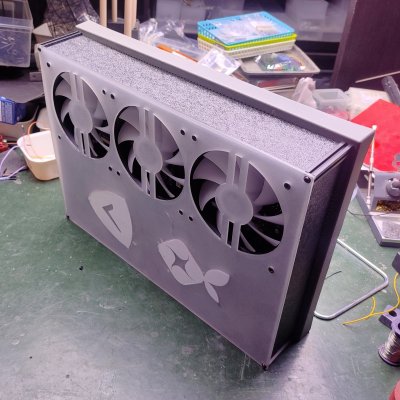
How everything is mounted, the three 120mm fans are pulled from a Silverstone FARA R1:
View attachment 169935
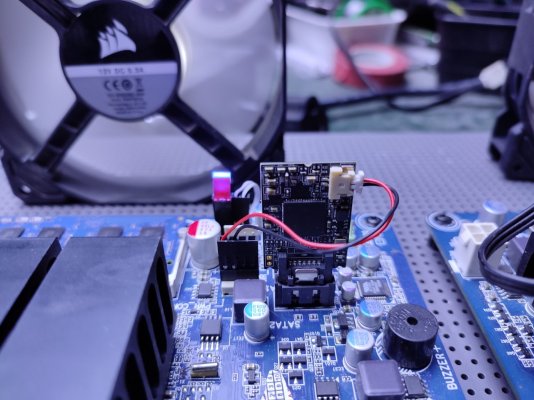
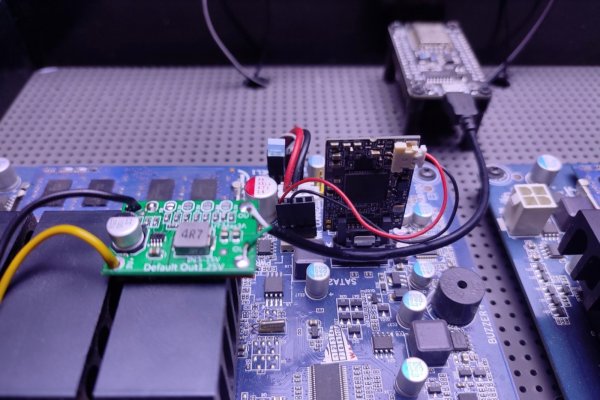
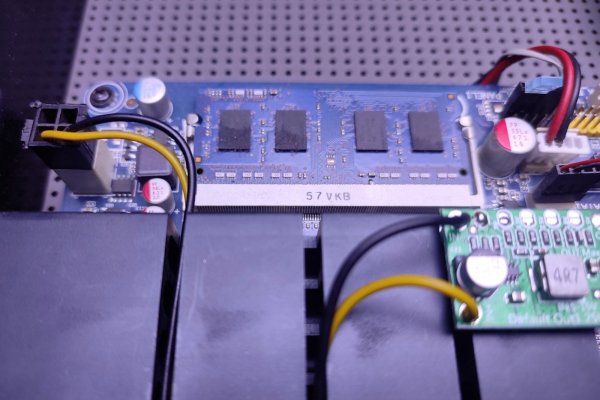
A buck converter board is used to pull down the 12v to 5v for the ESP8266 module:
View attachment 169936
The 12v is taking from the EPS connector, which is connected to the DC jack on the rear of the motherboard:
View attachment 169937
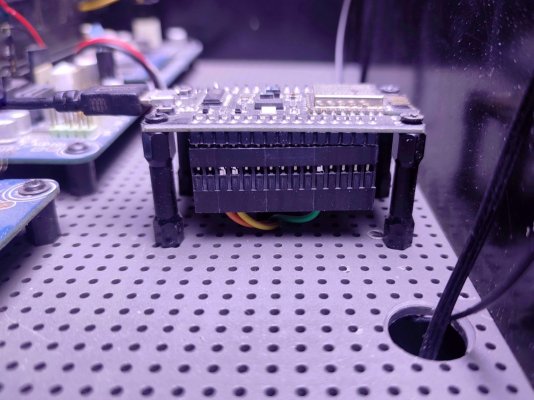
A NodeMCU clone is the wifi module I'm using to control the lighting on those fans, it's running WLED:
View attachment 169938
The front panel is 3mm clear acrylic that I sanded down for a frosted effect. I glued the jewel inserts before sanding, this is what ended up causing the acrylic to stress and crack:
View attachment 169939
40mm is plenty tall for the components:
View attachment 169940
I think this qualifies as my first 'scratch build' since maybe 2015?
View attachment 169941
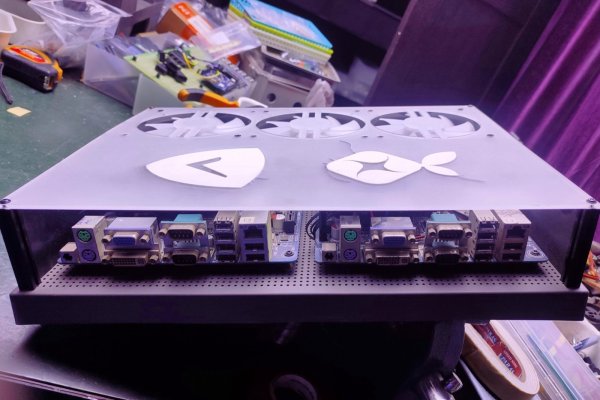
Basic cable management is at the rear (also shown are the power switches):
View attachment 169942
One last beauty shot:
View attachment 169943
It needs more RGB lighting, I'll fix that in the next revision since I need to redo that front panel sometime anyway.




 )
)


