Making of Snow Lion

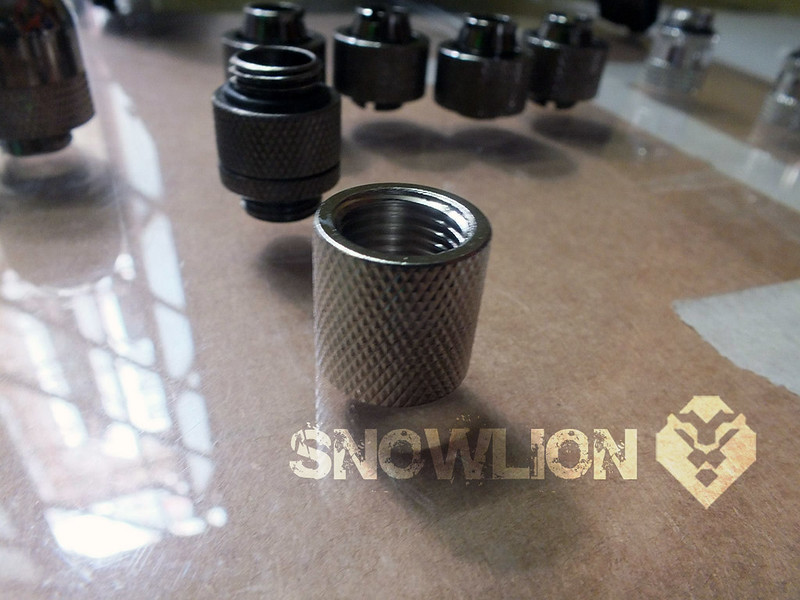
Hi, to start with this is all about a new build… and am starting this right from the scratch how things really took shape..

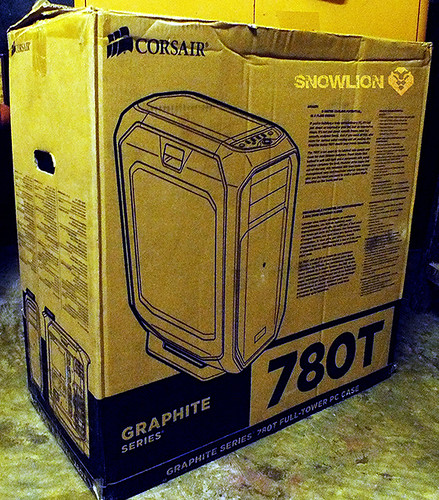
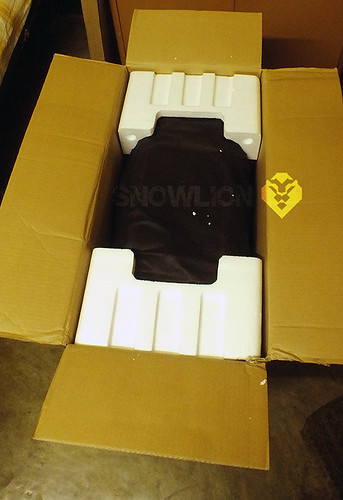
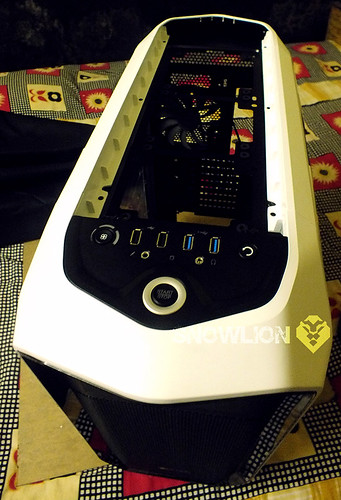
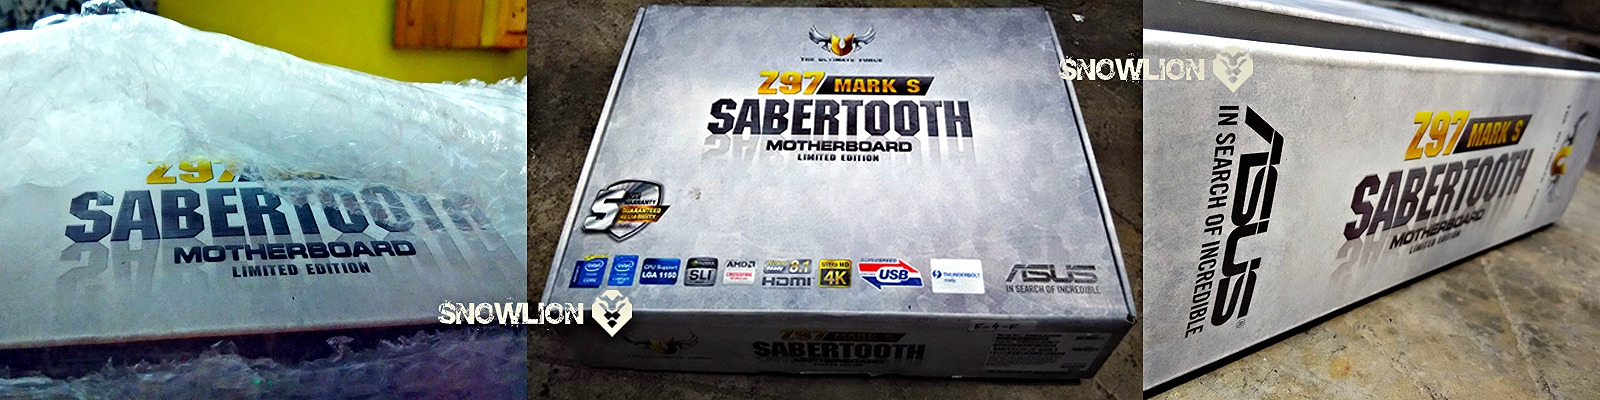
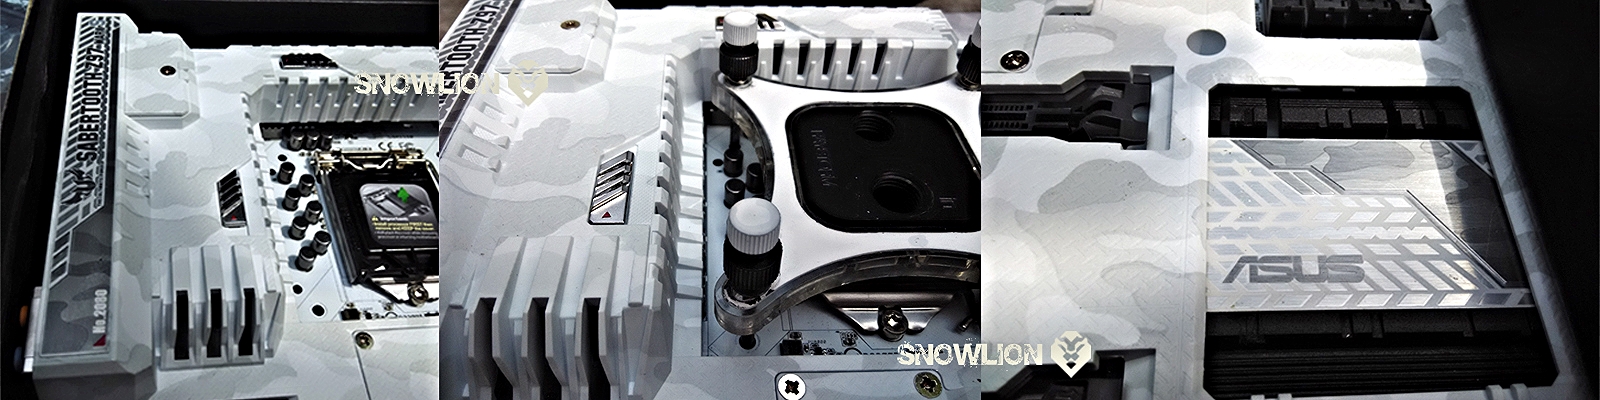
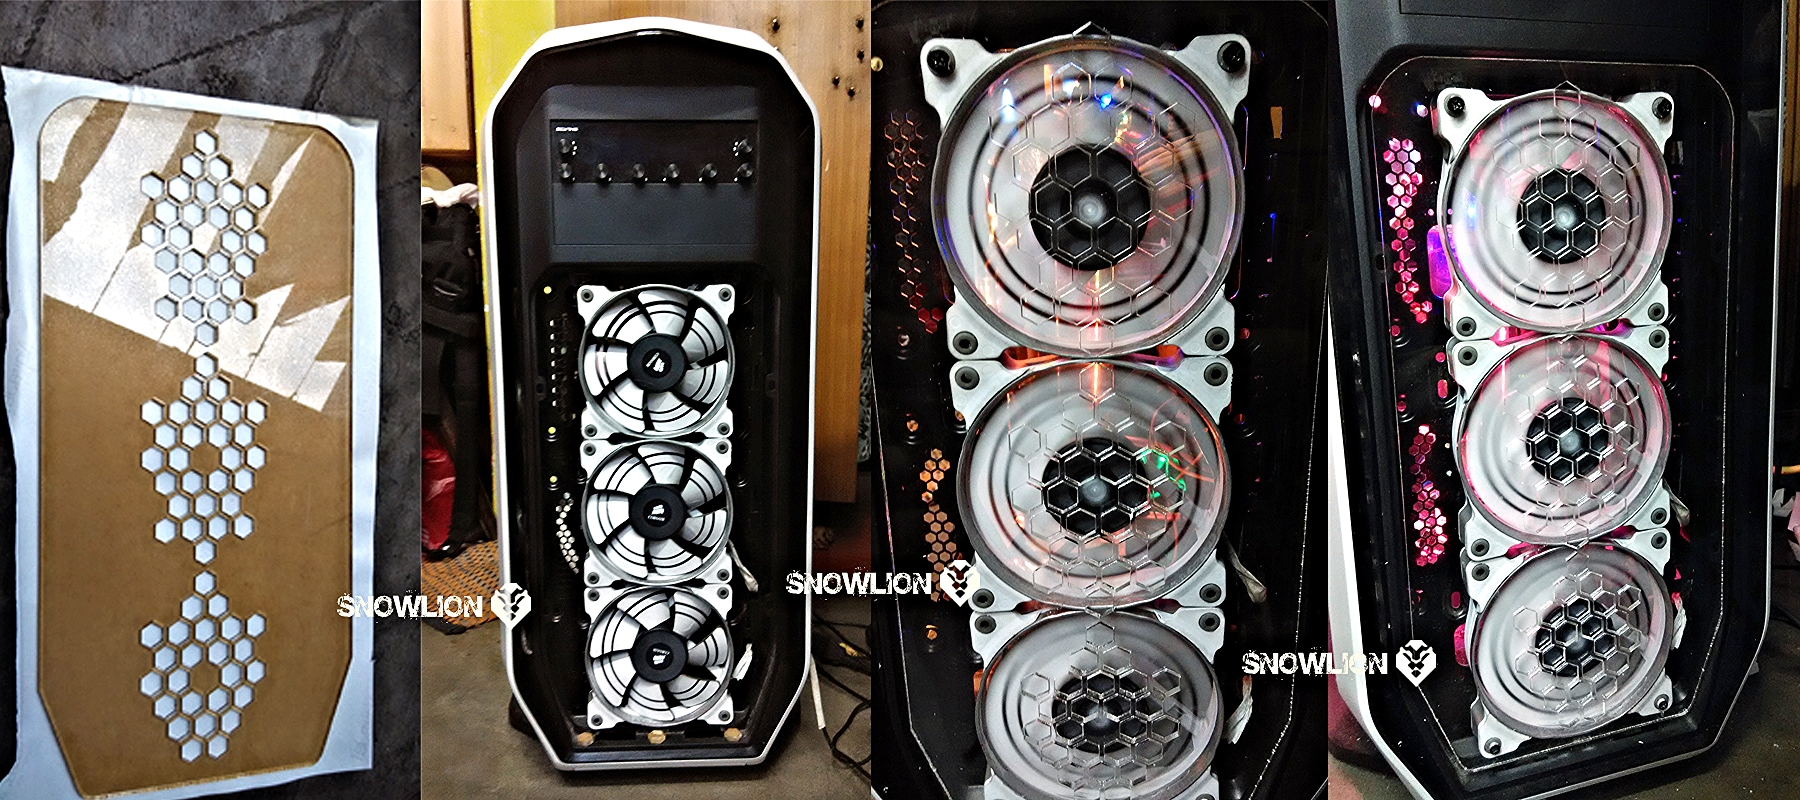
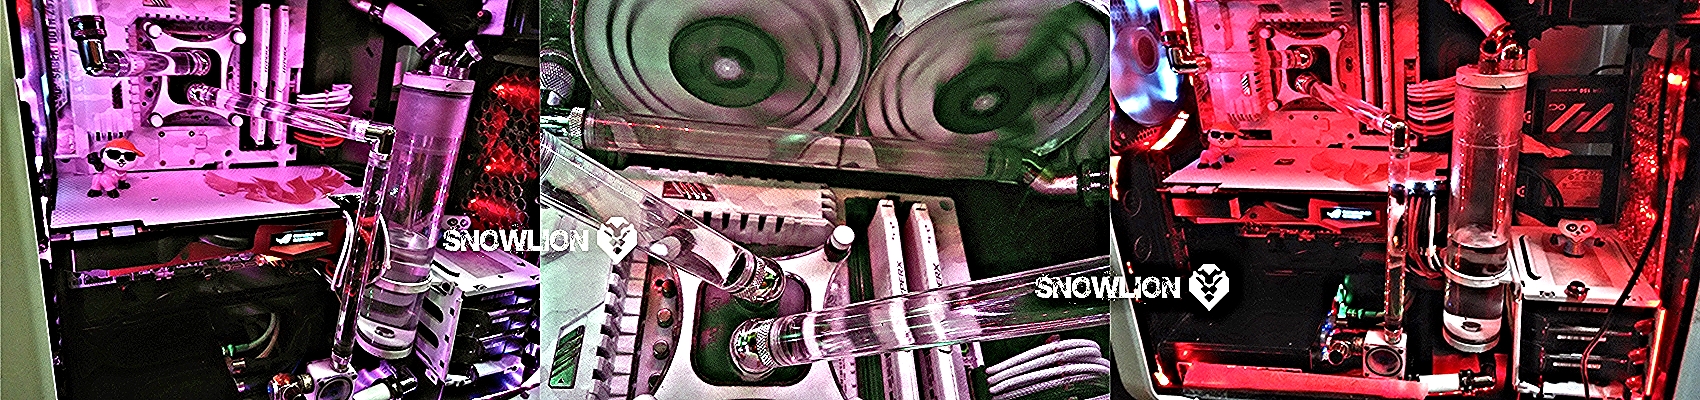
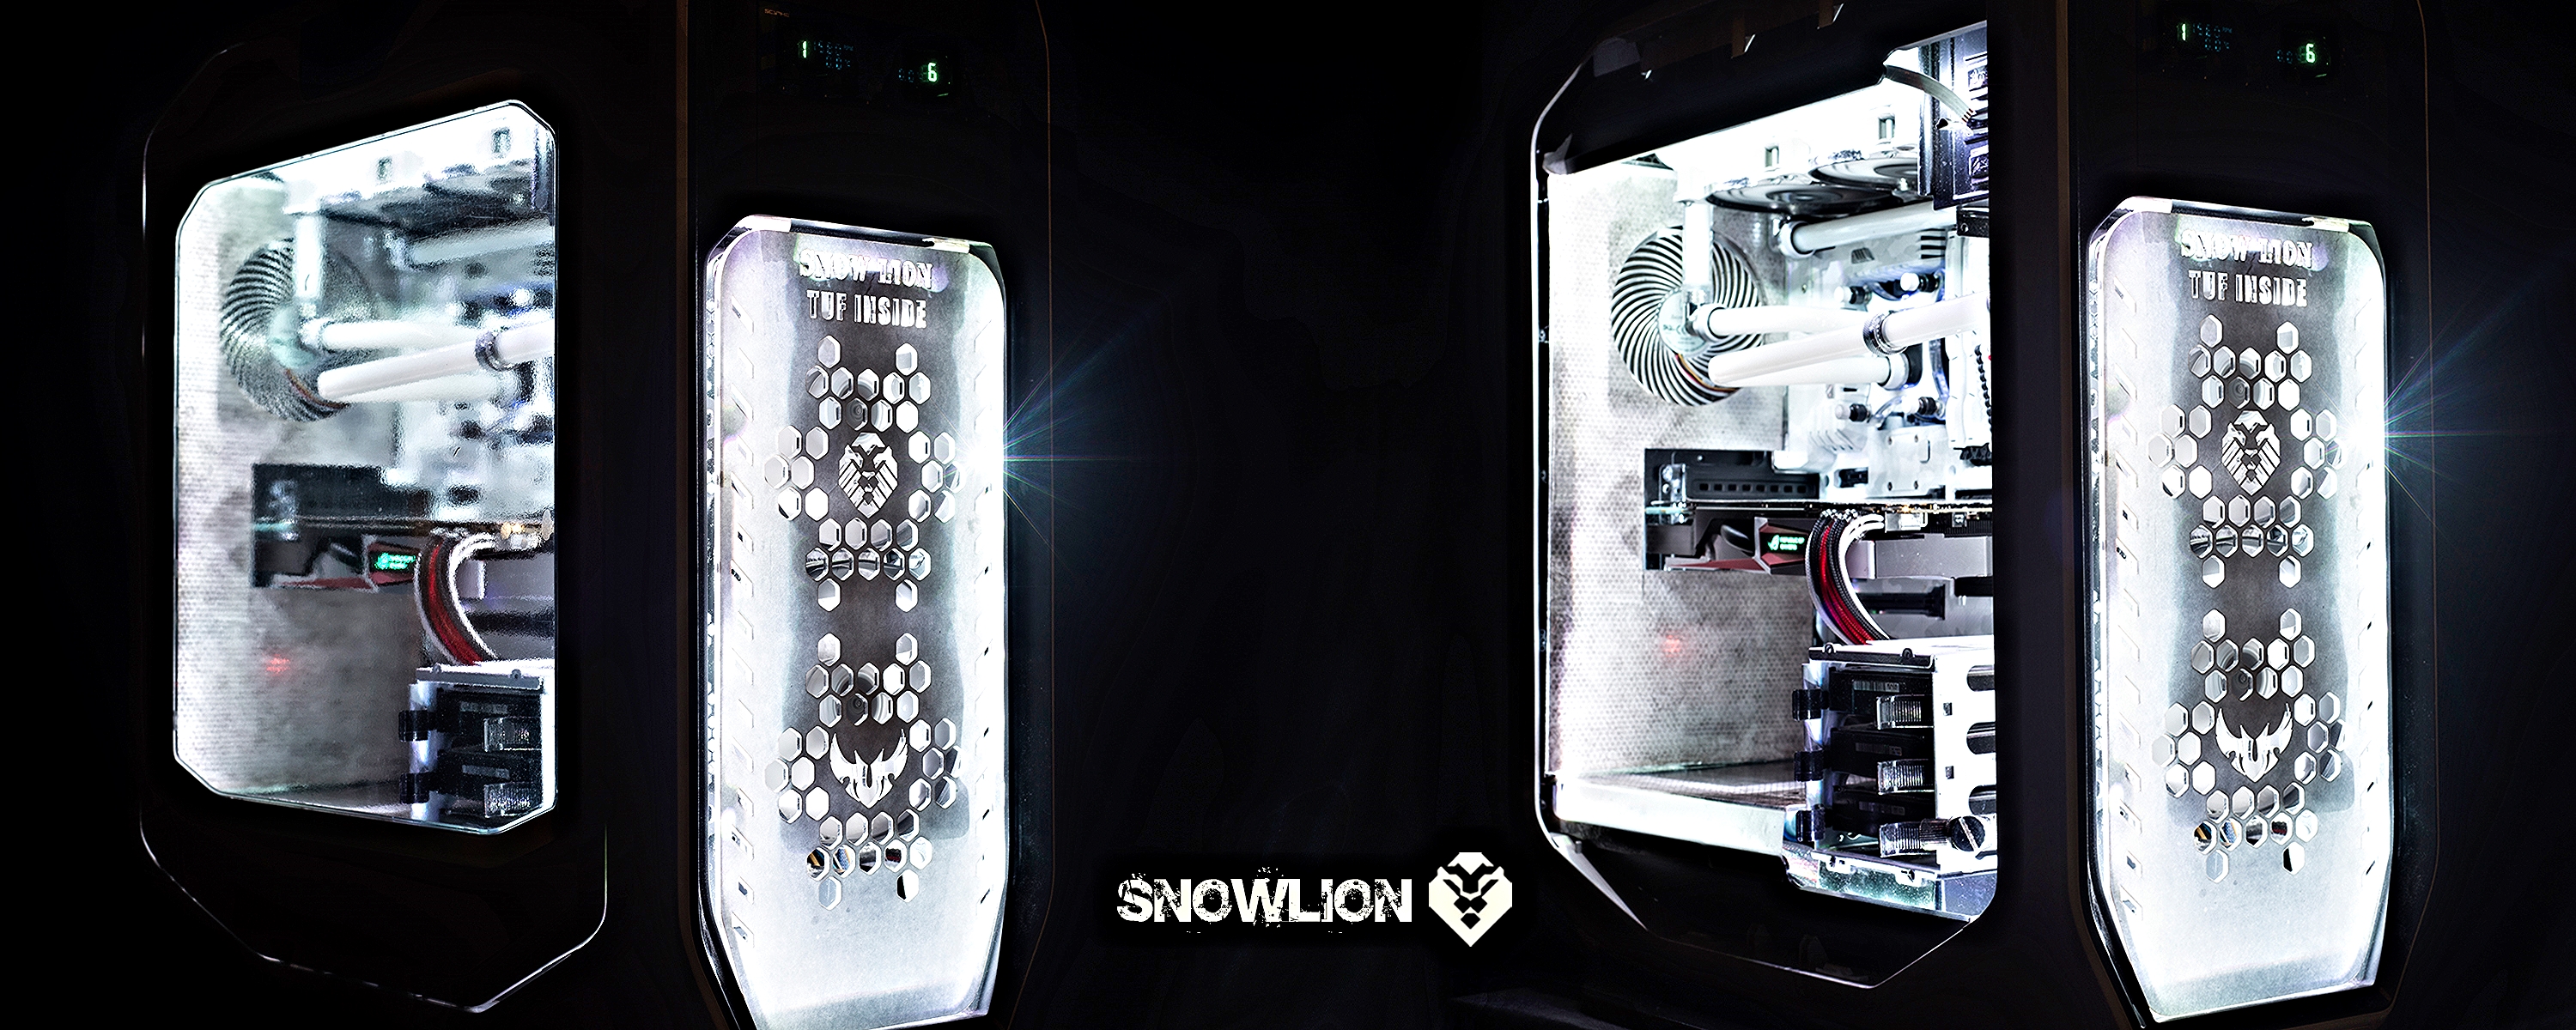
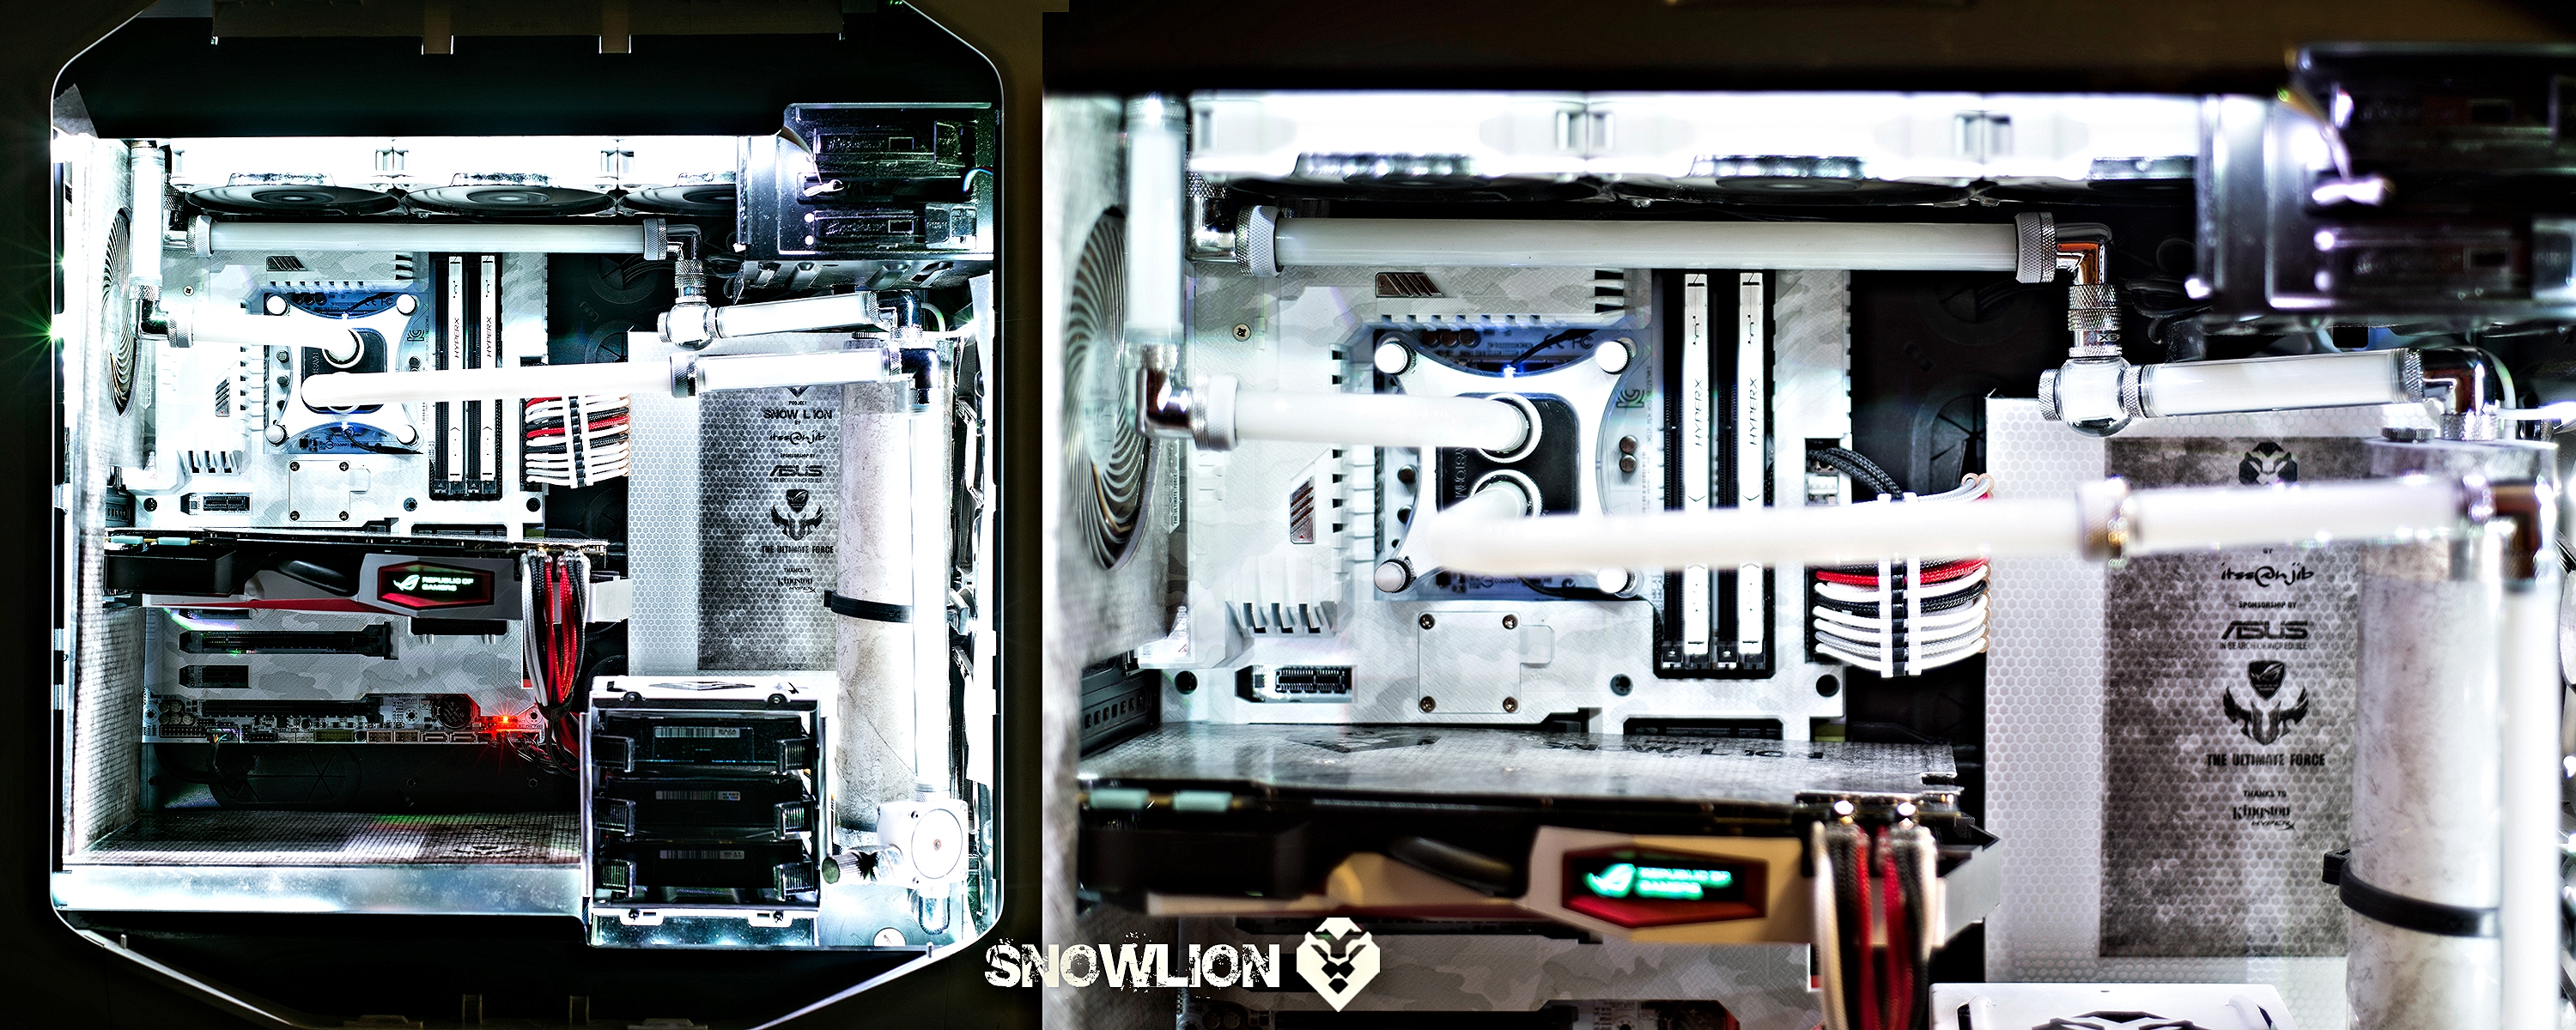
The basic idea started with the ASUS Sabertooth Mark S, the arctic camo themed motherboard that they released a few months back. I had a few Sabertooth motherboards before (P67/Z77) and this one looked like the ‘one’. Then luckily I got my hands on a Corsair 780T white edition and thought to myself ‘Hey, why not a white themed build?

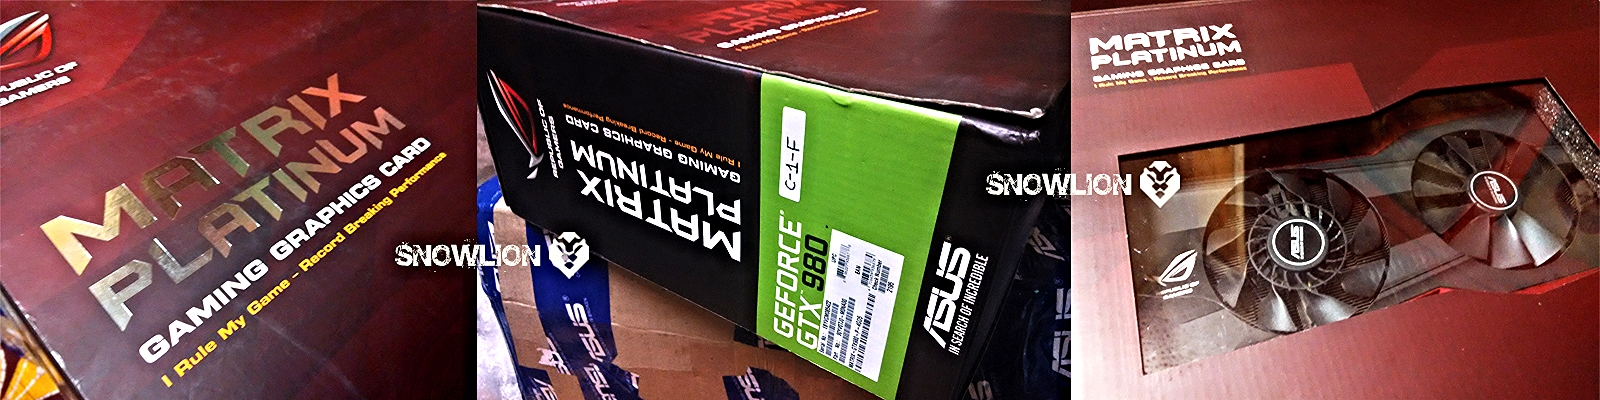
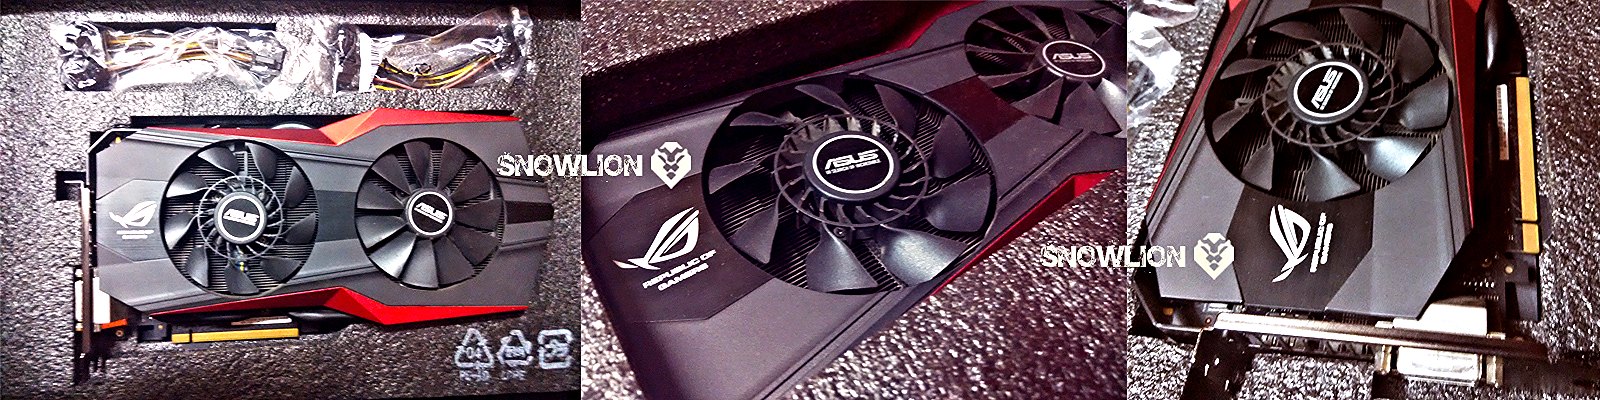
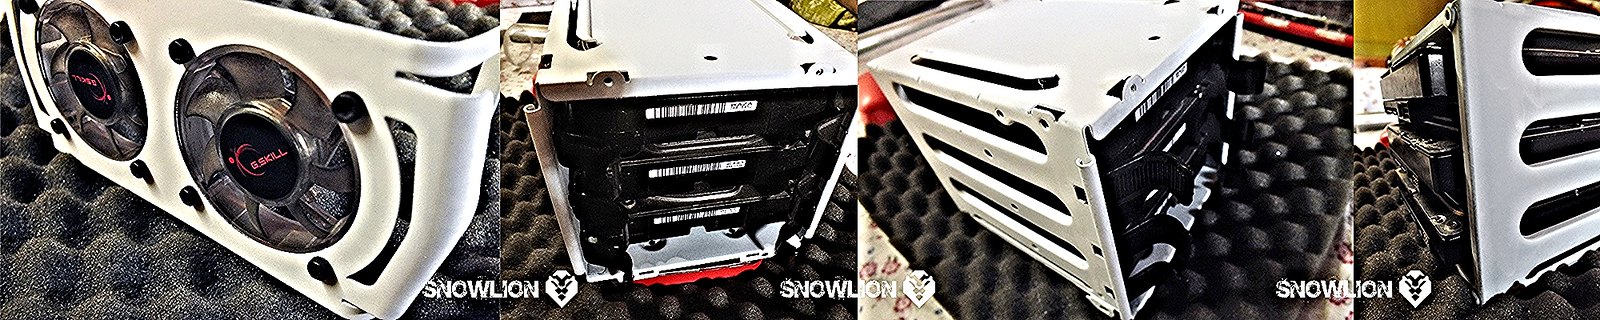
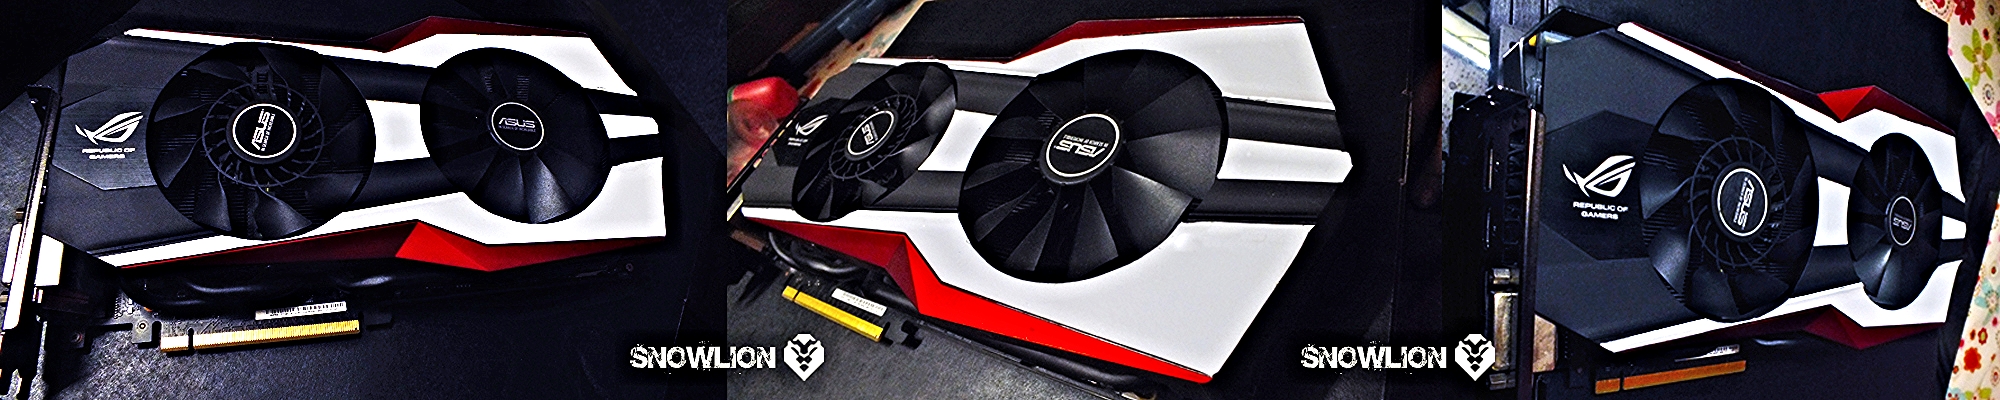
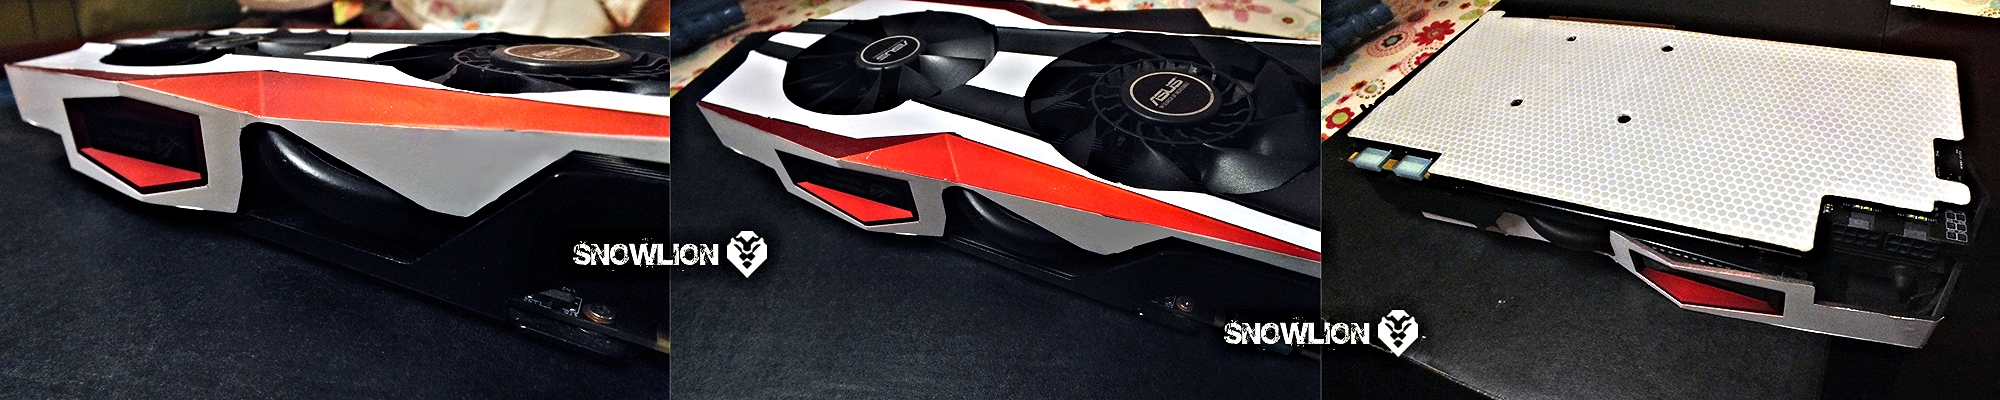
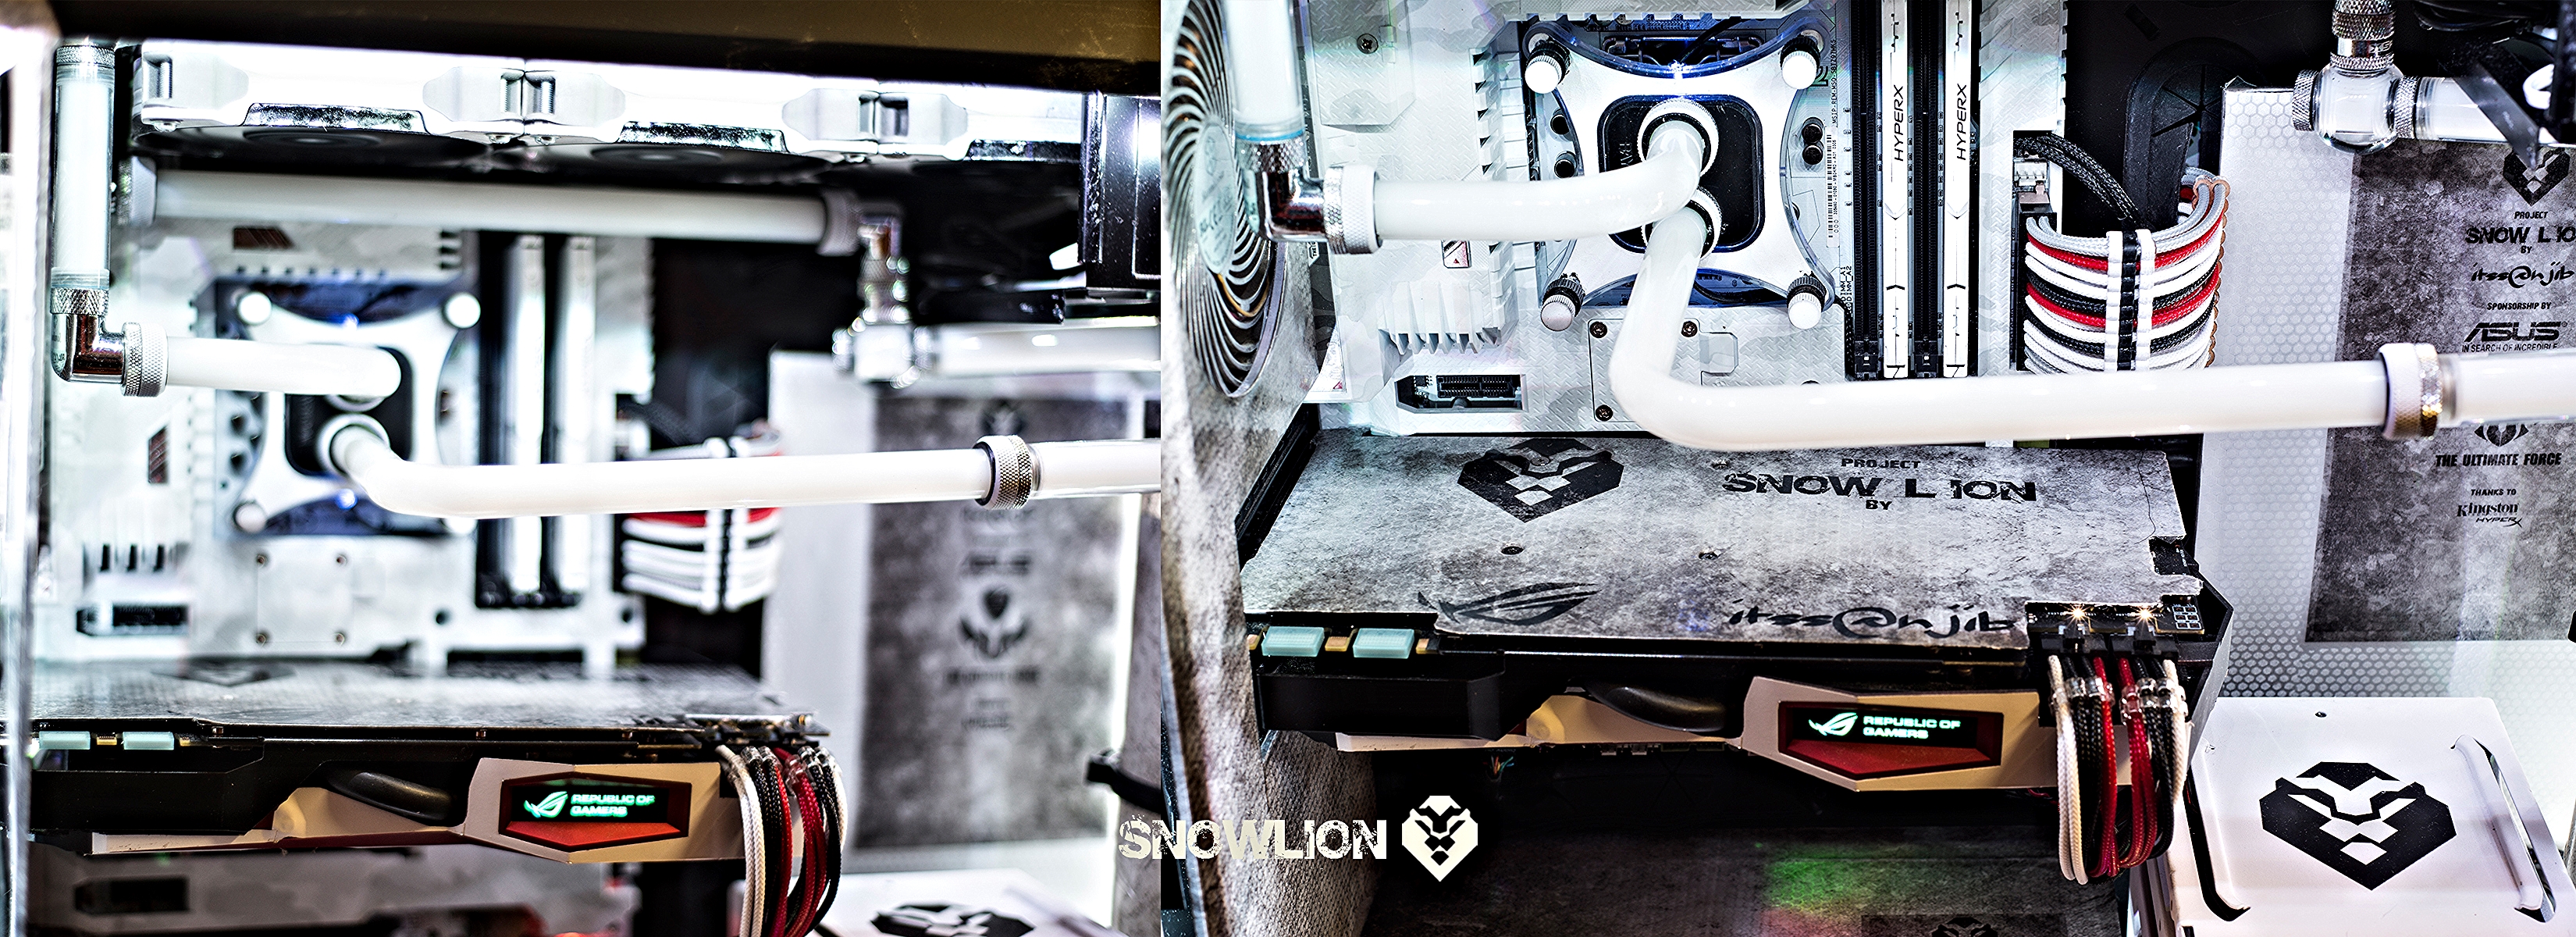
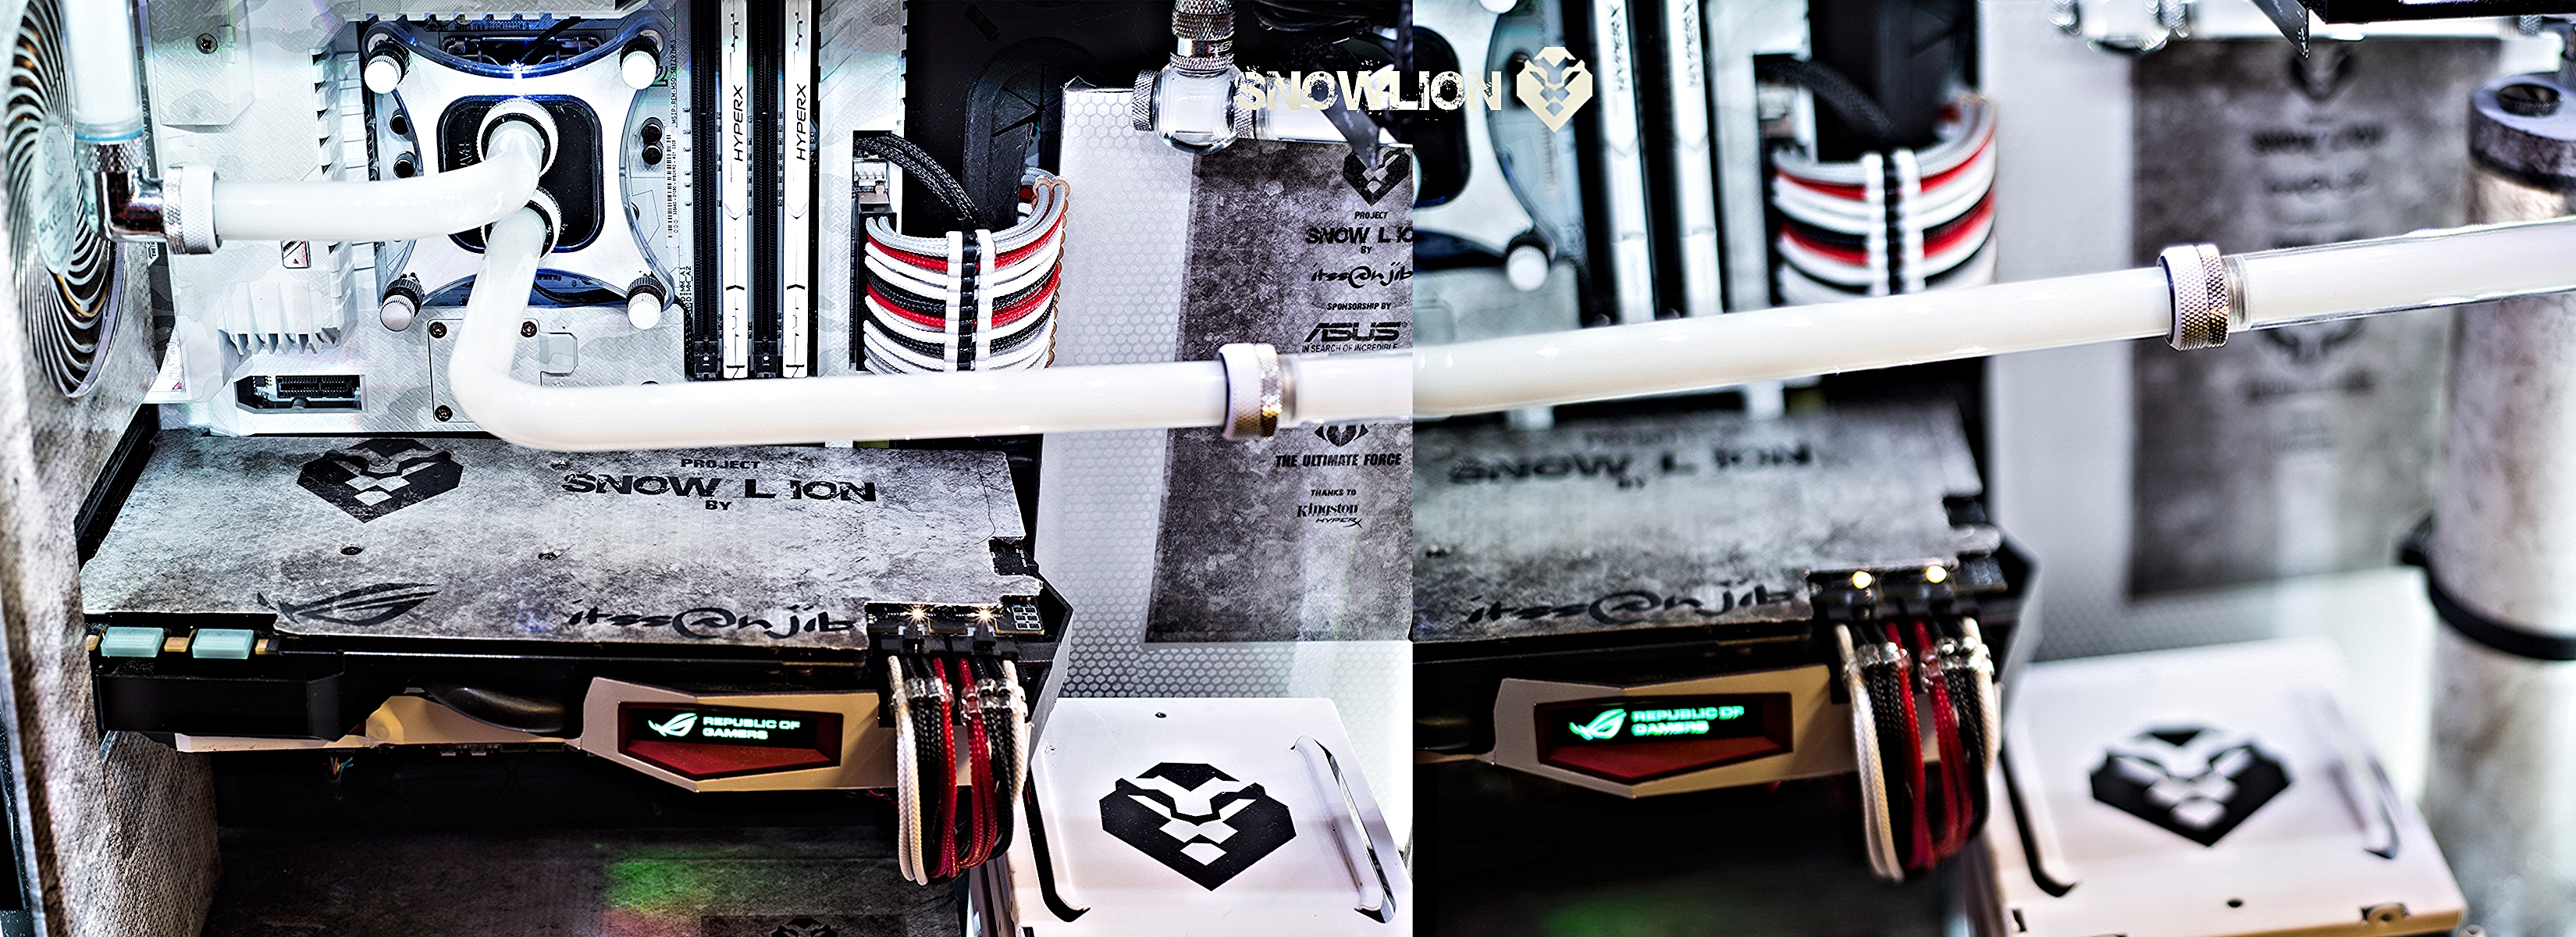
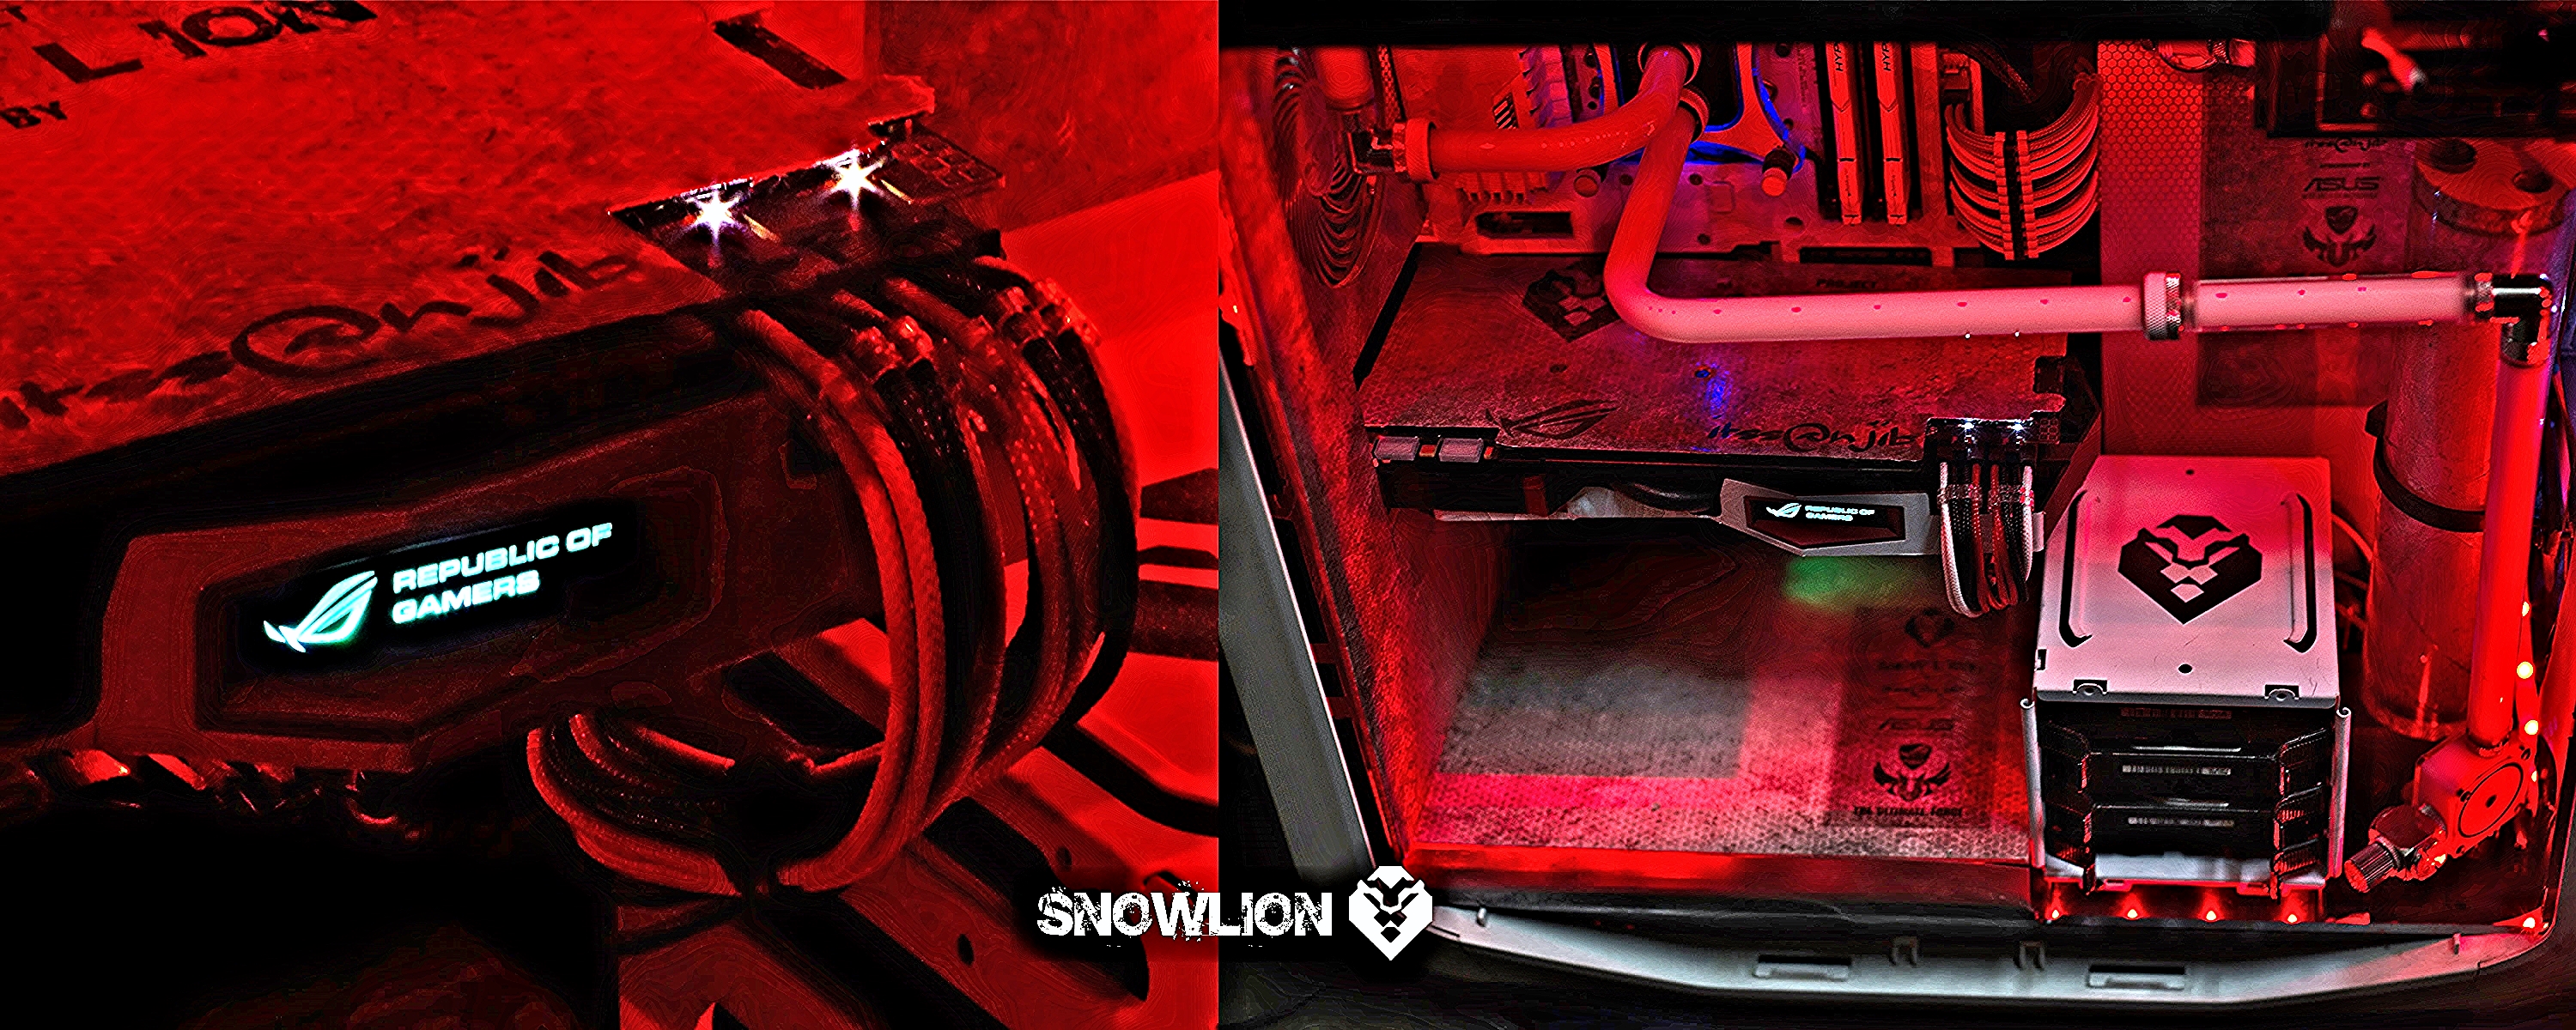
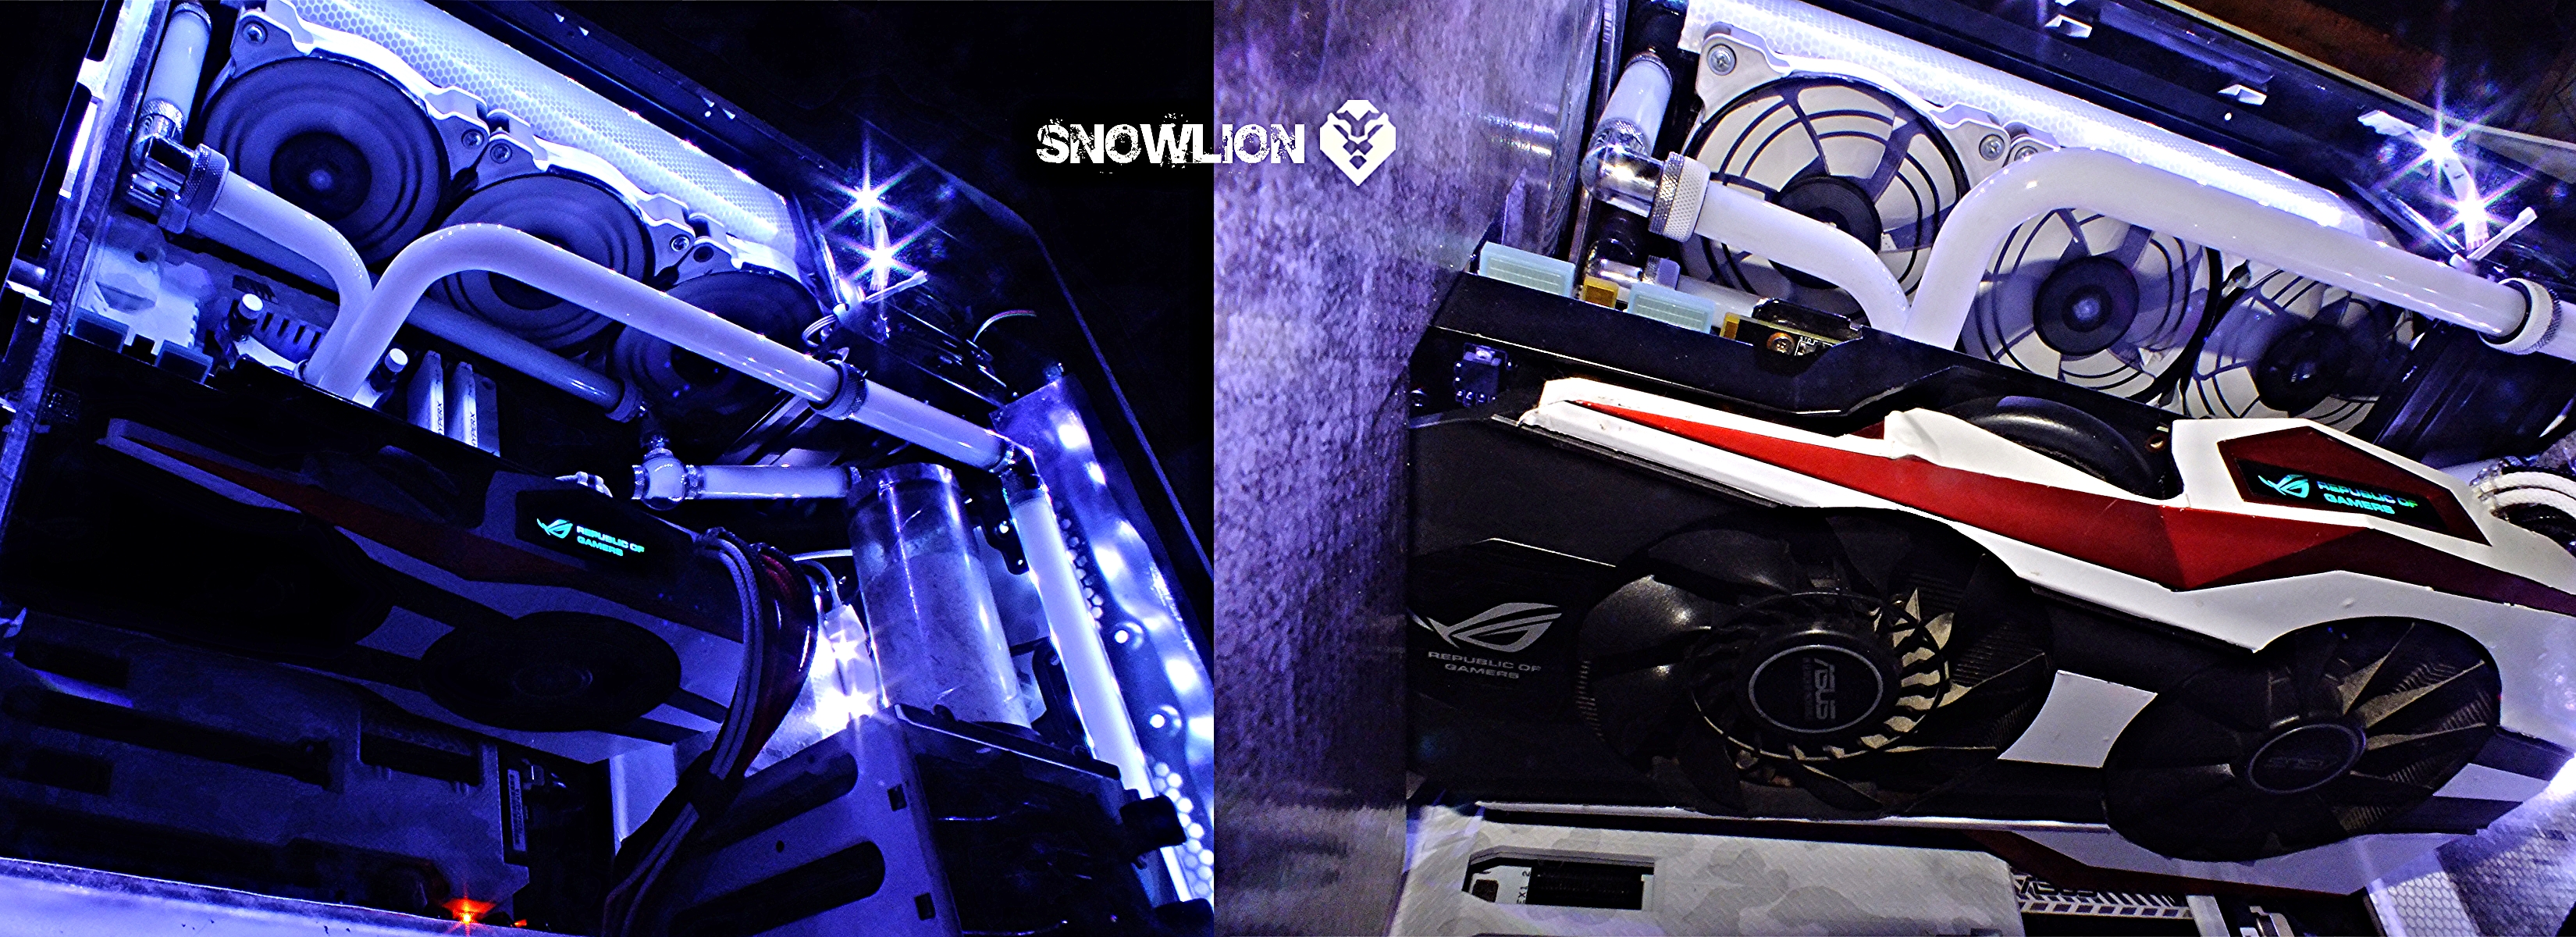
When I reached out to Asus India with my plan, they responded by agreeing to be the sponsor for this build. Apart from the centerpiece Z97 Sabertooth Mark S, they will also be sending me the GPU for this build - the Strix GTX 980.

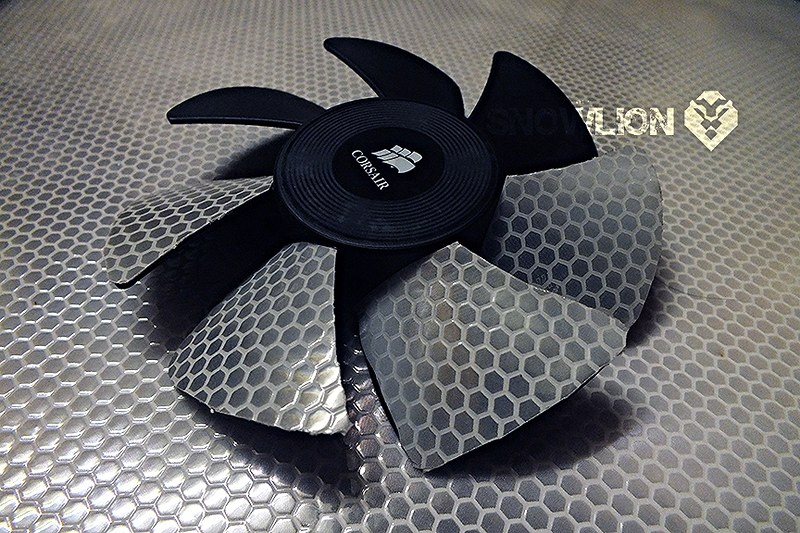
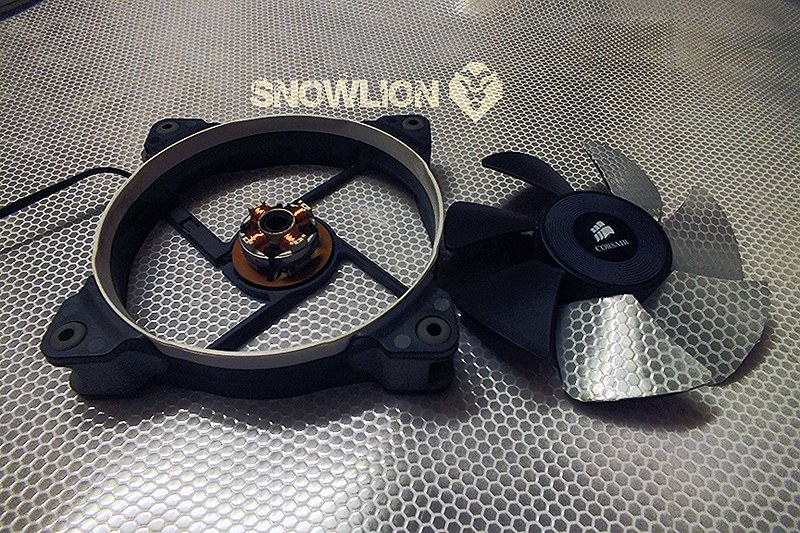
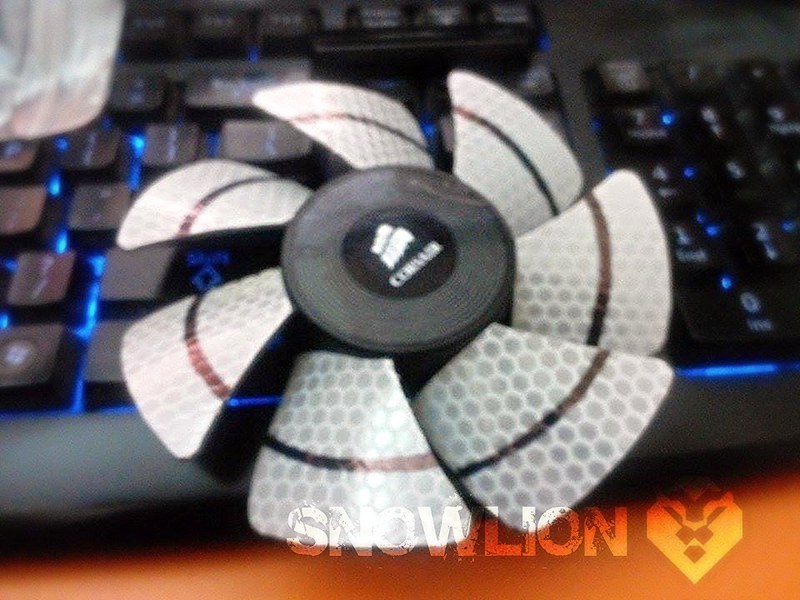
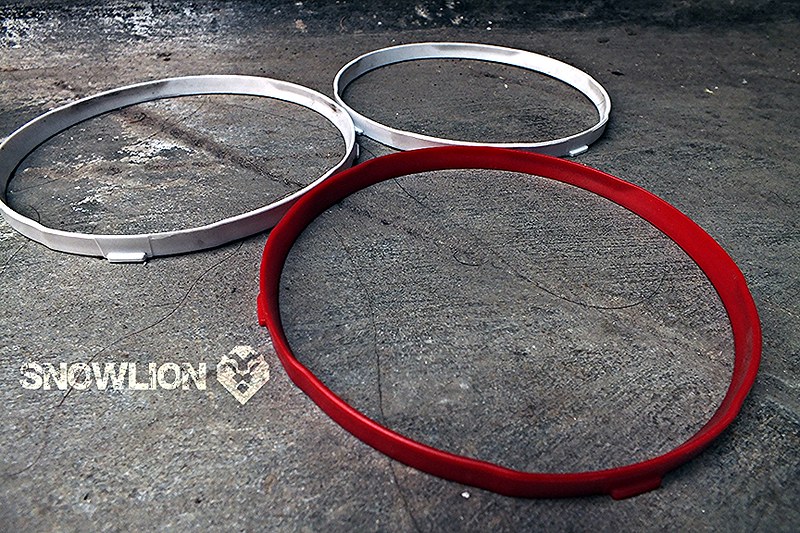
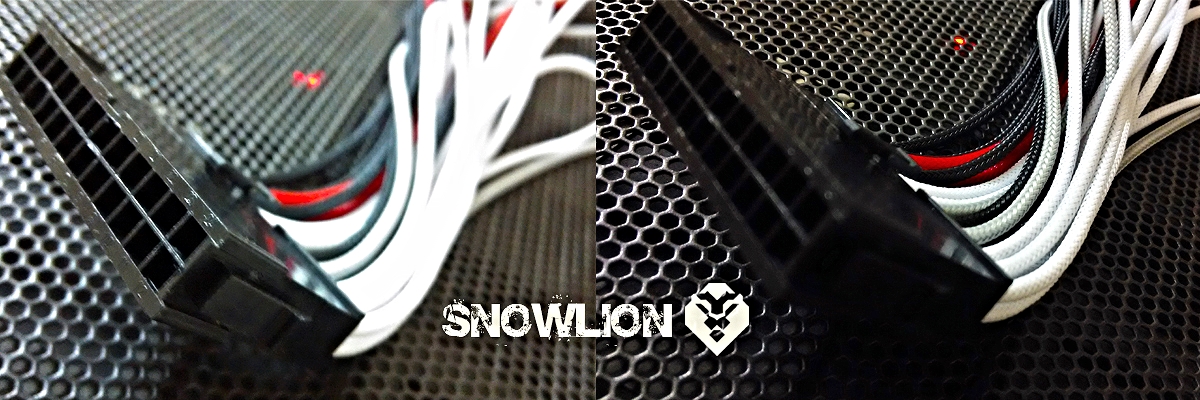
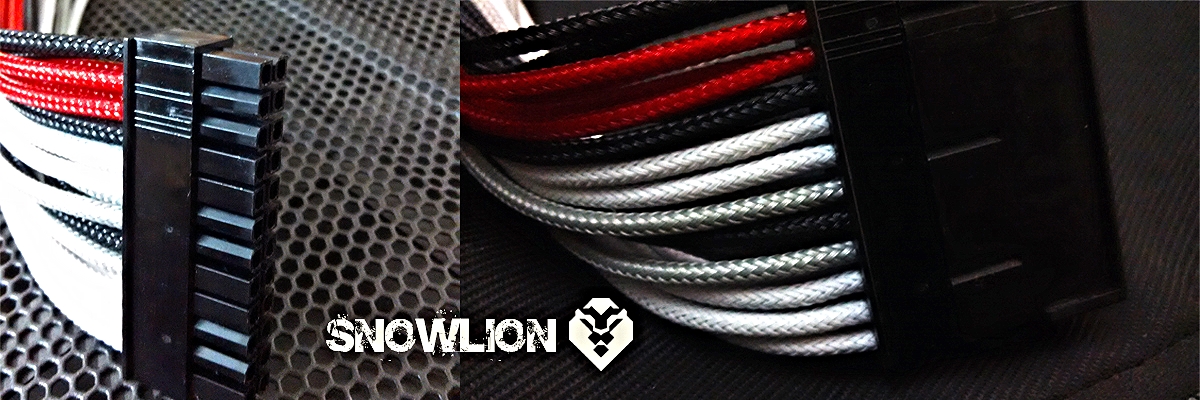
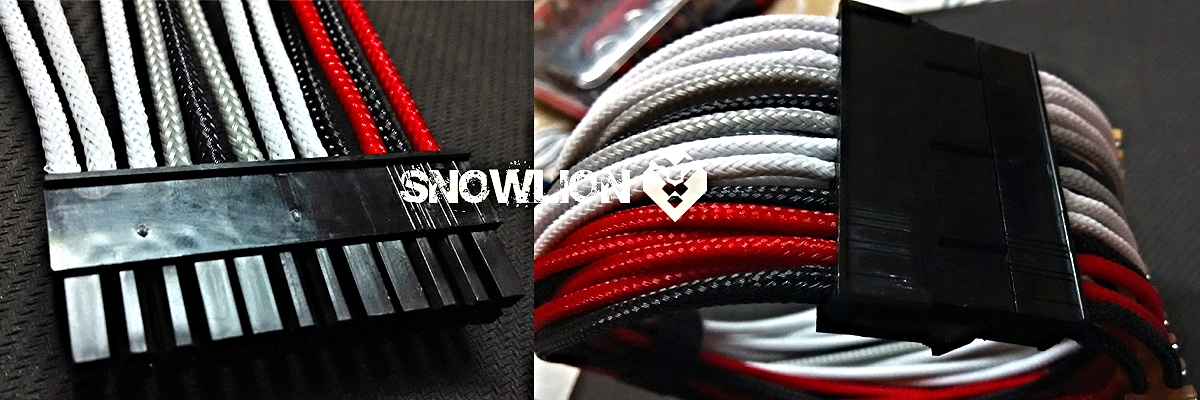
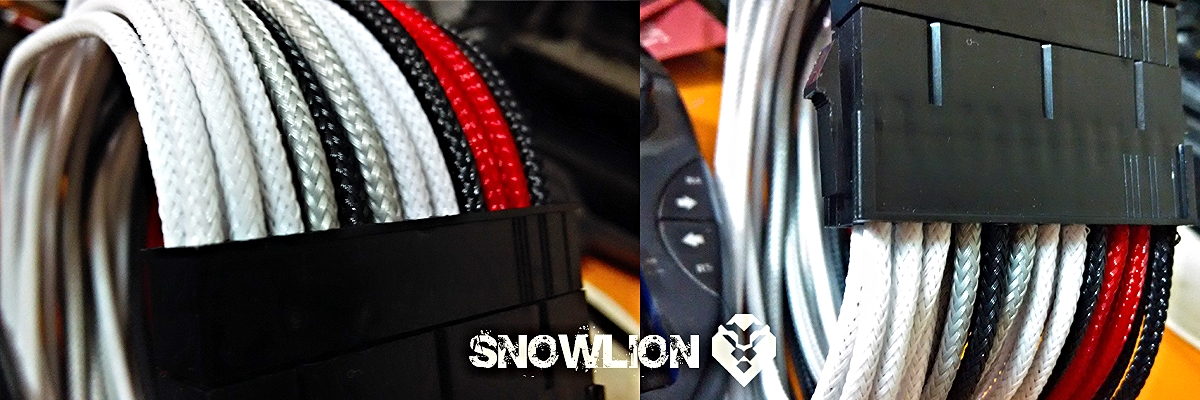
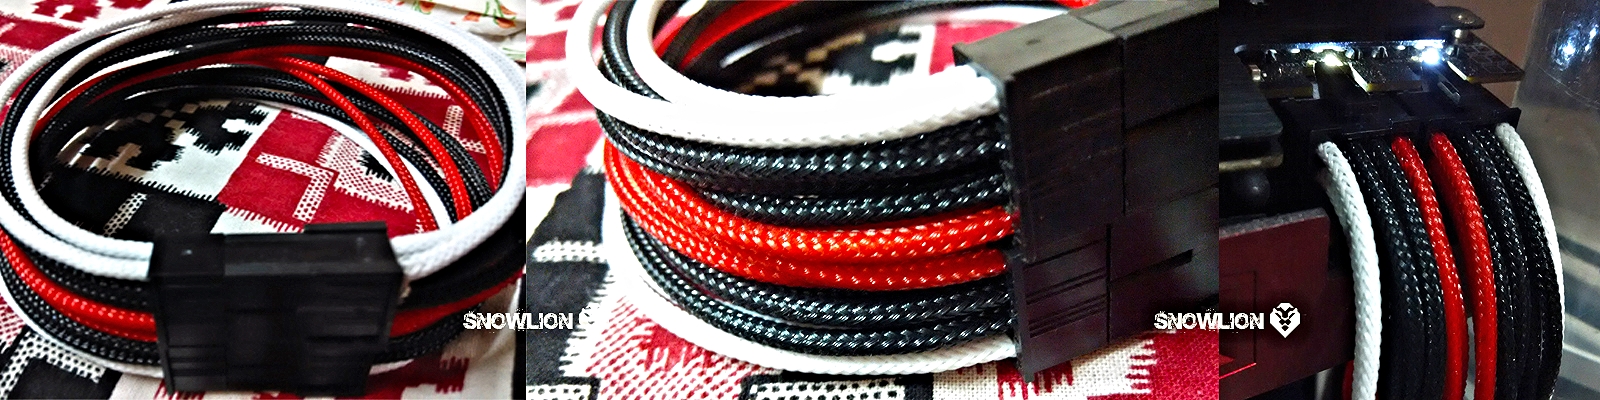
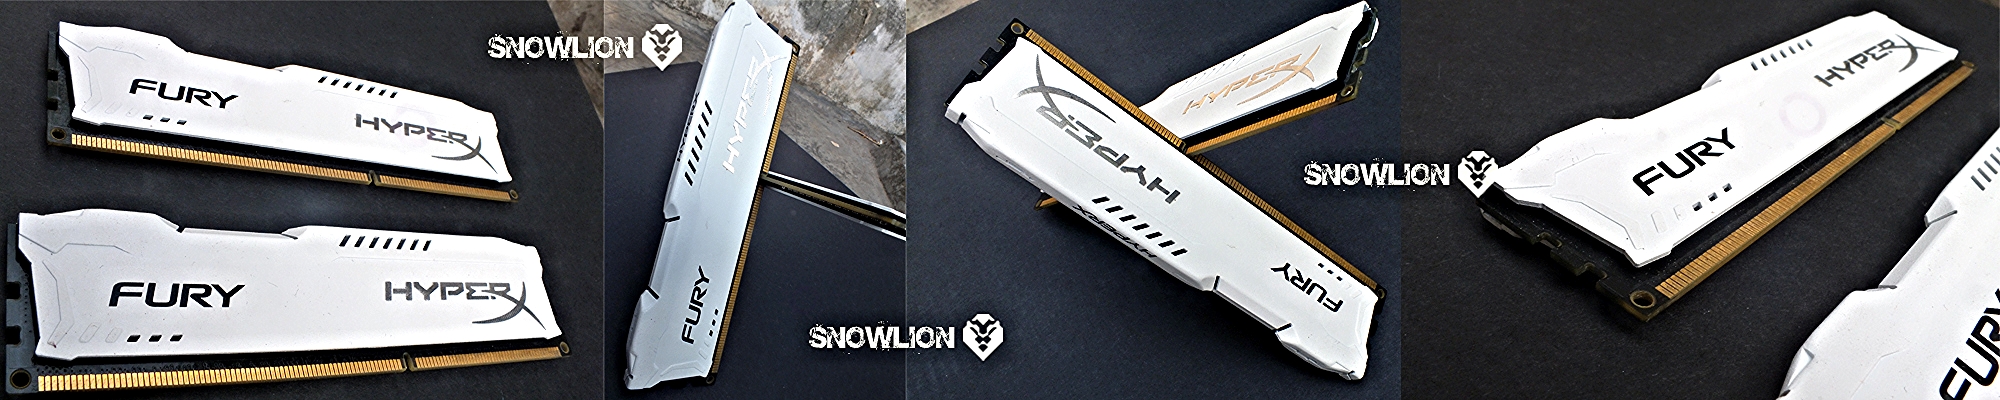
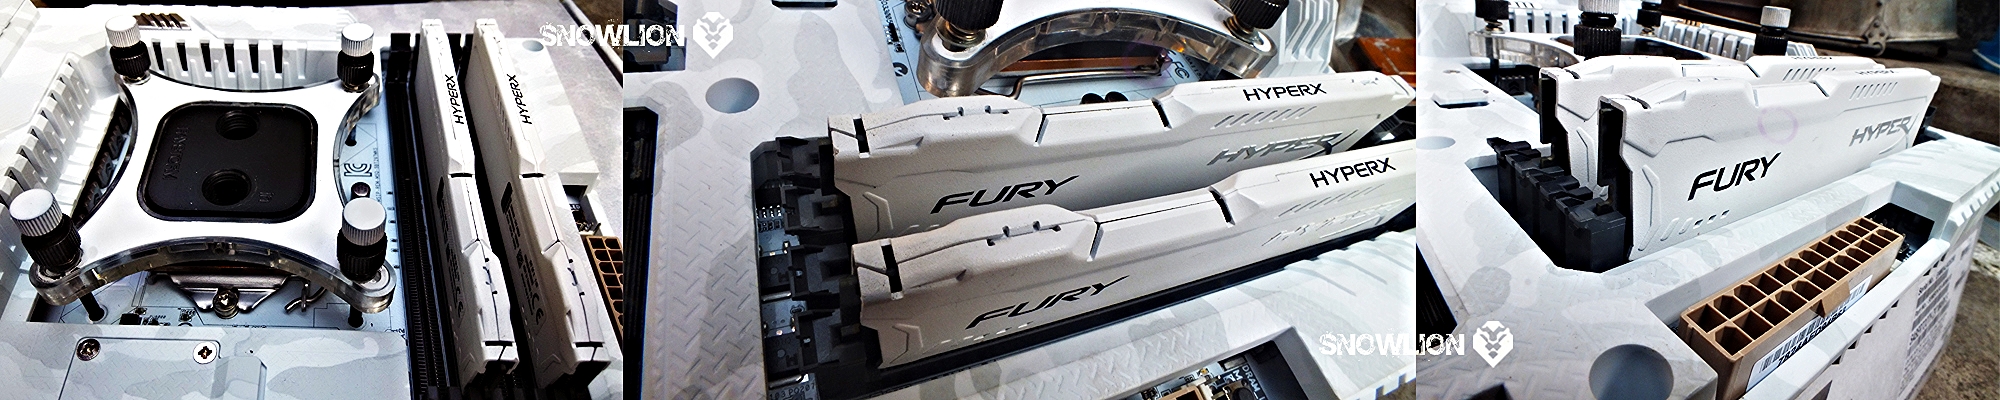
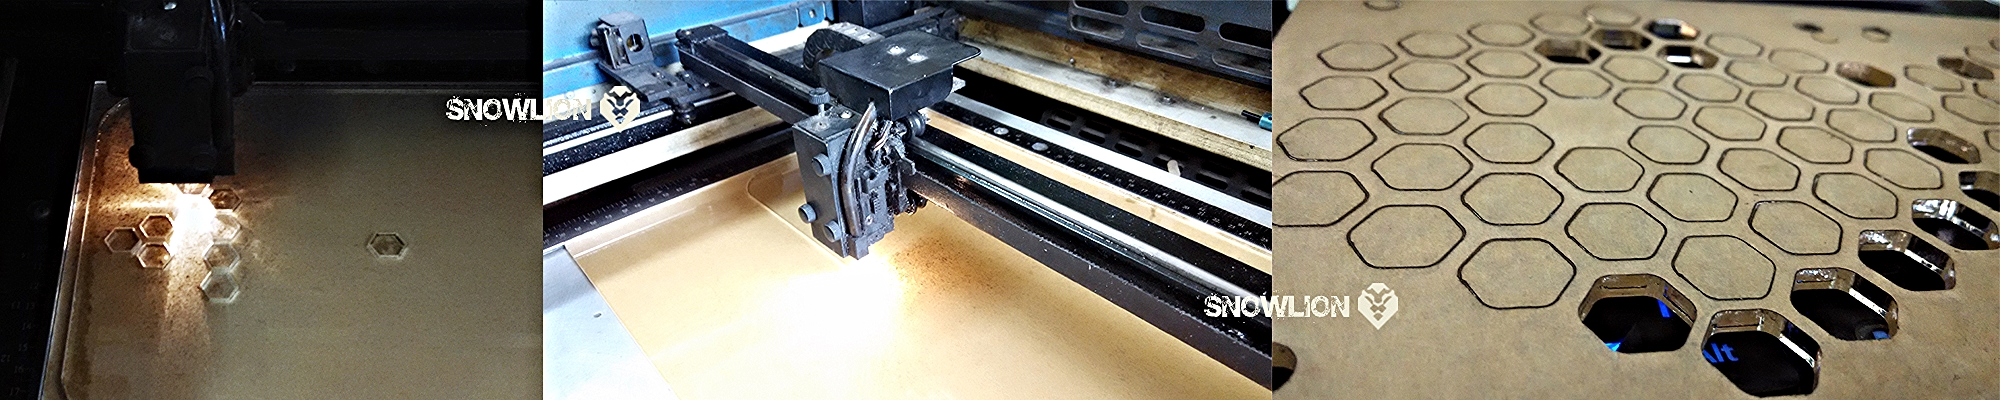
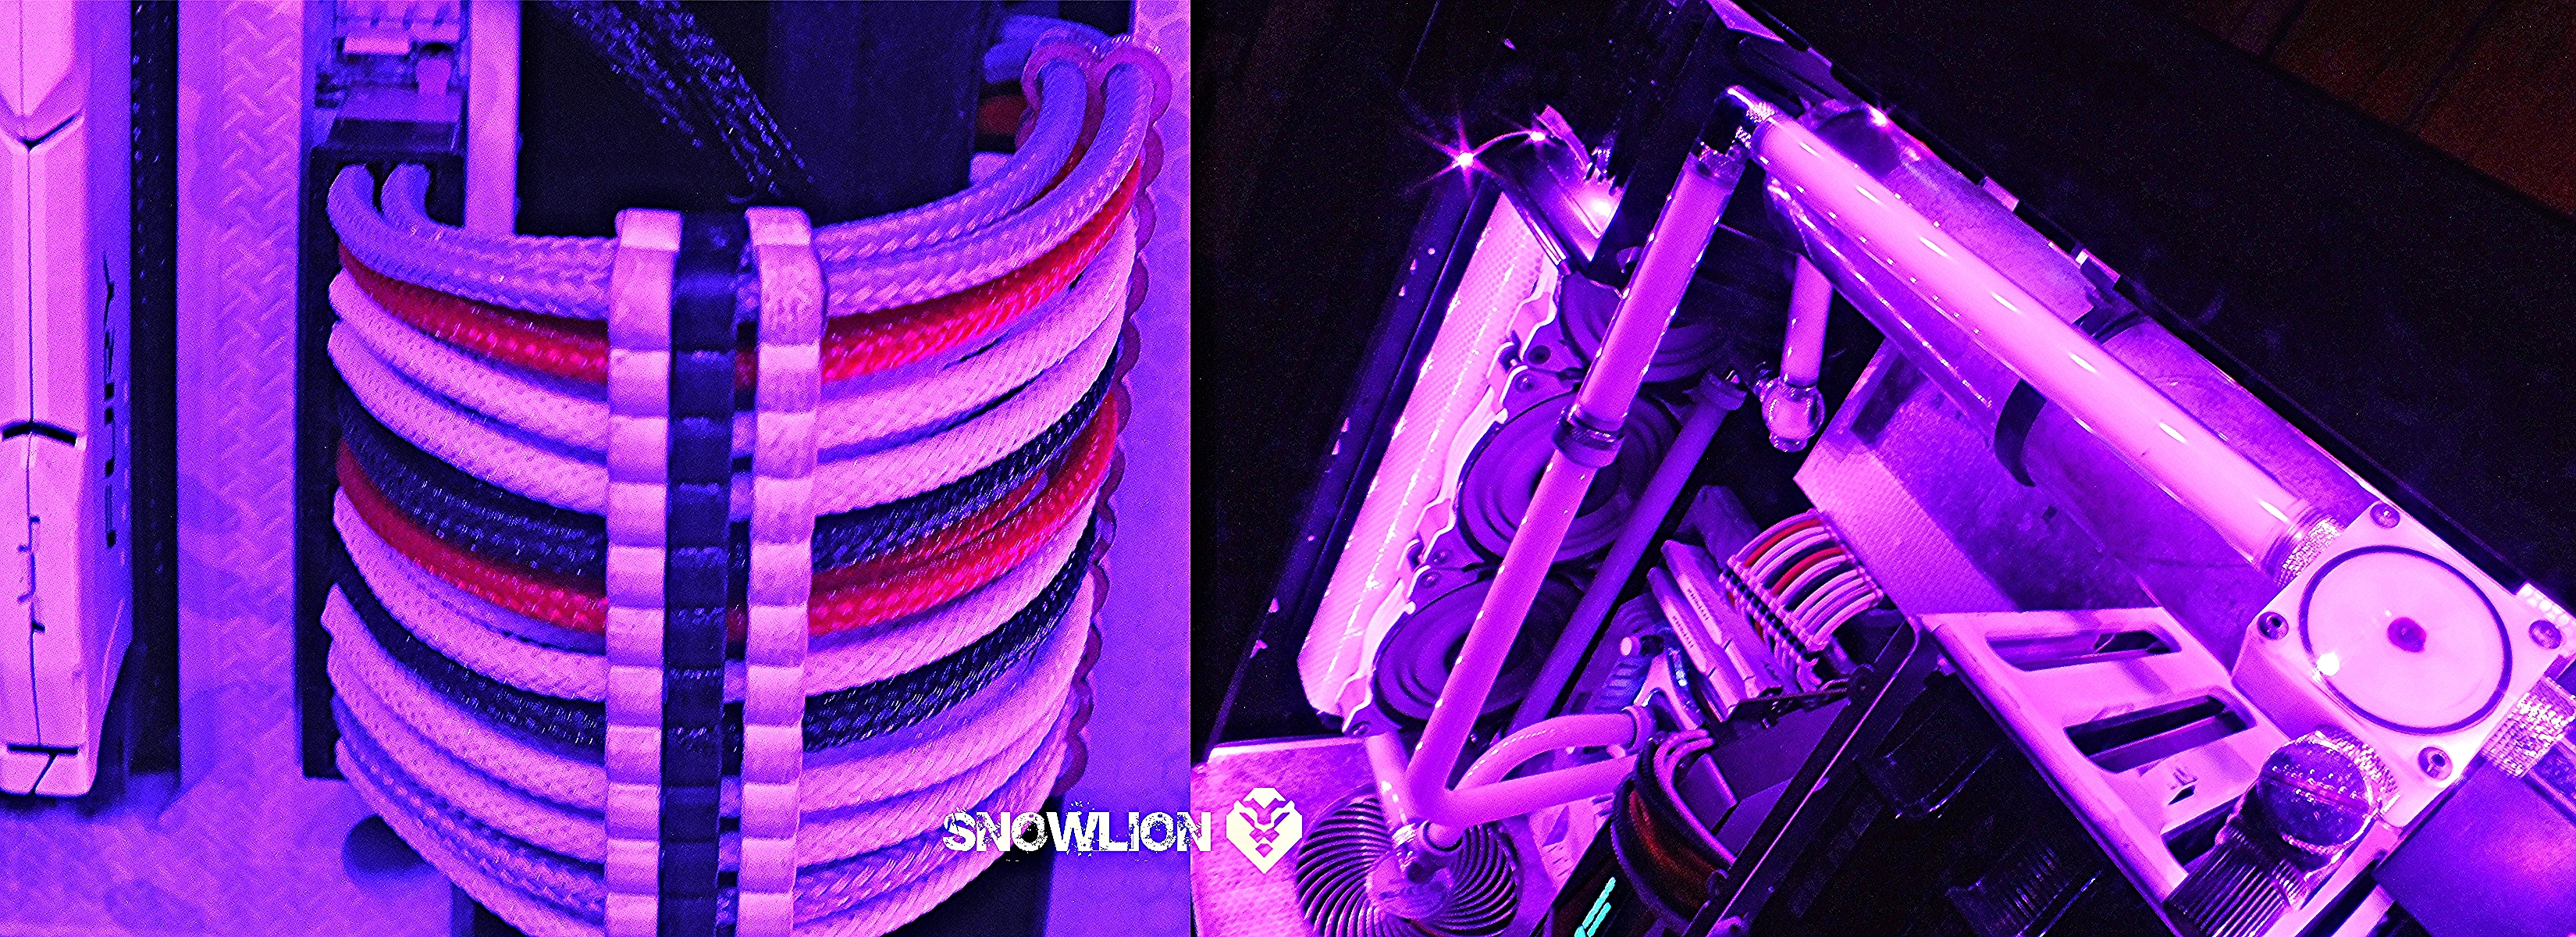
But first thing that came to my mind was that an all-white build may not look that attractive after all. Being from a design background myself, I started to think in a different way. I thought that to make it more beautiful I should have contrasting colors around it. Black was an obvious choice, and I also chose grey since it went well with the entire arctic-camo theme.

So to make the build I choose three colors-

· The base platform to be White
· Black
· And Grey or silver to break and neutralize everything.
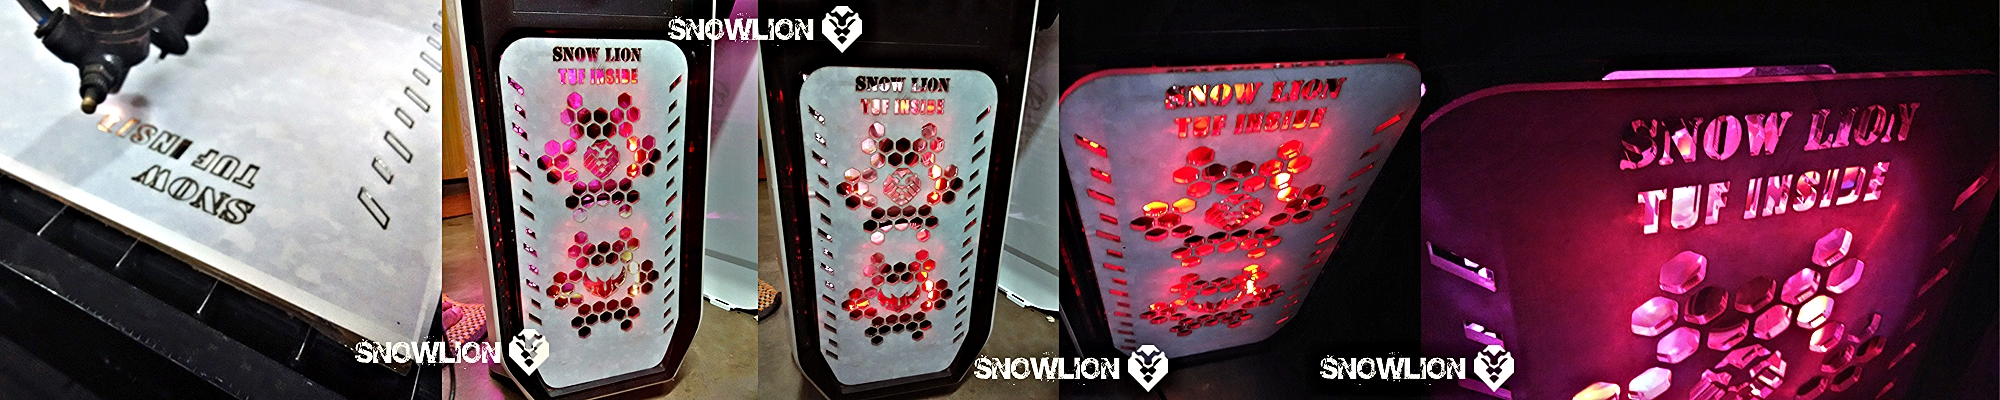
Why snow Lion:

Snow Lions are elusive, powerful creatures. The rarity of them seen in the wild has made them somewhat mythical. I wanted that aura associated with this build – a sense of power, a sense of rarity, and a sense of beauty – all mixed into one.
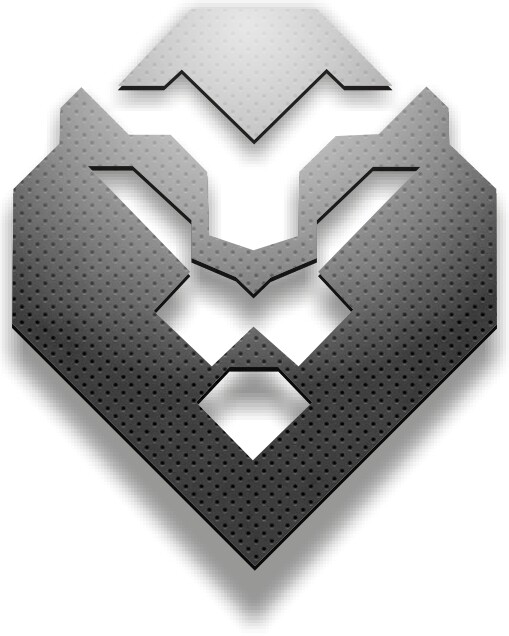
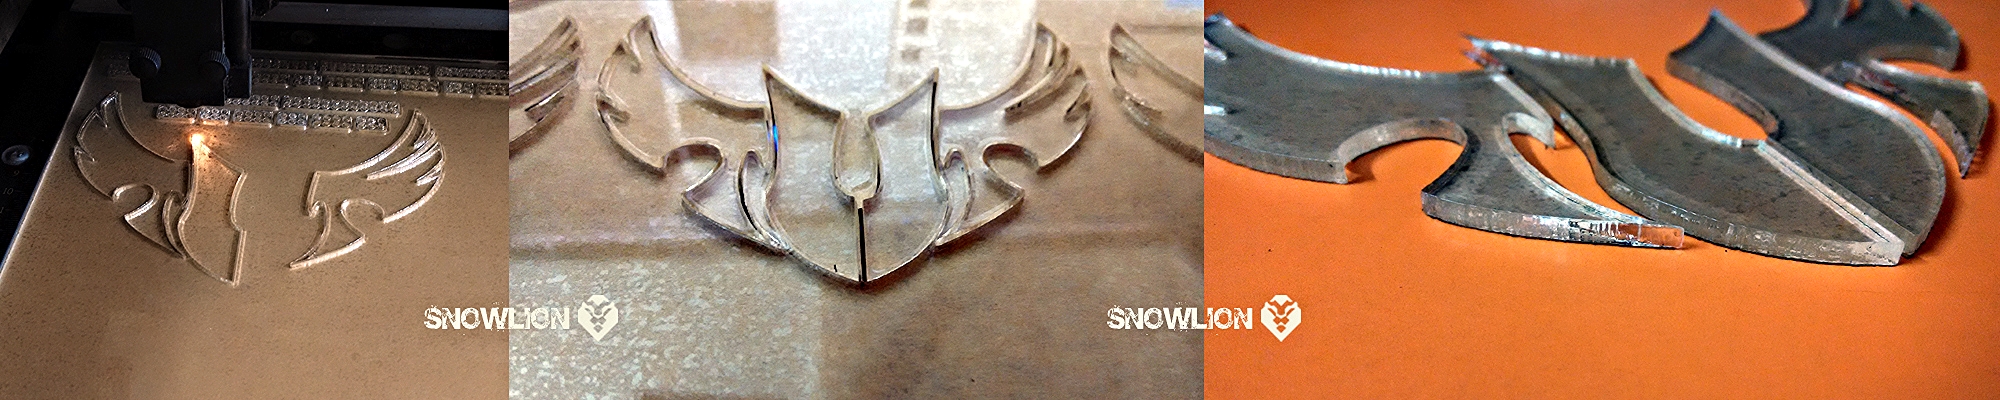
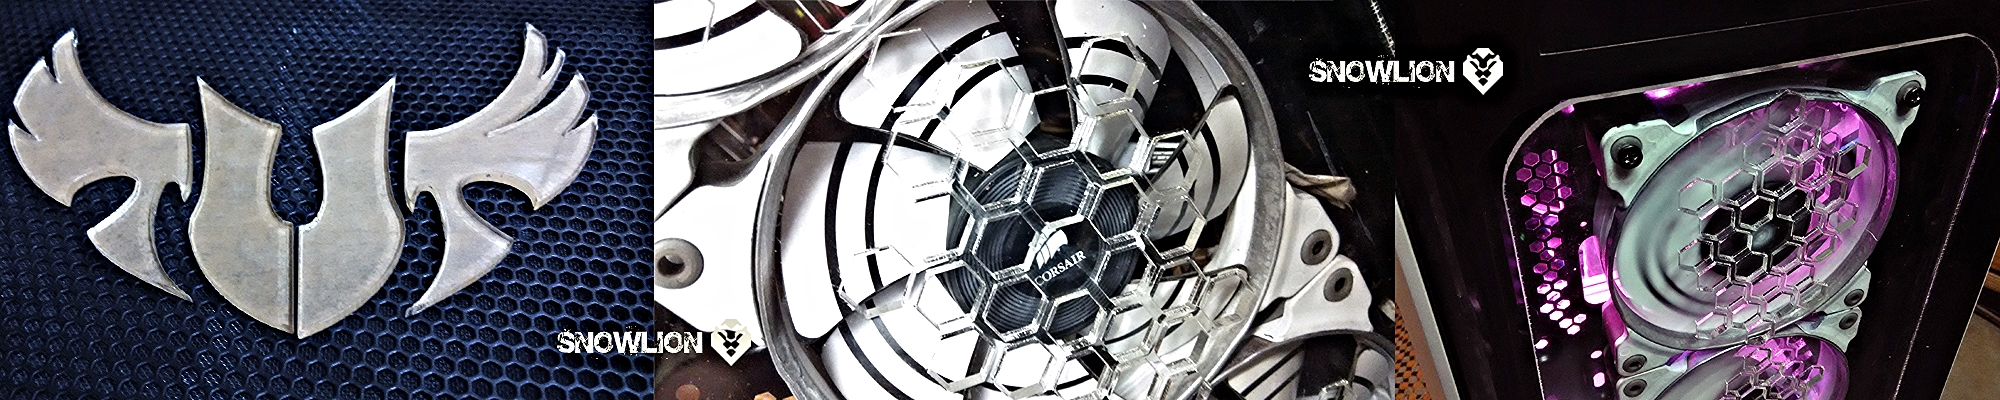
Logo:

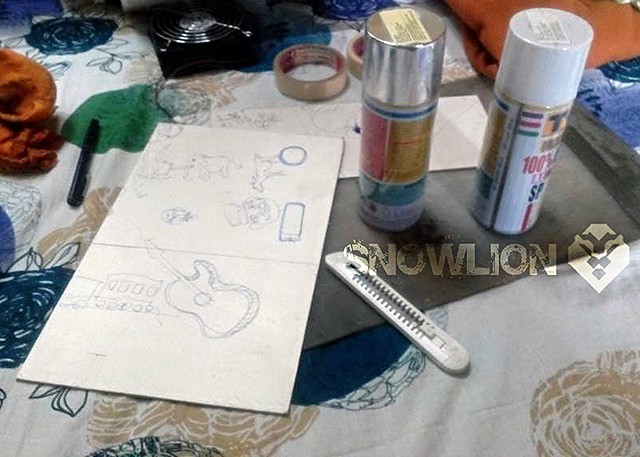
For the logo, however, I wanted the lion, not the snow lion. The lion’s manes always gave an impression of its power, so I initially drew three logos.


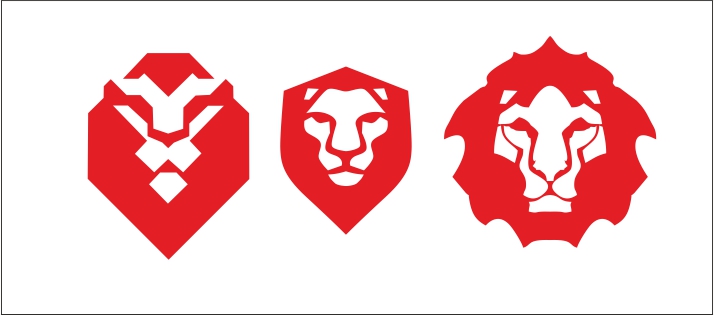
After a bit of thinking and positioning, I chose this one to be the final logo for the build.

6 Likes

The basic plan:

The Corsair 780T can house one 360mm radiator on top, one 360mm radiator at the front and a 240mm Radiator at the bottom.
For this build I will be using a single Black Ice GTX 360 Gen 2.0 Extreme radiator. It is 54mm thick and can be easily held on top of the 780T with push/pull.

The HD bays are placed in the stock position; they can be removed and adjusted. But instead of 2 HDD bays i decided to go with one as a single bay can host around 4 HDDs and there is a nice setup on the back to mount 3 SSDs. This will also help in uninterrupted airflow from the front.

To highlight the mobo, the colour inside the cabinet is kept black, with white paint job on some parts.

I am also adding in some covers- PSU cover, a cover for the front replacing the stock black mesh, and a cover for the top replacing the top mesh.

There is markings for the 120 mm and 140 mm fans on top to help in mounting the fans

And now some pictures of the stuffs that I am using

The Black ICE GTX Gen two xtreme 360 radiator

Fans

Fans in my collection:
3 pcs SP120 High Performance edition fans of 2350 rpm
4 pcs Noise blocker Ultra silent xlp- 120mm fans of 2000 rpm
3 pcs Swiftec Helix [the stock fans that comes with the H320]
3 pcs Corsair SP120L of 2700 rpm

Airflow:

Three 120mm fans will be pushing cold air into the cabinet, preferably- SP120 High Performance edition fans of 2350 rpm
A single 140 mm white LED stock corsair fan at the back as an exhaust.

Lastly, three 120 mm fans below the radiator mounted on top of the cabinet to push the air through the radiator- preferably- Helix 120mm or corsair SP120 high performance edition fans or Noise blocker 120mm fans will be used for this purpose.

If needed i can also get 3 pcs Silverstone SST AP121 white air penetrator 120mm.

Looking forward for suggestions on the airflow and placement of the fans.

Some camera work with some fittings

Tube reservoir

5 Likes

Some try outs with the fans:

Aerocool DS Dead Silence Fan, the design of the fan is so cool that i couldn’t ignore it but I cant get my hands on to those lovely looking fans, so thought of transforming the the cool design in the Sp120s that i have. First i tried out with some reflective vinyles. These vinyle is mainly used for road signages, as with mild lights on them they seem to be glowing. and they have a fine hexaagonal mesh kind of look on them.

here are some pictures.

With black marker pen tried to draw the curved lines that is going to give the Ring effect when the fan will be running.

The fans looking fine, spinning perfectly without any noise and RPM drops. now to check them on the radiator how well the sticker stays on the blades. As i have found some of the corners of the vinyl is peeling off as the the vinyl is thick and a bit hard. If this thing doesn’t stays on the blade then will have to look for some other alternatives.

6 Likes

The vinyl stickers started falling from the blades, so replaced it with simple sticker paper, they r thin and quite sticky.

from the vinyl stickers i got he proper measurements of the blades and as per that I draw the rounds and took printouts on the sticker and it went quite good so started with the painting of the body and the final fabrication of the blades. The pictures are as follows

First masking the electrical part with tape and the removal of the rubbers from all the four corners

and the rings

Spray cans for the paint job

After the first coat of white matte paint

The final body of the fan after 3 coats of paint

The new Stickers are ready

Now the Blades

so to check how its gone a look and any noise or friction of the stickers with the body, while spinning

As everything went well and the sticker was also staying on the blade, so started mounting the fans

The all three fans in Line

2 Likes

Sorry for the long gap, as I was a bit busy with my father, as he was hospitalized… now he is back home and the post continues…

its time for some psu cables sleeving, maintaining the colours of the build… the white, grey and black.. but as Asus India has sent me a Gtx 980 matrix platinum i have to include the red colour also in this list…

for cable sleeving am using Pre-sleeved cables, with black male and female connectors, here is what i have tried to do and this is how it looks

5 Likes

Now its time for the surprises from Asus India

the much awaited Sabertooth Z97 mark S

After the usual unboxing, I couldn’t resist myself from putting the XSPC cpu block with white painted plate and screw on it, to check how its gone a look.

Now its time to uncover the beast

In the mean time Paint jobs for some parts and accessories

To check how its gone a look


Post merged on May 14, 2015

Thanks Kingston India for the Rams


Post merged on May 14, 2015

Here comes the thanks giving label for SnowLion

4 Likes

Nice Build log and mod work sanjib :slight_smile:

1 Like

Brilliant work.

1 Like

thanks a lot guys… now its time for the

GTX 980 matrix platinum… it comes with the usual ROG colour combination… red and black… so for this a red coloured sleevings have been added to the usual black and white combination… but the gpu needed a little bit of white impression also… to make it a part of this build… The ROG logo was white and the red streaks really looked awesome, so following that just tried to add some white streaks and the result is as follows… some white vinlys on the cover and a honey comb design vinyl with matte lamination for back plate…

2 Likes

Okay so here I am officially jealous now.

1 Like

How do i get Asus to sponsor my next build :face_with_tongue:

1 Like

One word… Excellent..
and +1 to the photography

1 Like

Its time for some fun with acrylic sheets. I planned to put the 3 SP120 fans on front and to show the white stickers on it, i need a transparent cover for it, so acrylic sheet comes as the first choice, made a honey comb design and then went for the laser cutting for the perfect finish. This was my first time with the laser cutting workshop so had some issues with the files, so did a basic try out and here is the out come…

the front panel

The TUF logo

The outcome

a logo for the top mesh of the cabinet and some light effects on the Front acrylic panel

1 Like

Now its time for the pics of some tryouts that I have done inside with some acrylic, to start with,

A psu cover- an acrylic sheet of 4 mm with a matte lamination on it. used the Matte lamination to diffuse the visibility of the things under it, but still to get a hint of the light under it.

Now its time for the tubing, got some acrylic tubes with G1/4 thread on both ends, so with both side male adapters i started using them with the help of some xspc 45 degree adapters and a bit of flexible white tubes where it was not easy to mount the acrylic tubes.

First I started the loop like from the tube reservoir the pump taking the water and pushing it straight to the CPU block and then from CPU block moving to the Radiator and from Radiator going to the Reservoir.

The Tube going to the CPU block was straight, but the tube coming out from the CPU block was at 45 degree. So in the next tryout I changed the direction of the tube carrying water to the CPU block from 90 to 45 degree to match the other tube, and here it how it looked.

To maintain proper air pressure for the radiator I shifted the SP 120s from the front and put them inside the cabinet, pushing air thru the radiator, and have put 2 corsair ap fans on top to pull the air through the radiator. And planned to put to 140 mm LED fans on the front as intake… so this lead to rework on the front panel acrylic design. And this is what I did to the front panel.

I’m so jealous … o.O

Hi, sorry for the long gap in updating the Build log due to some unavoidable circumstances.

After the completion with some new additions to the build here are the pictures, looking forward to the valued feedbacks, thanks in advance.

After the Snowy effects… hoping it may become monotonous so added a RGB strip with controller to slowly change the colours … here are some pictures of how it looks.. in different colours..


Post merged on Jul 21, 2015

And a video link if you like then do like, post comments there and subscribe.

4 Likes

Awesome work mate.