
Big thanks to @Chaos for donating this beautiful case!
It was always my dream to get one of these beautiful Aluminium cases all along - CM Stacker, ATCS840, Wavemaster or any of the Lian Lis. As luck would go, I had to me content with my hacked up Zebronics during that time.
As time passed by, I started collecting some cases of the past - Antec TX1088AMG, Chieftec BH-02, Coolermaster CM690, NZXT Phantom and now the Coolermaster Stacker 830. Very proud of my collection and want to add more!
Coming back to the Stacker - Sometime in January, Chaos told me about his plan to replace the Stacker with a NZXT and he asked me to come and pickup the Stacker! I was so excited, I kept bugging him often about when I could come and pick it up
Finally the day was here - The Stacker has come to its new home!
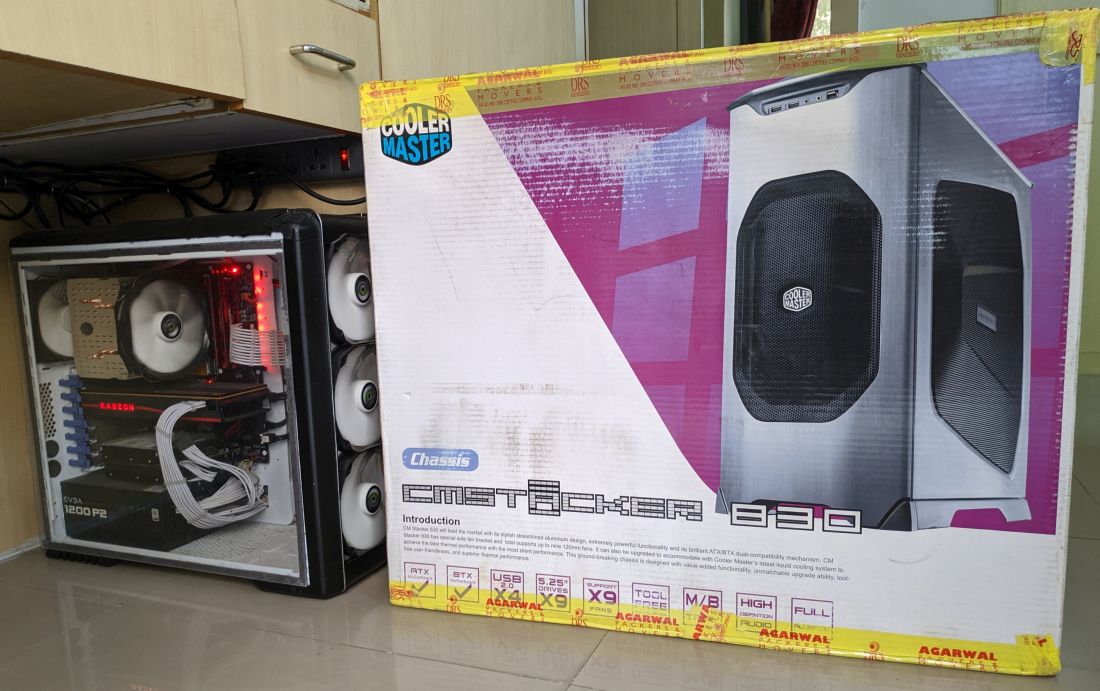
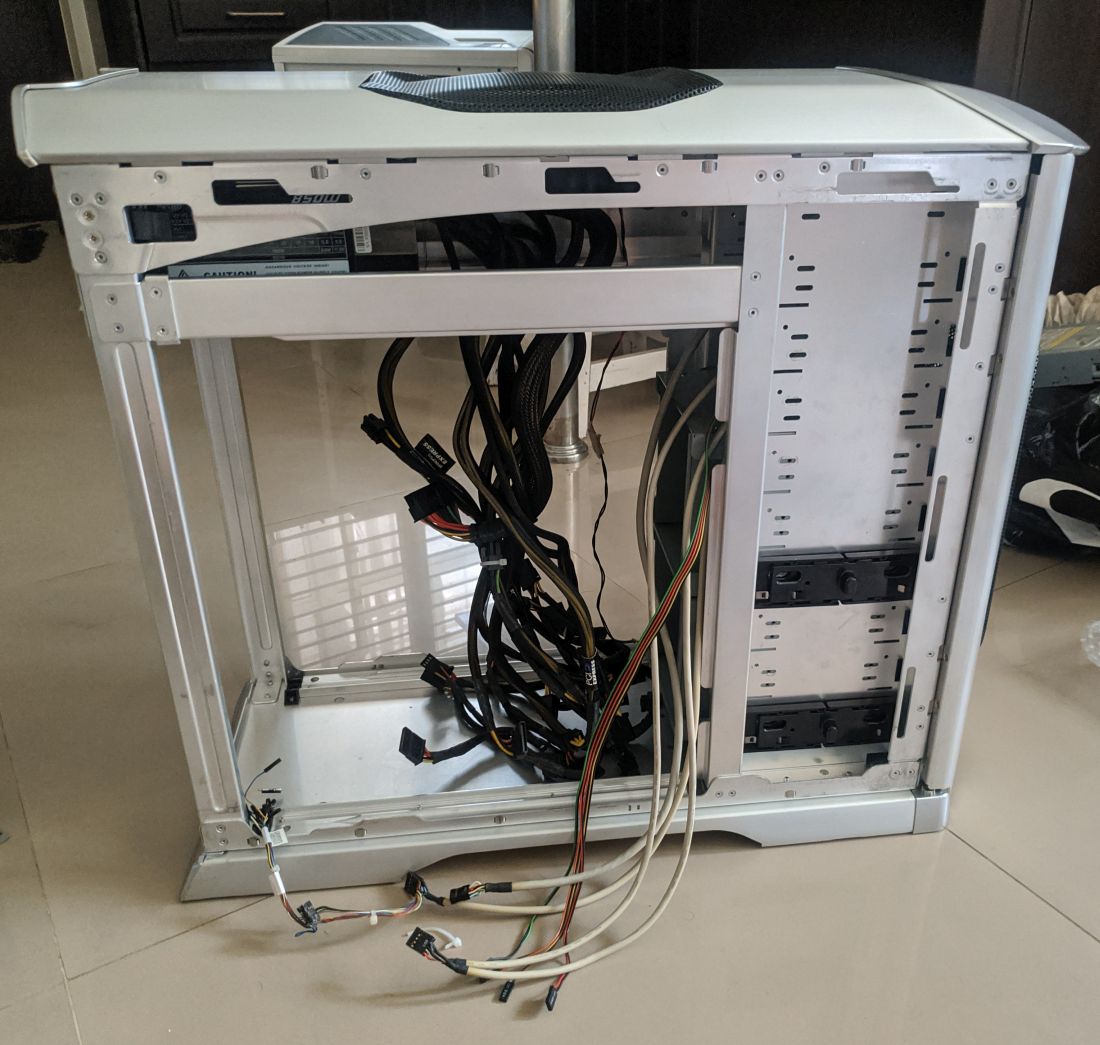
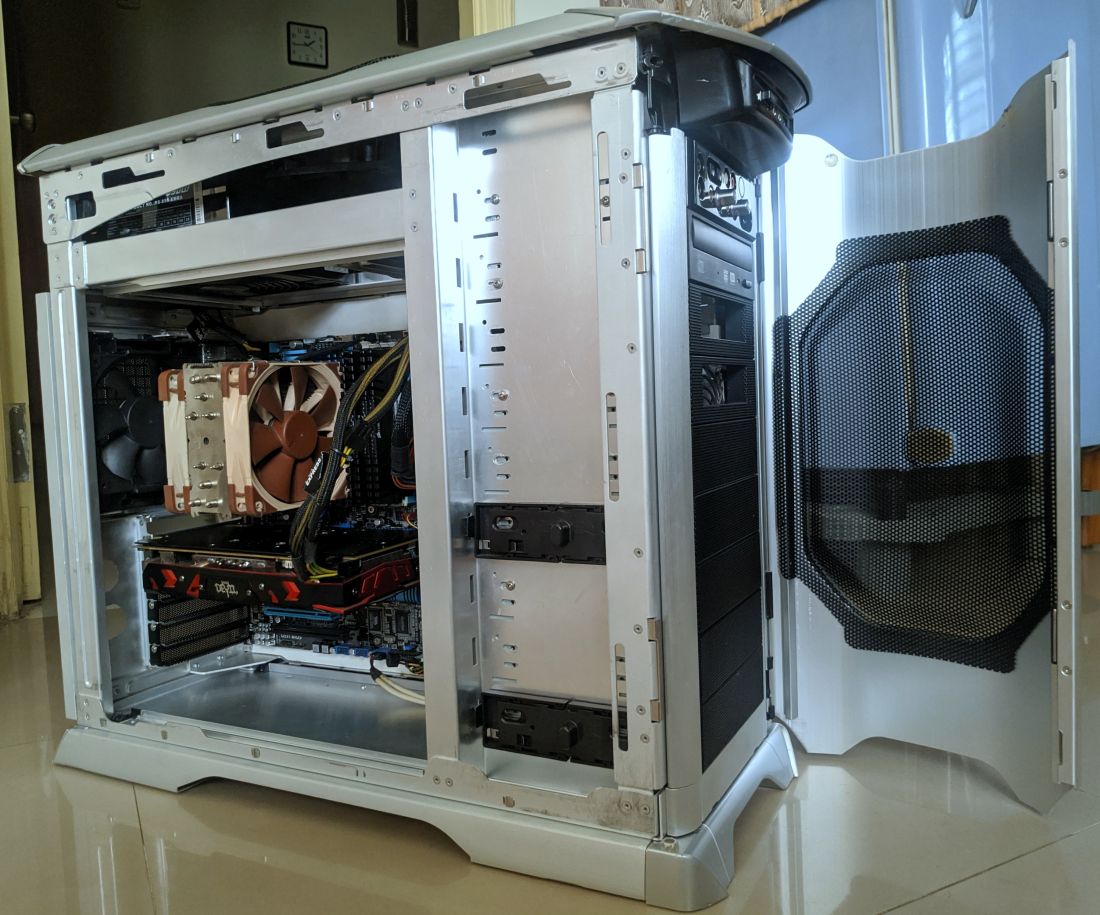
Couple of days later, I opened the box to see what I got - The case was fairly dirty with a lot of dust inside and the exterior brushed aluminium looking dull and stained at few places. The front door was broken and wouldn't sit, turns out the hinges were broken.
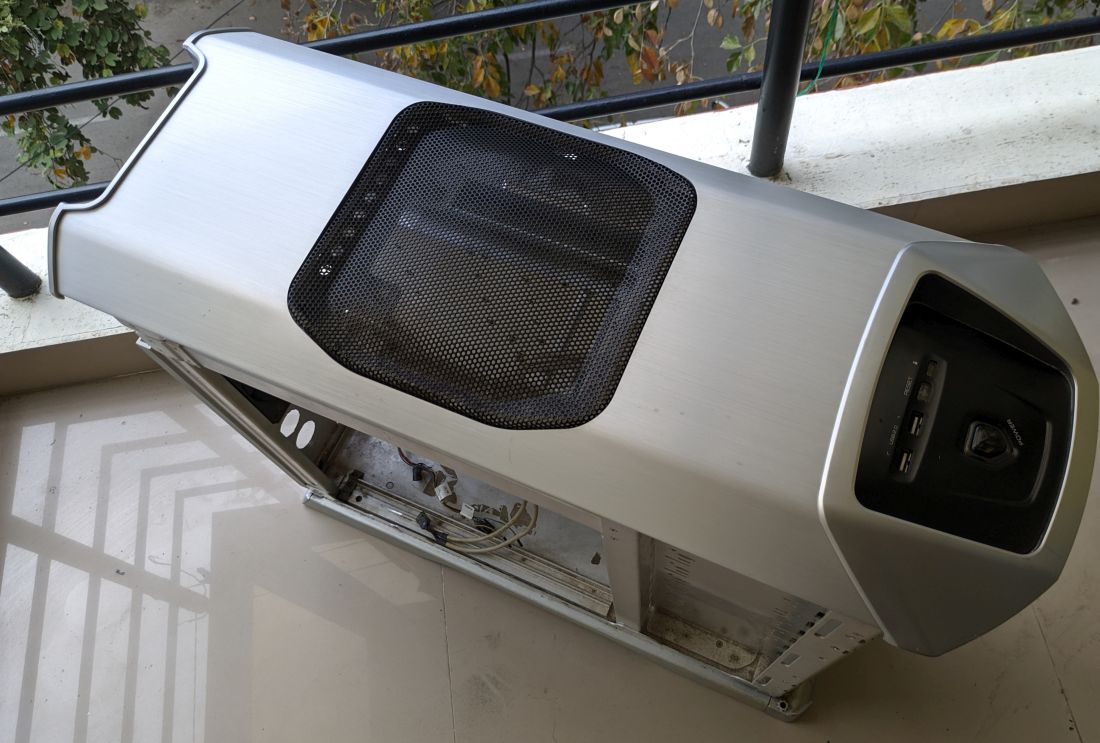
Right off to cleaning. I did a sample on how I want to approach cleaning the exterior - A non abrasive approach since I want to preserve all of the brushed finish as possible. I taped off a corner of the top panel and tried different methods till I found a combo that I was happy with, here;s the result.
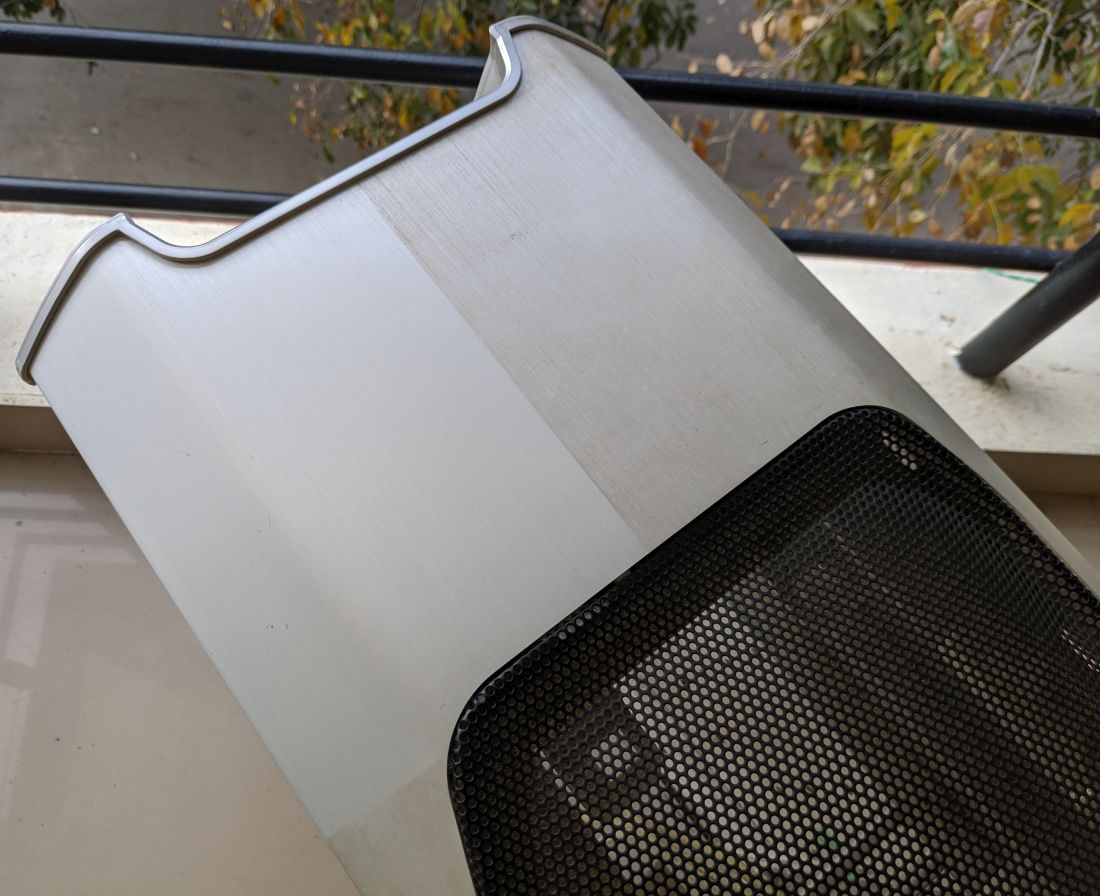
Take a step back and you'll see how significant it is
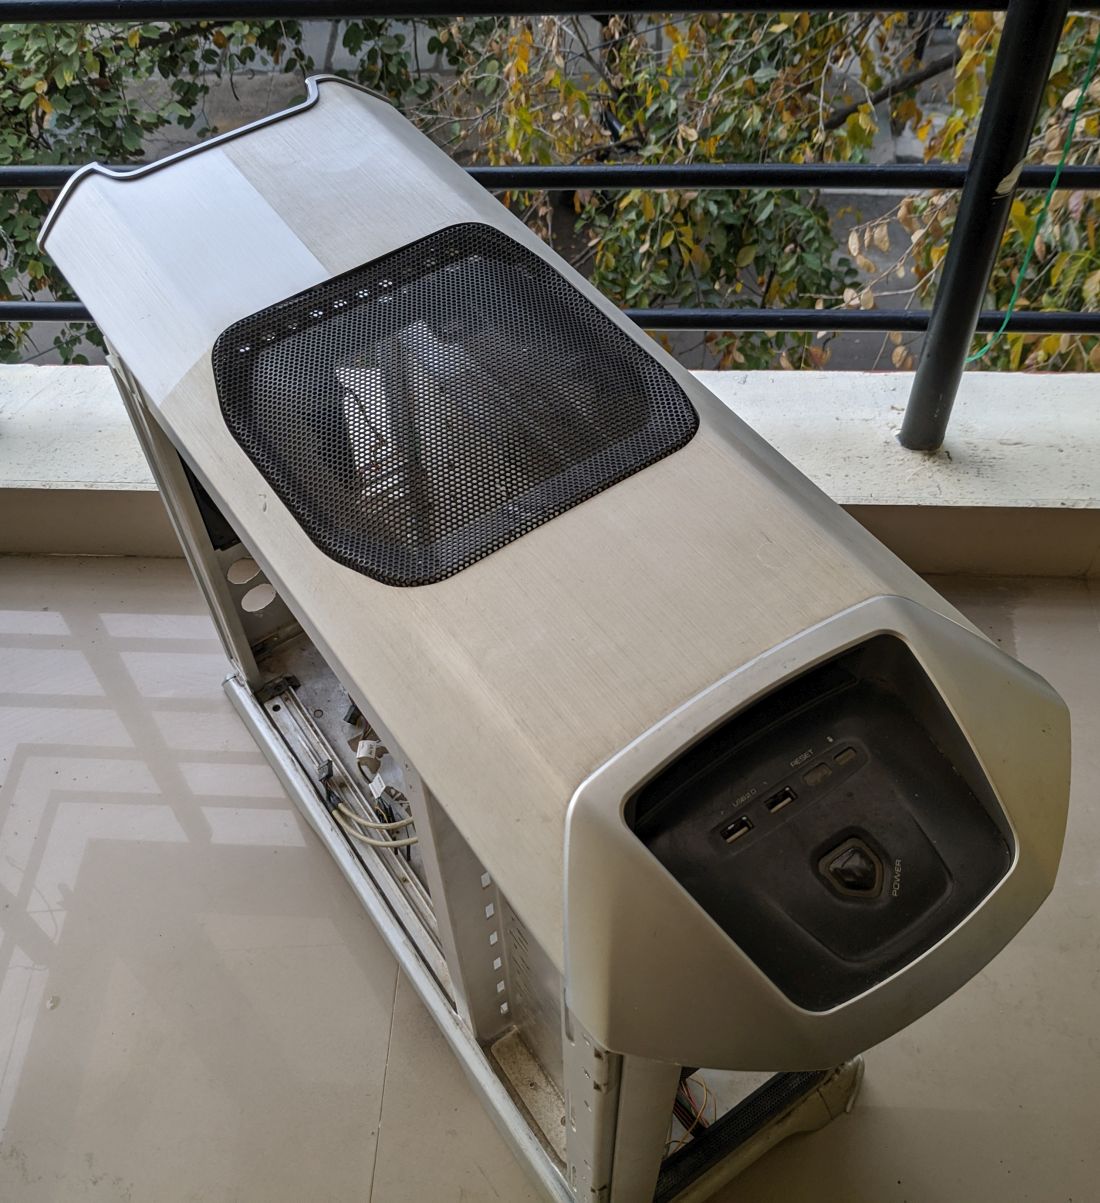
The top is complete.
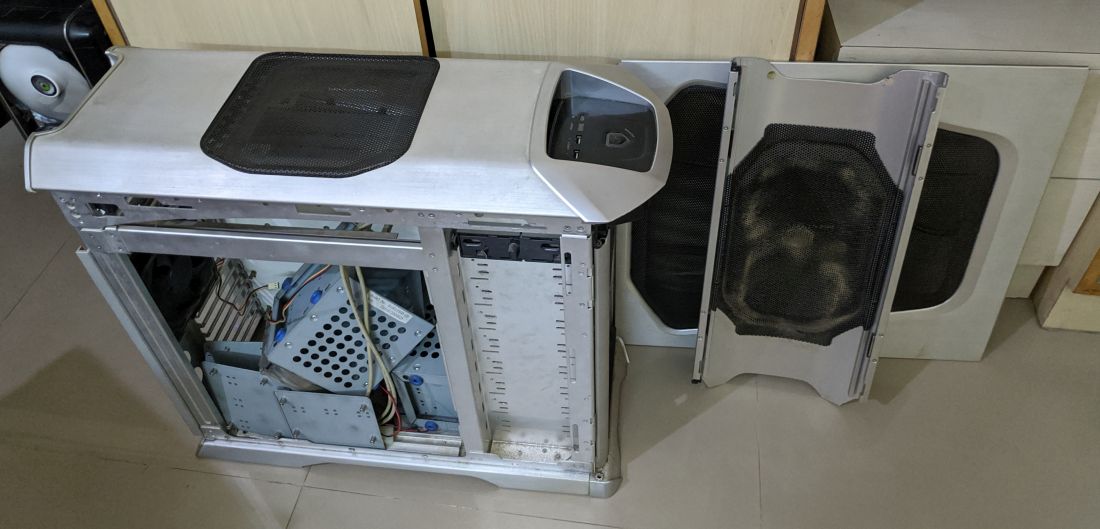
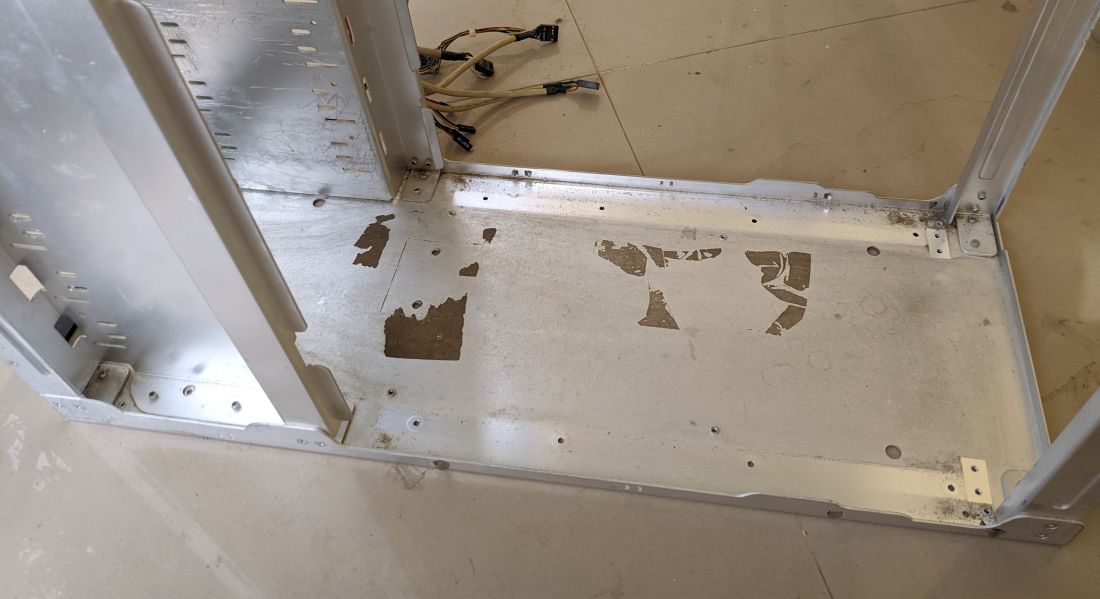
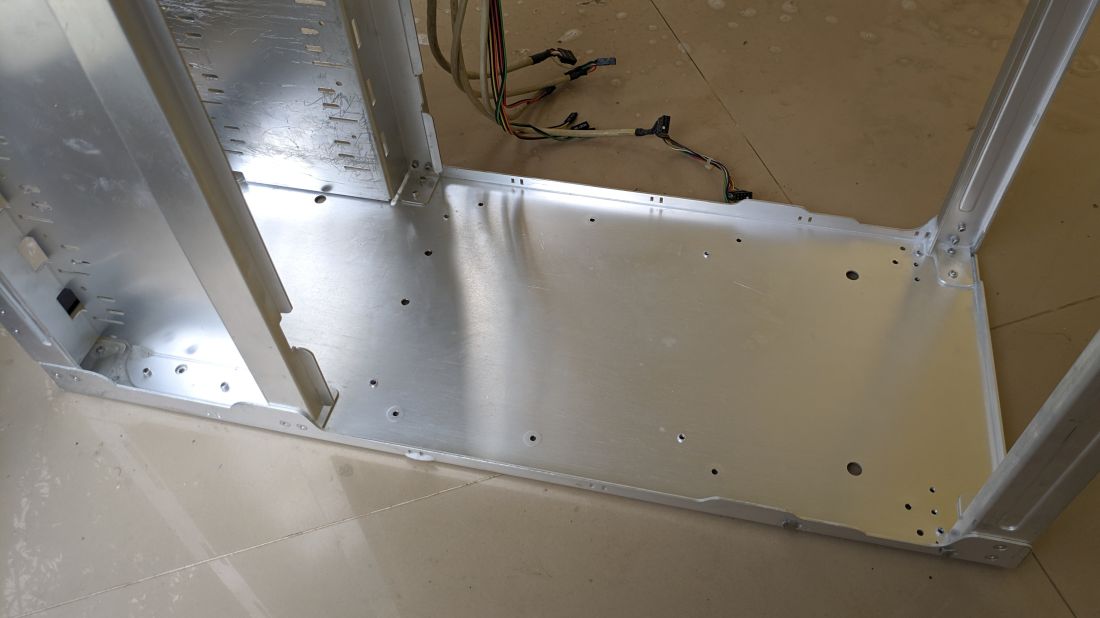
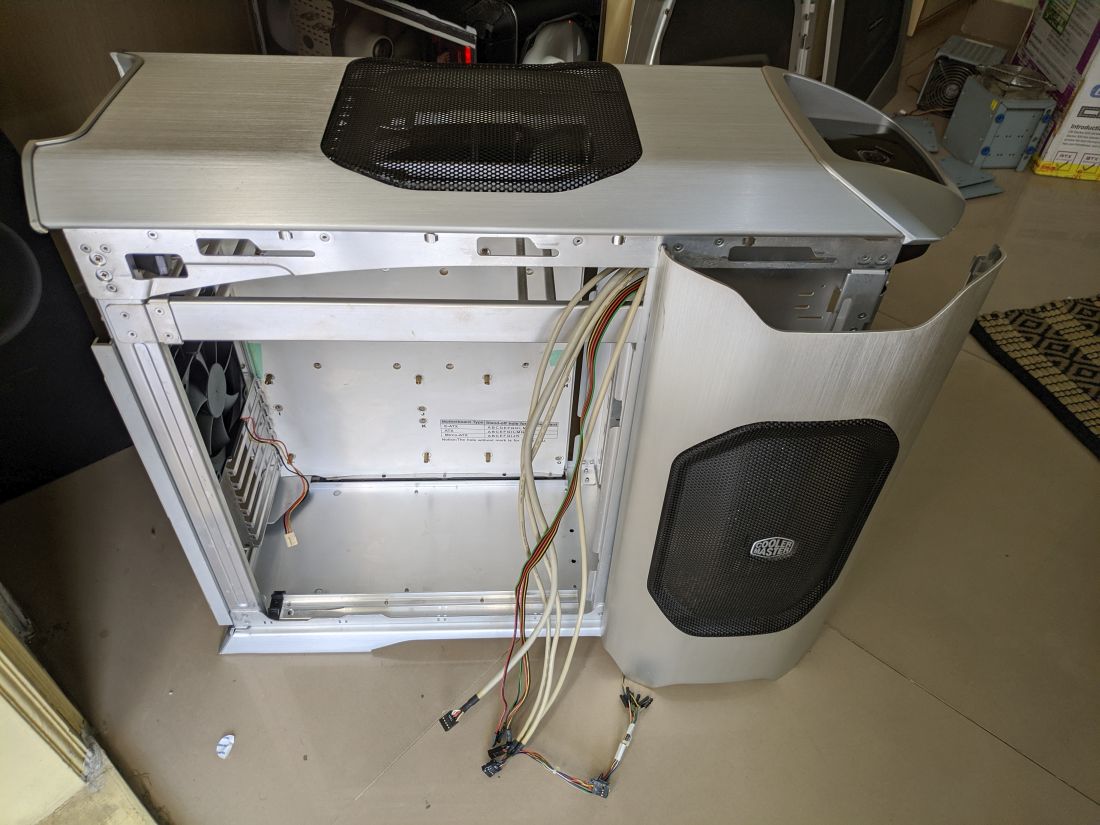
Next, tackle the interiors. There is a mix of dust, sticker residue and oxidized Alu
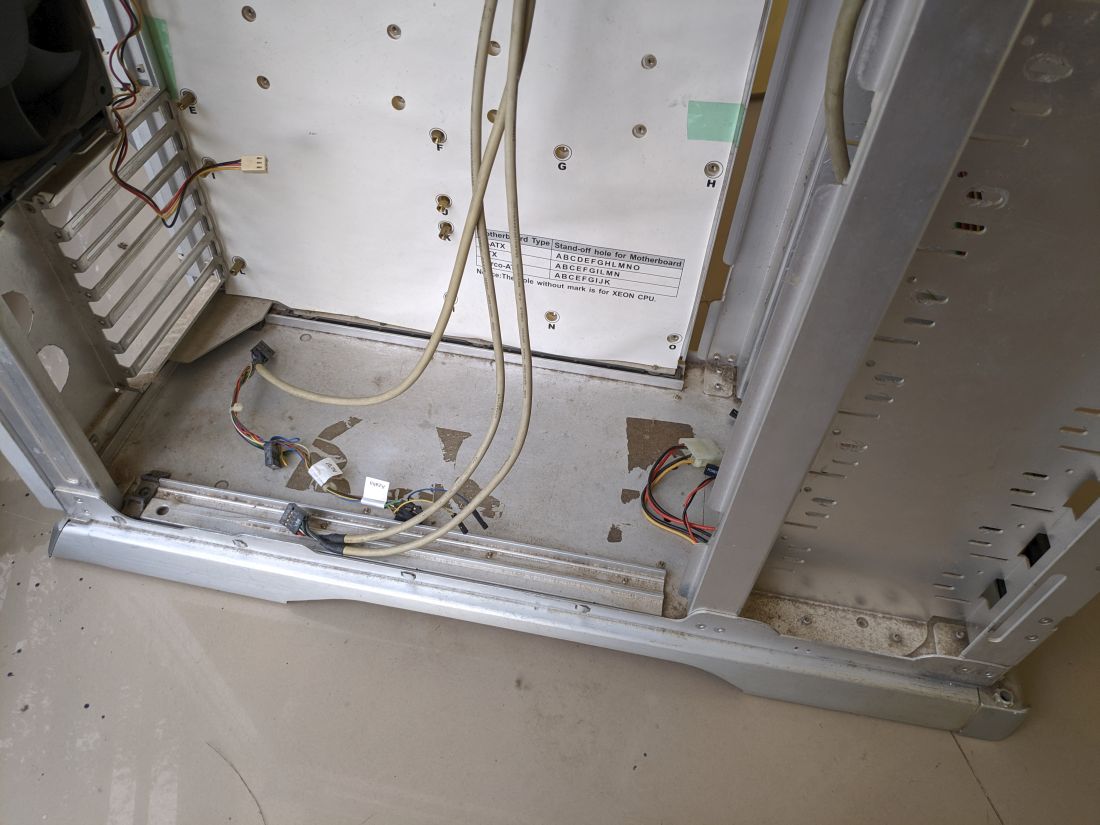
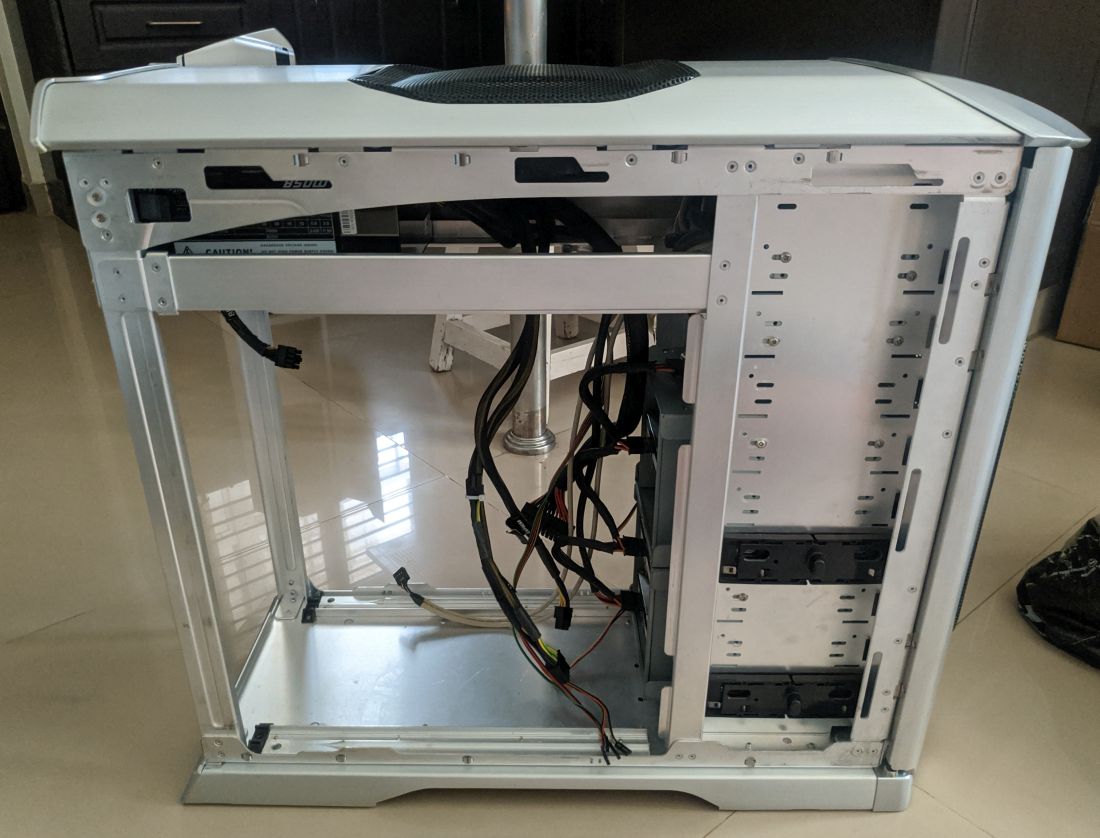
Taking out the motherboard tray and its rails, you see a bit of the original Alu finish. That is my target!
Out comes the soap and paint brush, start the initial clean! I had to be careful not to foam/water the top since I could not manage to remove the buttons/USB hubs on top.
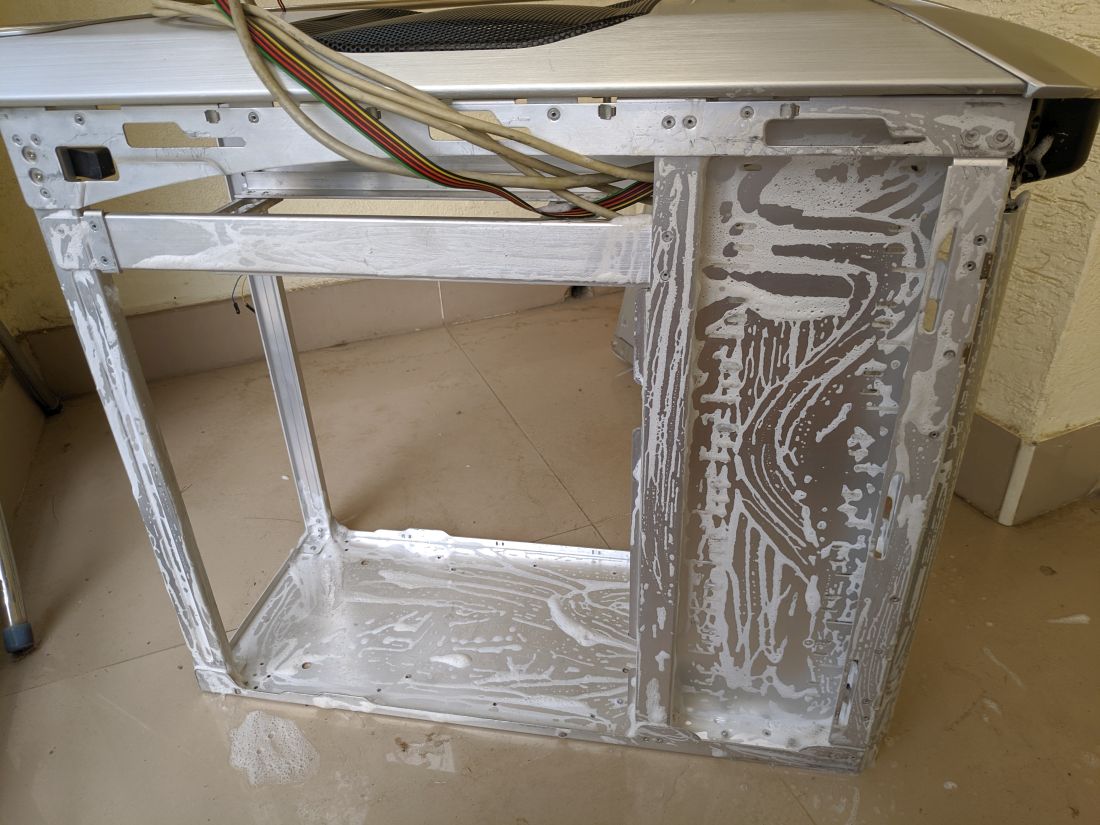
Another round of deep clean and I've come close to my previous set target. Yay!
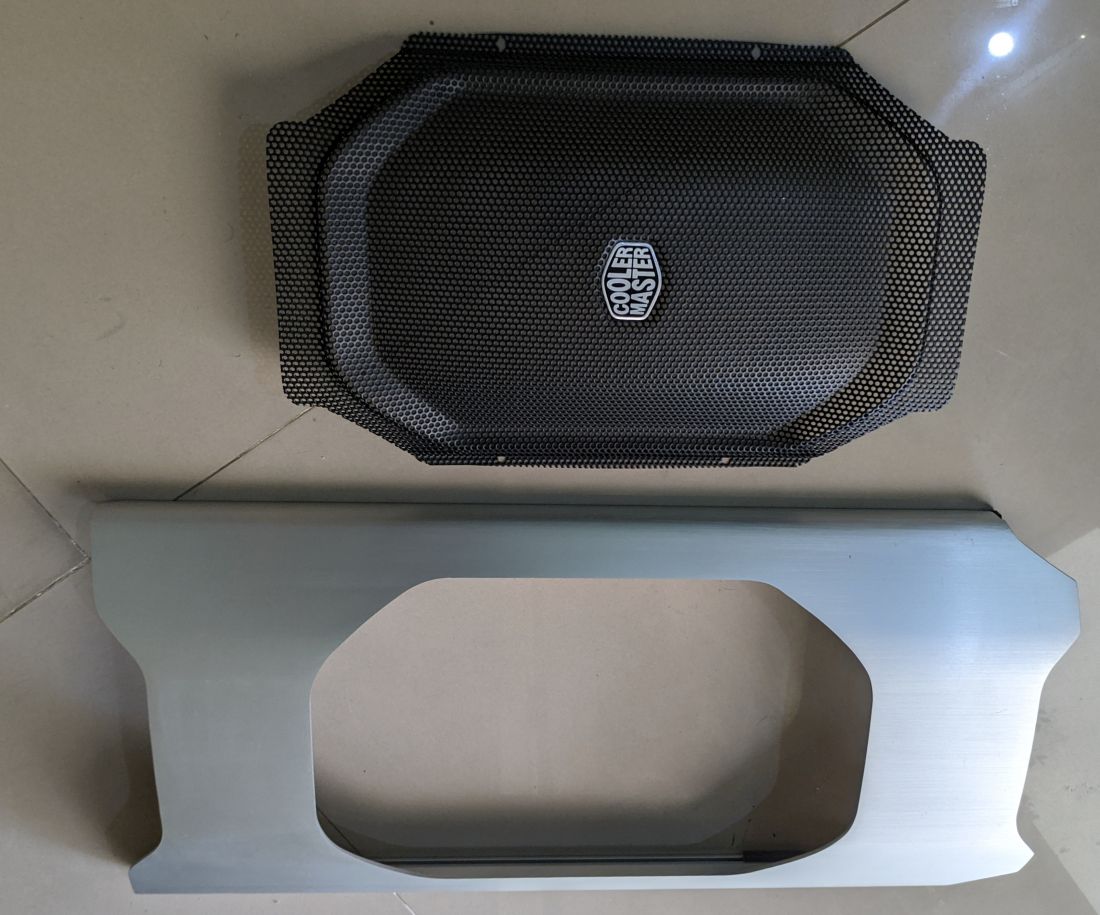
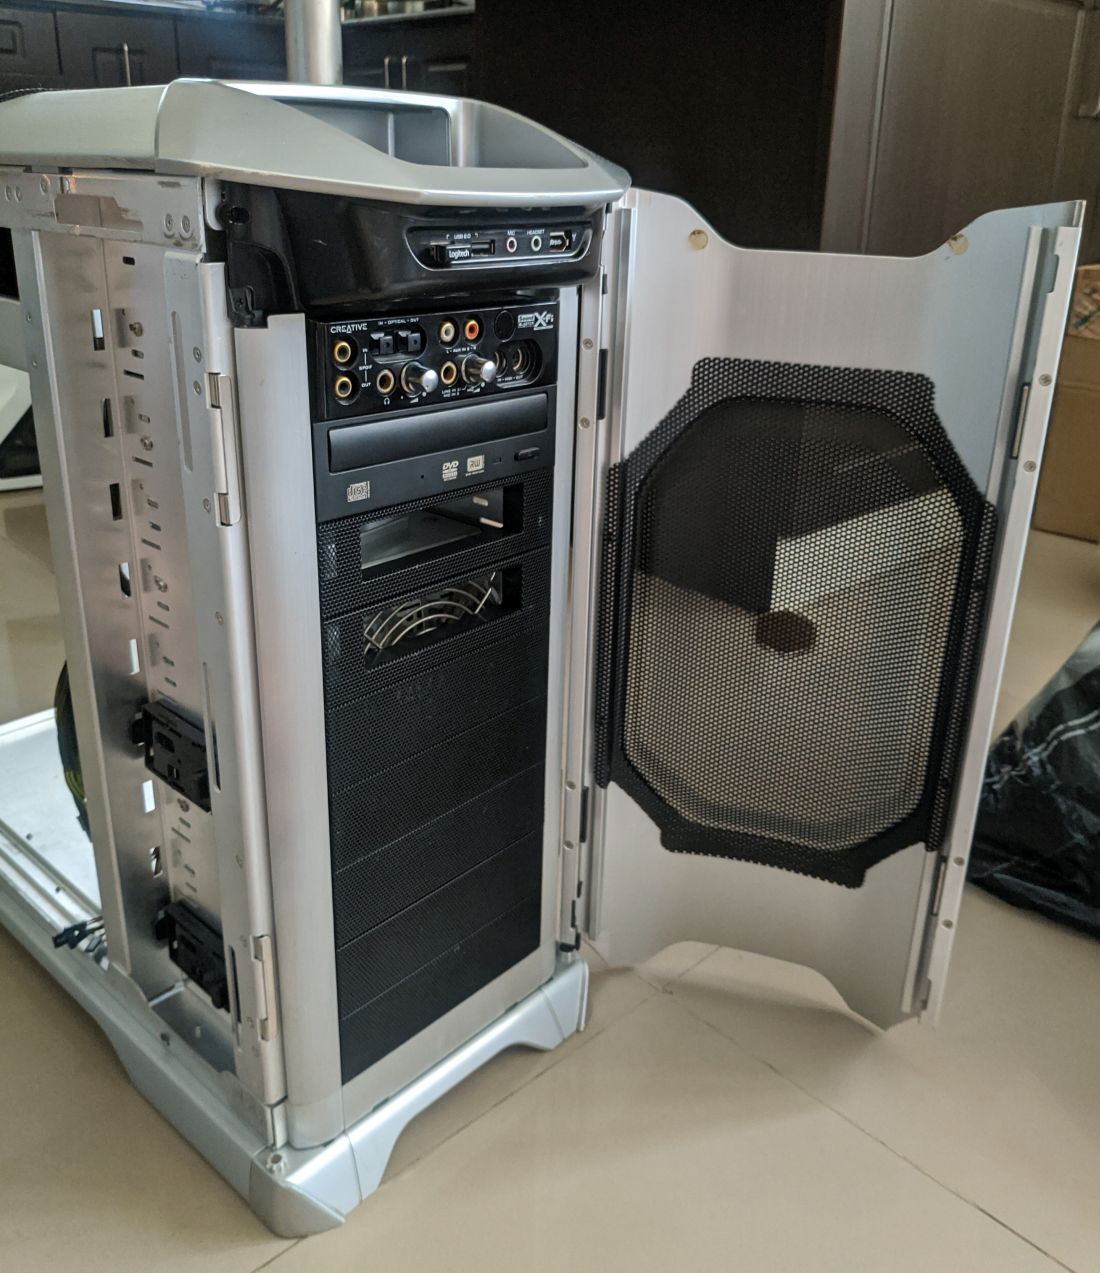
Grill come off the front panel, both were cleaned separately and assembled back.
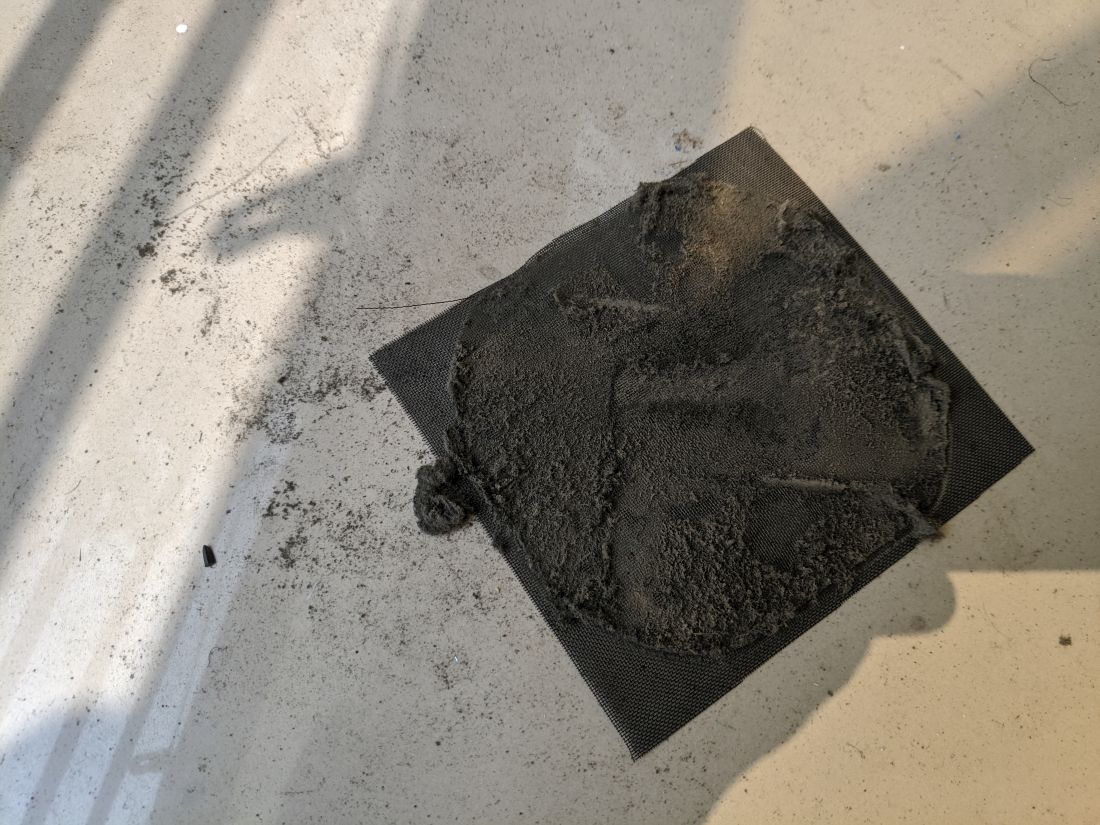
This is the exhaust fan from the motherboard tray. Oh man look at the dust buildup - Why is there a fan filter on an exhaust???
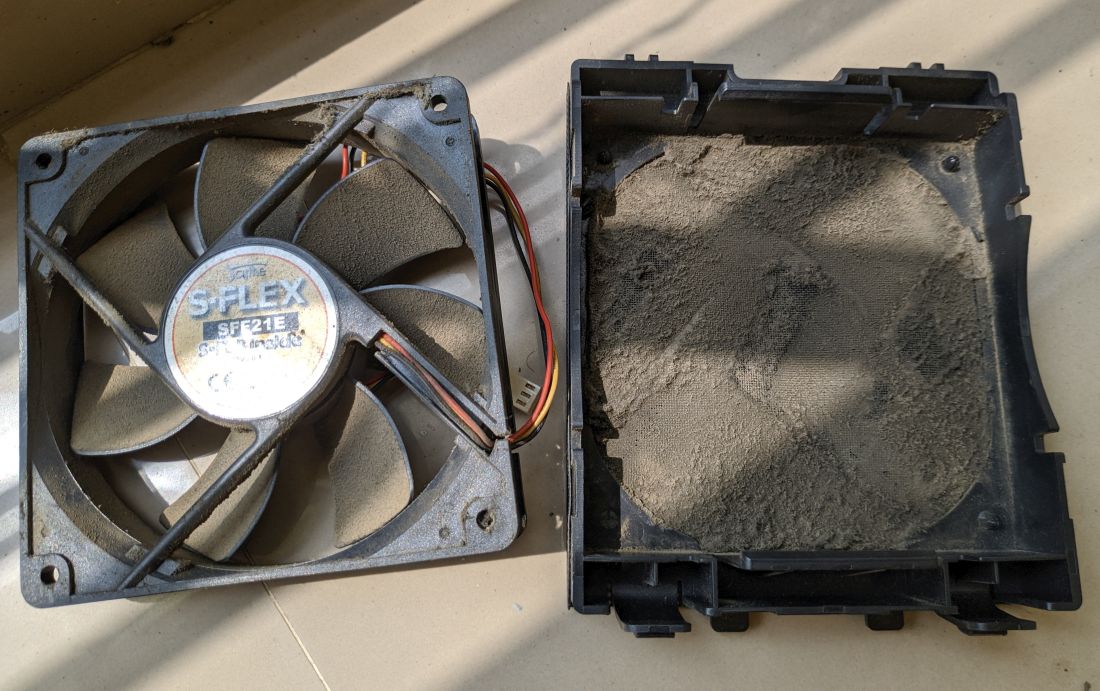
First thing I do is rip off the filter. No wonder Chaos wouldn't have been happy with thermals in this case by now.
Mobo tray rails, Base assembled back into the chassis. Looks soo much cleaner now!
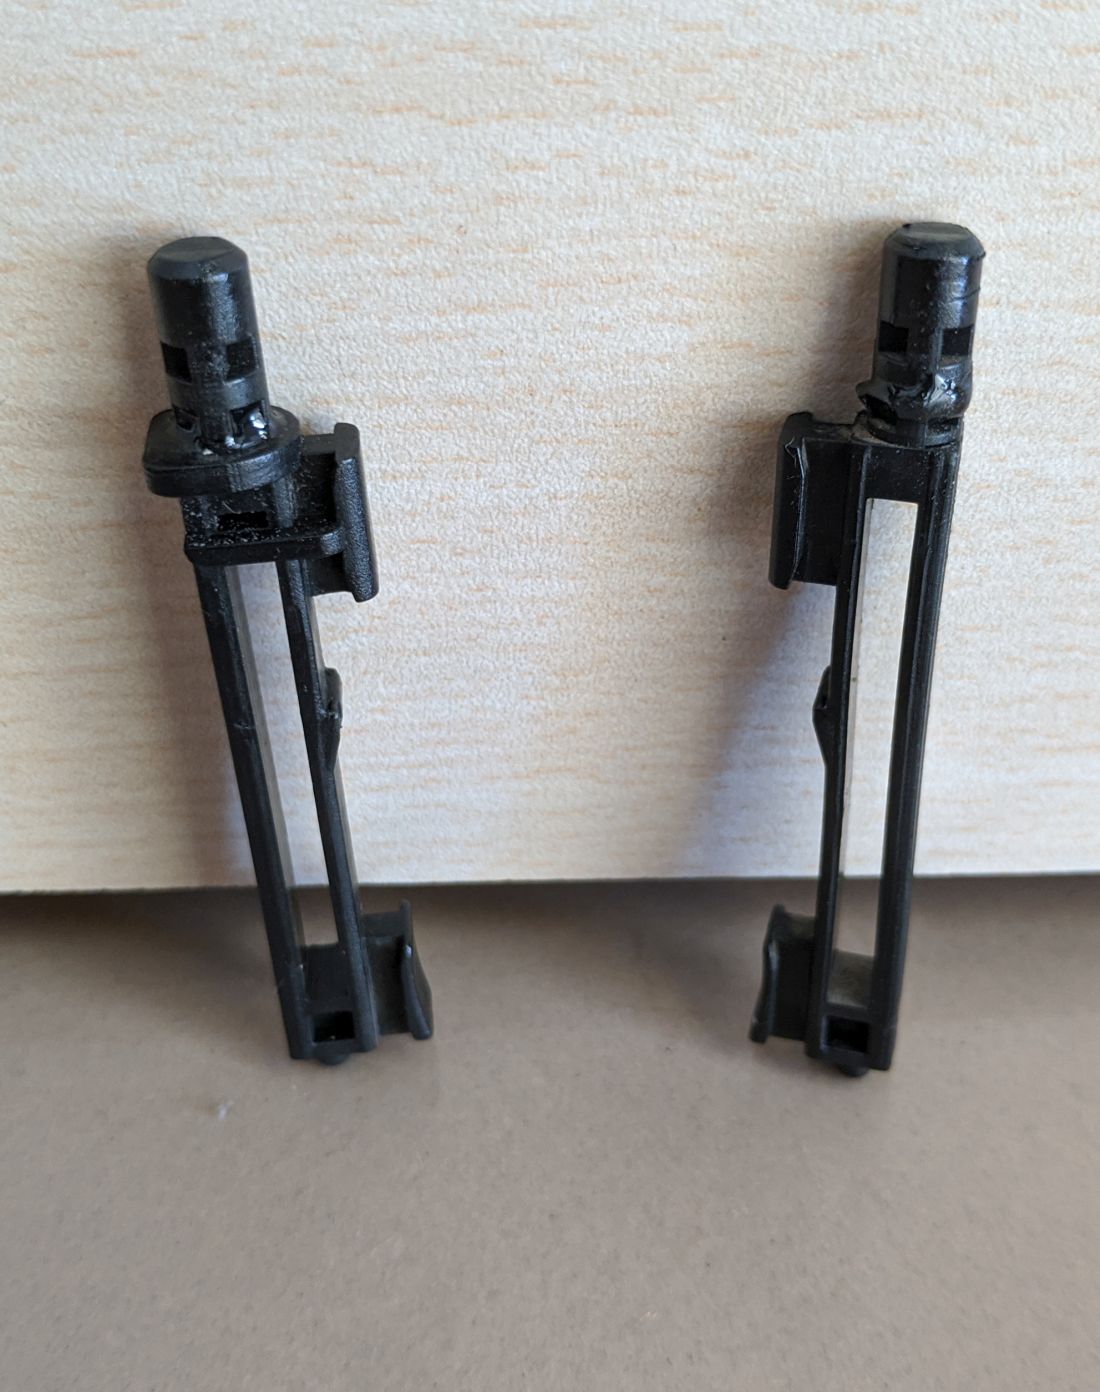
The front door hinges were broken and thankfully the broken pieces were stuck in the case. They were glued together with Araldite and they should hold up well.
Last of the dirty components - 4 in 3 drive cages. Just look at the filth, same amount of dirt came off each of the 2 cages.

One of the cages came with a black fan, I replaced it with a Coolermaster Blue LED fan so both cages have a consistent colour. I will probably use the black fan for top exhaust

Drive cages put back, drive bay covers were cleaned and assembled as well. I got 7 covers that leaves 2 holes - one will be taken up by a NZXT Fan controller and other with a DVD Writer.
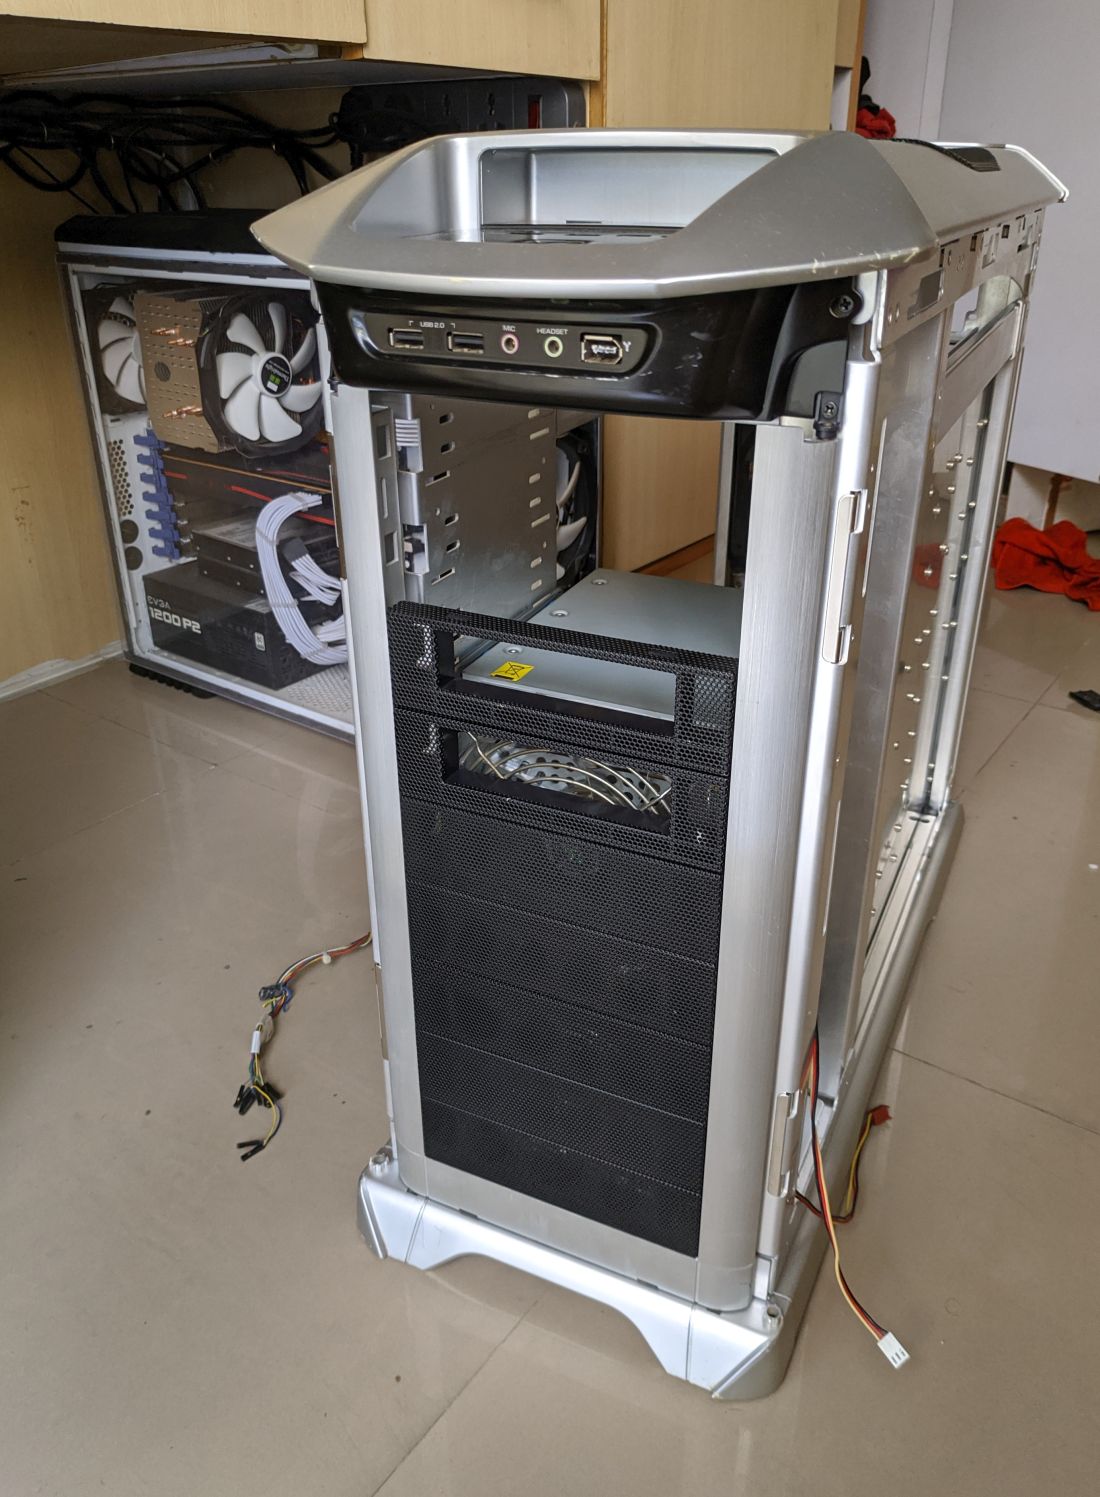
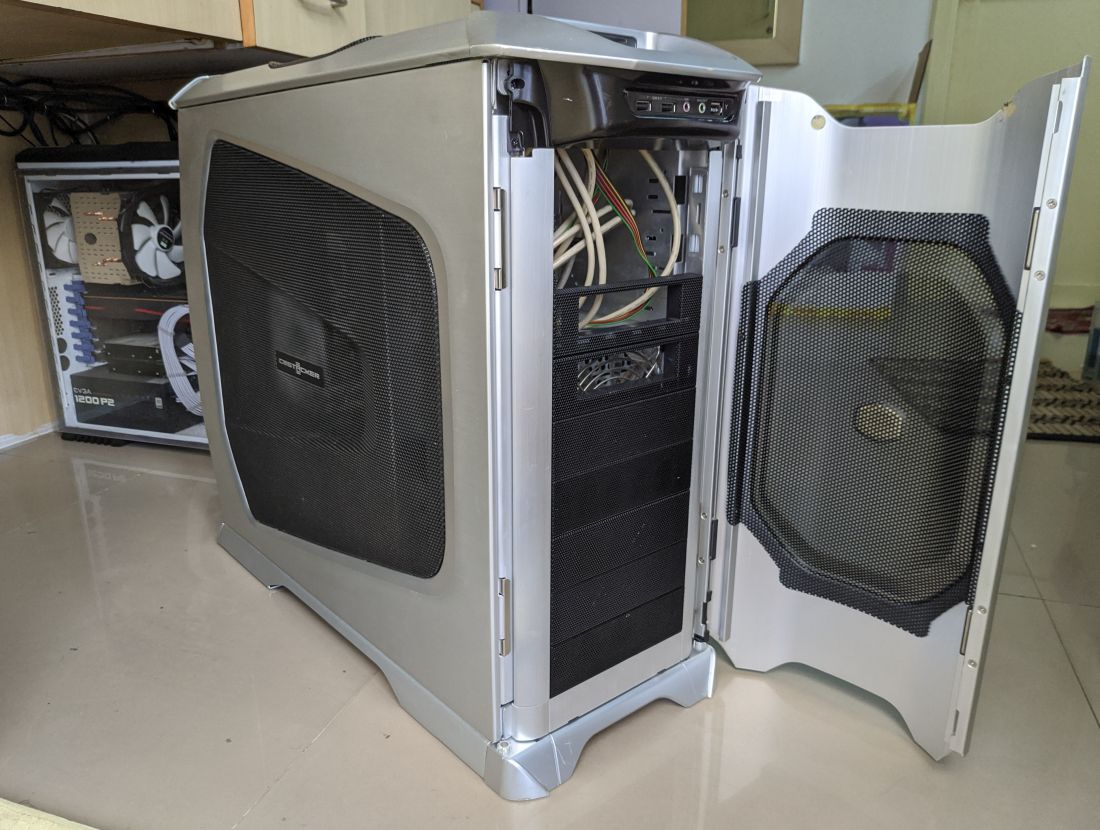
Door is on and it works!
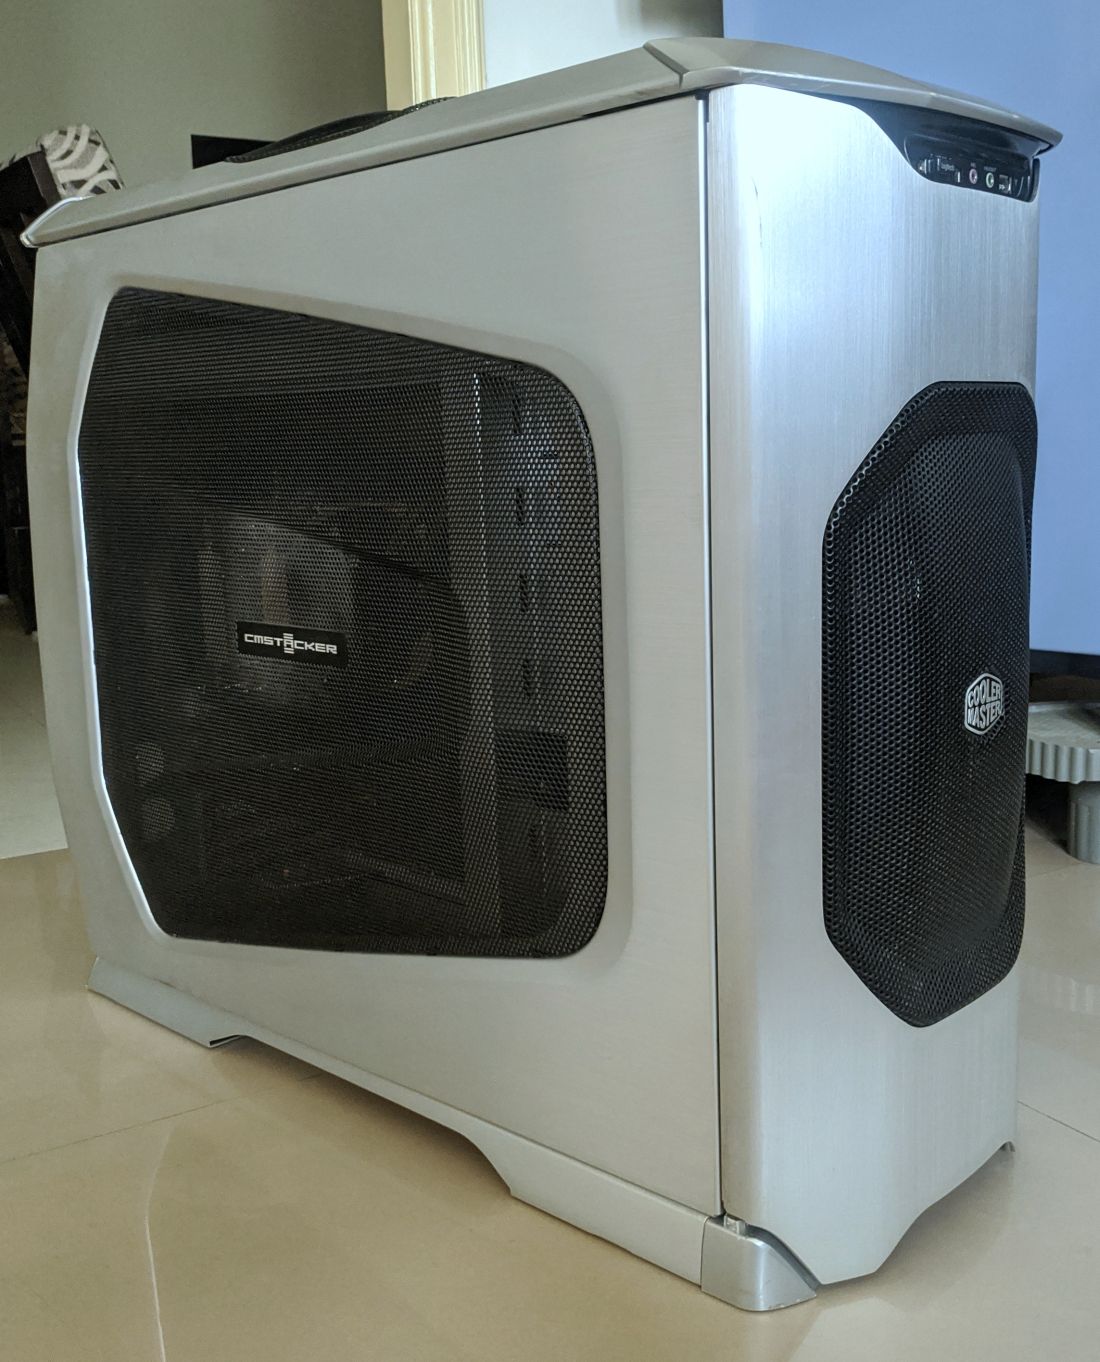
All panels put on and only one word to describe it - Beautiful!!!
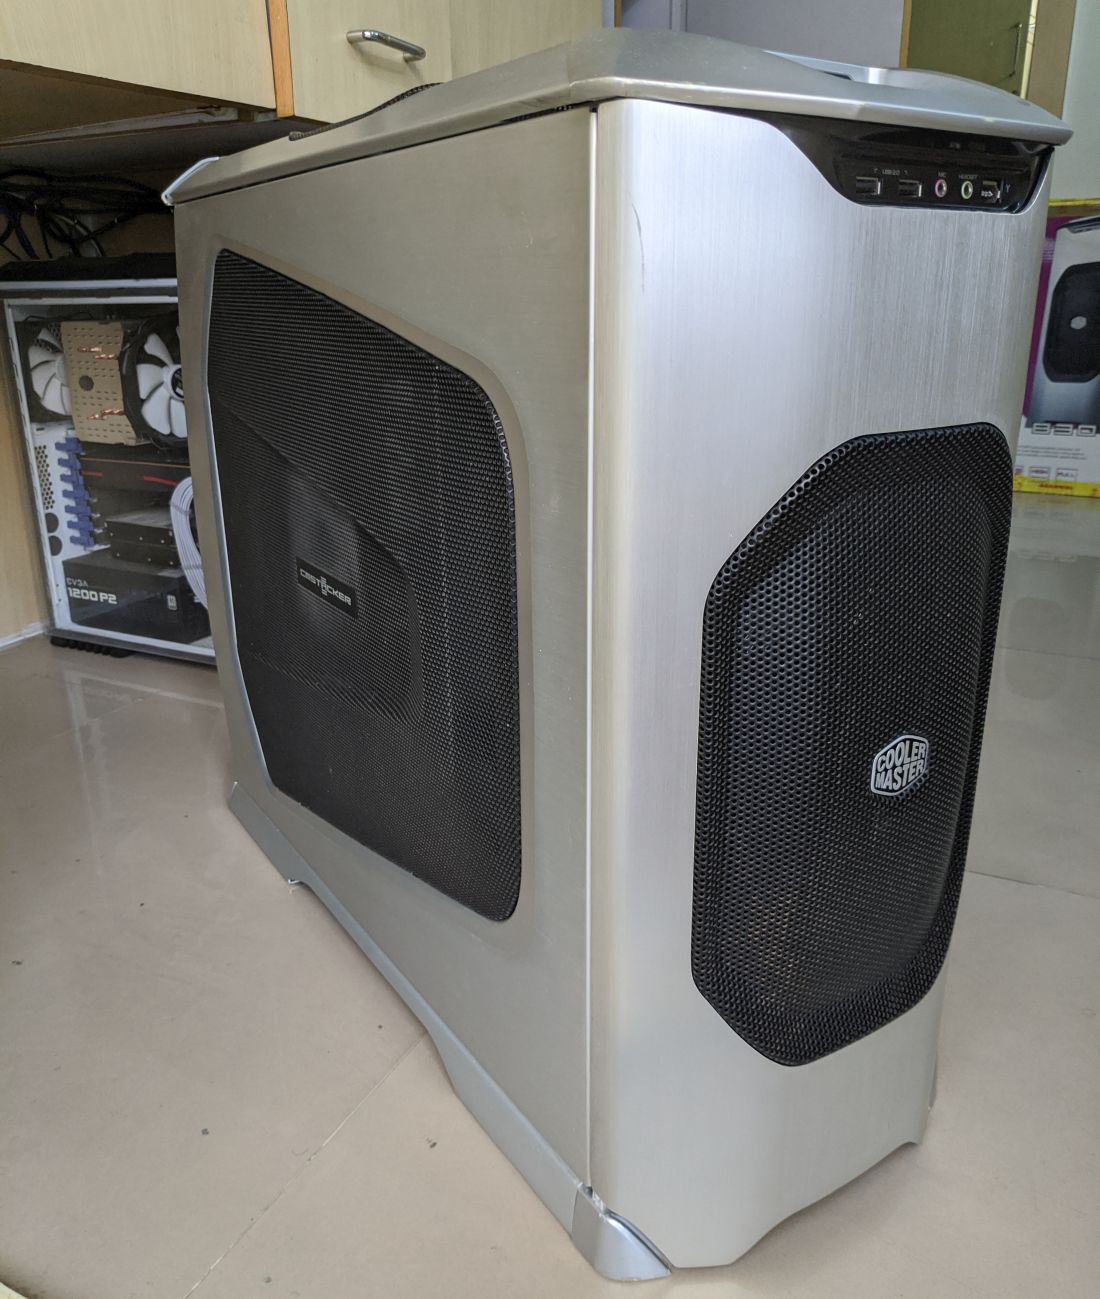
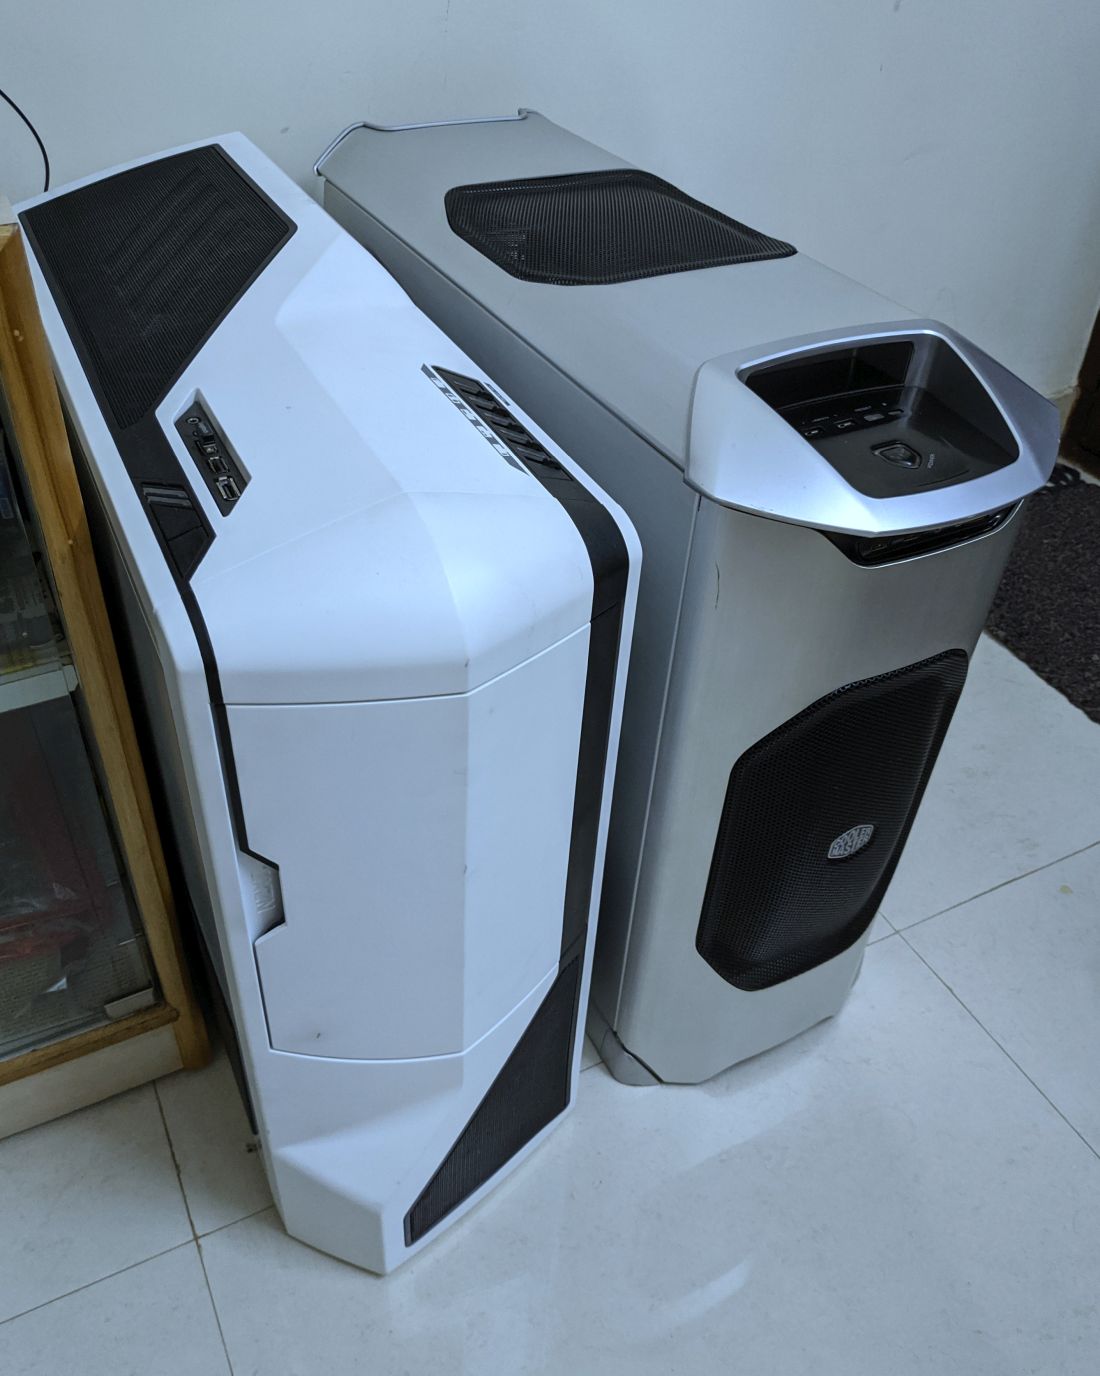
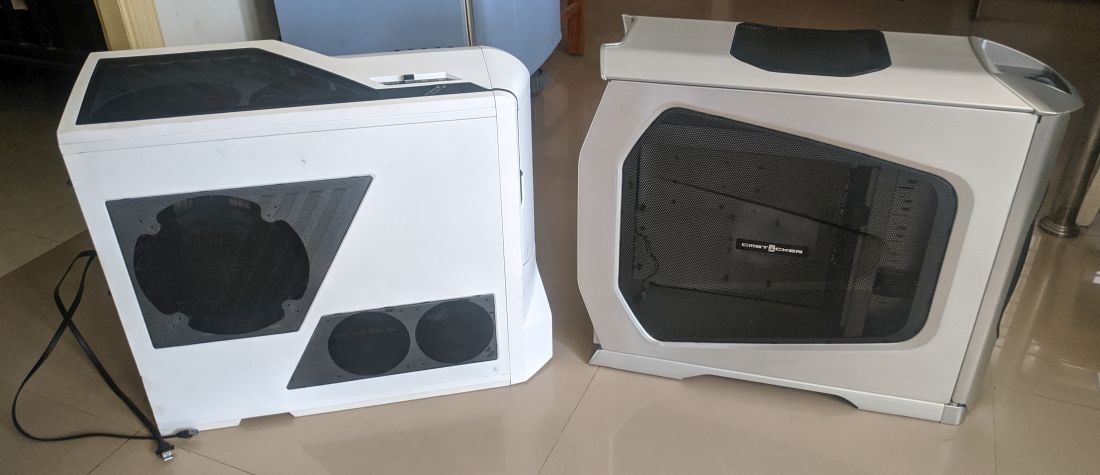
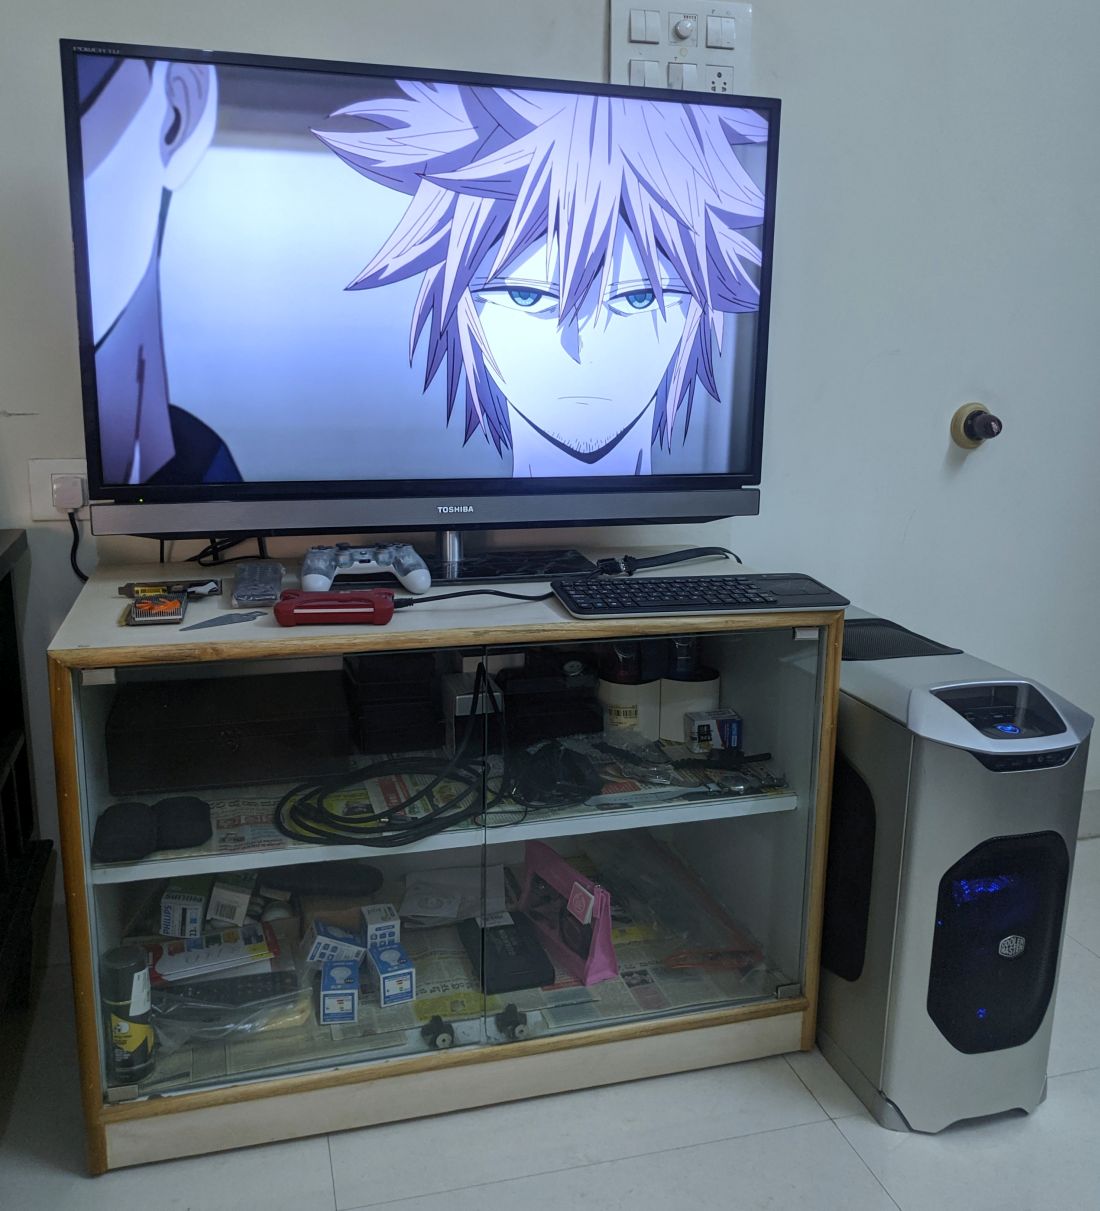
Comparing to the Phantom - Its the same size but looks so much classier. At this point I realised that it would be an absolute CRIME to not use this case and so, the Stacker will replace Phantom to house my HTPC!
When it comes to modding cases like these, I am of the personal opinion that cases like these should be preserved. They do not make beautiful and elegant cases like these anymore, either they will have hideous meshes or swathes of glass with RGB fans and what not behind them. Cases like these take me back to the time of elegance and class and I will do my best to preserve such masterpieces!
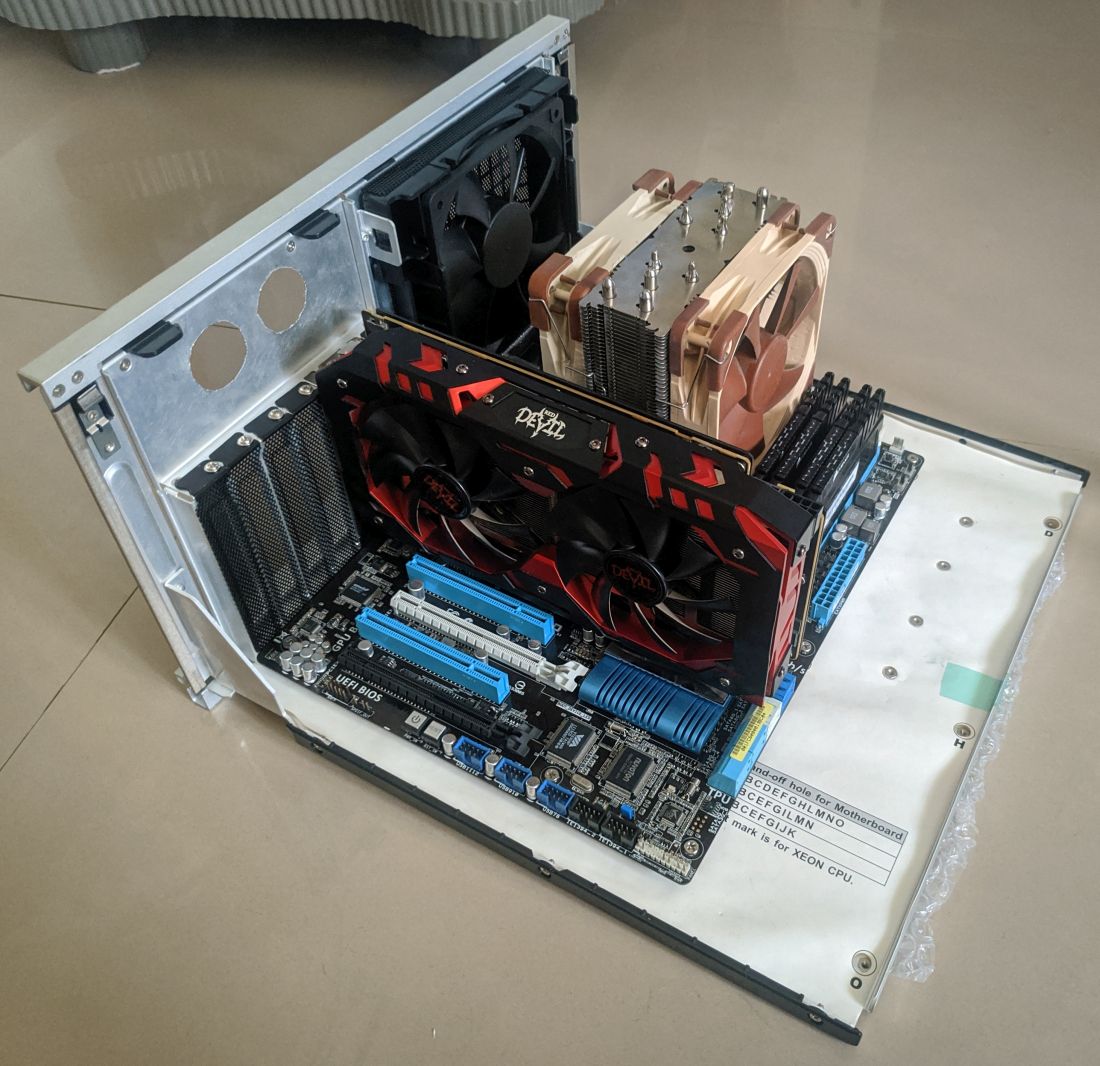
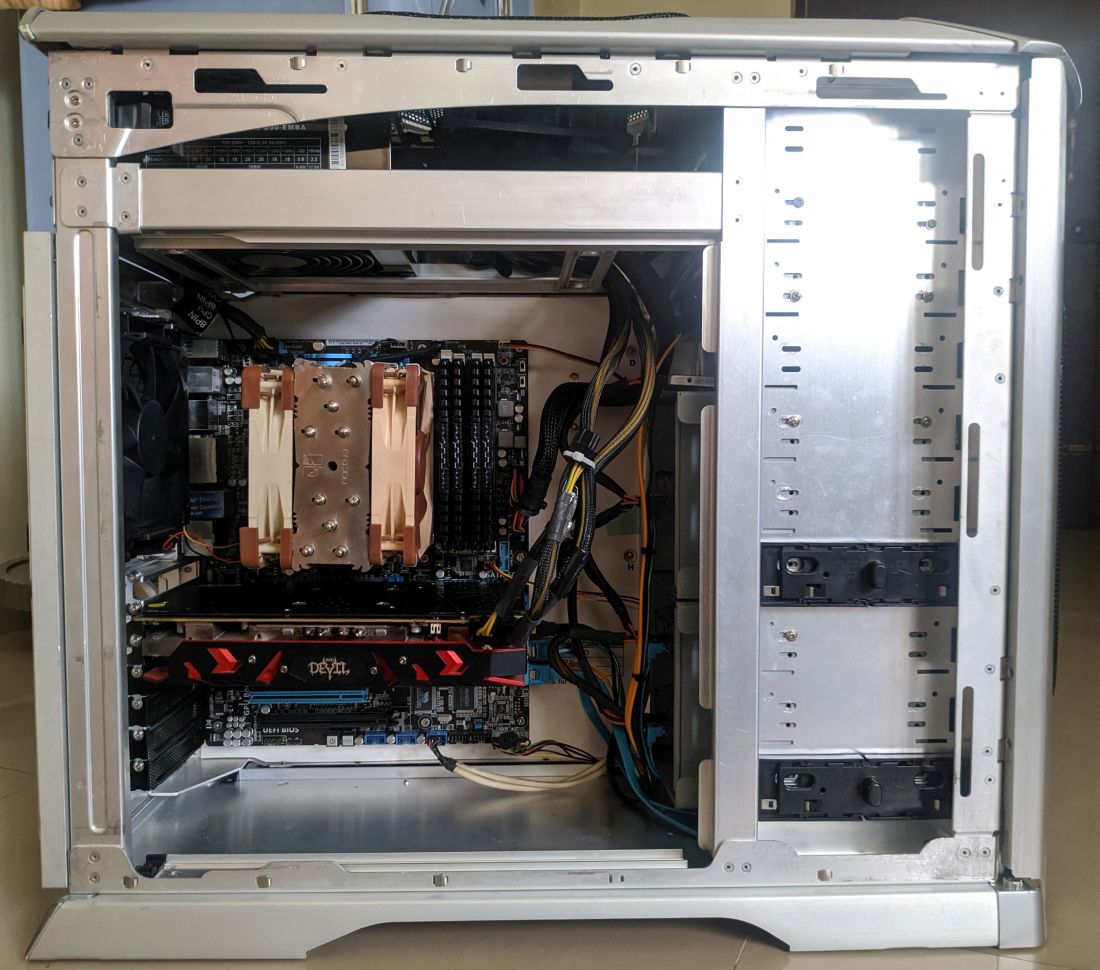
Moving my HTPC inside the Stacker and trying to cable manage with a non modular PSU plus a case not designed for easy cable management will be tricky but I'm looking forward to the challenge. Stay tuned!
It was always my dream to get one of these beautiful Aluminium cases all along - CM Stacker, ATCS840, Wavemaster or any of the Lian Lis. As luck would go, I had to me content with my hacked up Zebronics during that time.
As time passed by, I started collecting some cases of the past - Antec TX1088AMG, Chieftec BH-02, Coolermaster CM690, NZXT Phantom and now the Coolermaster Stacker 830. Very proud of my collection and want to add more!
Coming back to the Stacker - Sometime in January, Chaos told me about his plan to replace the Stacker with a NZXT and he asked me to come and pickup the Stacker! I was so excited, I kept bugging him often about when I could come and pick it up
Finally the day was here - The Stacker has come to its new home!
Couple of days later, I opened the box to see what I got - The case was fairly dirty with a lot of dust inside and the exterior brushed aluminium looking dull and stained at few places. The front door was broken and wouldn't sit, turns out the hinges were broken.
Right off to cleaning. I did a sample on how I want to approach cleaning the exterior - A non abrasive approach since I want to preserve all of the brushed finish as possible. I taped off a corner of the top panel and tried different methods till I found a combo that I was happy with, here;s the result.
Take a step back and you'll see how significant it is
The top is complete.
Next, tackle the interiors. There is a mix of dust, sticker residue and oxidized Alu
Taking out the motherboard tray and its rails, you see a bit of the original Alu finish. That is my target!
Out comes the soap and paint brush, start the initial clean! I had to be careful not to foam/water the top since I could not manage to remove the buttons/USB hubs on top.
Another round of deep clean and I've come close to my previous set target. Yay!
Grill come off the front panel, both were cleaned separately and assembled back.
This is the exhaust fan from the motherboard tray. Oh man look at the dust buildup - Why is there a fan filter on an exhaust???
First thing I do is rip off the filter. No wonder Chaos wouldn't have been happy with thermals in this case by now.
Mobo tray rails, Base assembled back into the chassis. Looks soo much cleaner now!
The front door hinges were broken and thankfully the broken pieces were stuck in the case. They were glued together with Araldite and they should hold up well.
Last of the dirty components - 4 in 3 drive cages. Just look at the filth, same amount of dirt came off each of the 2 cages.
One of the cages came with a black fan, I replaced it with a Coolermaster Blue LED fan so both cages have a consistent colour. I will probably use the black fan for top exhaust
Drive cages put back, drive bay covers were cleaned and assembled as well. I got 7 covers that leaves 2 holes - one will be taken up by a NZXT Fan controller and other with a DVD Writer.
Door is on and it works!
All panels put on and only one word to describe it - Beautiful!!!
Comparing to the Phantom - Its the same size but looks so much classier. At this point I realised that it would be an absolute CRIME to not use this case and so, the Stacker will replace Phantom to house my HTPC!
When it comes to modding cases like these, I am of the personal opinion that cases like these should be preserved. They do not make beautiful and elegant cases like these anymore, either they will have hideous meshes or swathes of glass with RGB fans and what not behind them. Cases like these take me back to the time of elegance and class and I will do my best to preserve such masterpieces!
Moving my HTPC inside the Stacker and trying to cable manage with a non modular PSU plus a case not designed for easy cable management will be tricky but I'm looking forward to the challenge. Stay tuned!


")