
Coolermaster ELITE 100 with Intel D425KT - A Basic 24 x 7 DL RIG
With India getting better and dedicated broadband connectivity we see the advent and culture of continuous downloads from the Internet. Many users wish to have low powered systems which can be literally on 24 x 7 'on' and harness the potential of unlimited data transactions. The options which are currently available:
1. Normal system.
2. Router/Media player with doctored BIOS' connected to an external storage device(s).
3. 3G mobility devices dongled.
4. A bare-bones system which has the basics of a computer and is low powered.
5. Netbook/Notebook/Laptop.
Today I will be reviewing the CM Elite 100 chassis along with the Intel D425KT Motherboard. This combination consists of a low powered motherboard which has an Atom CPU embedded and a small form factor cabinet for a clean and neat finish. The ultimate goal is to educate users to build an energy efficient sub-system -- based on the Win7 platform -- navigable remotely without a dedicated display unit.
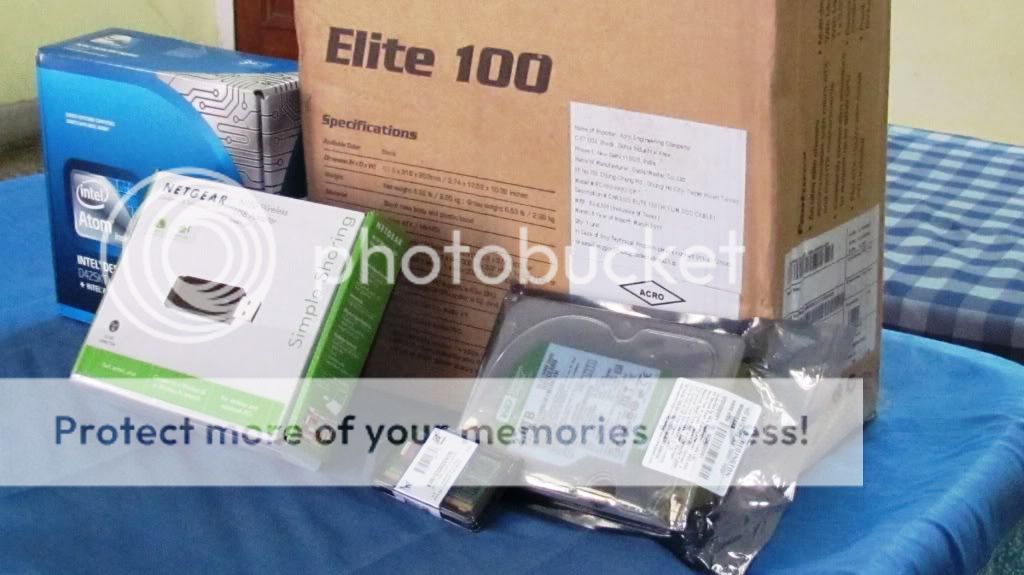
Parts which were used:
1. CM Elite 100 cabinet (RC-100-KKP2GP).
2. Western Digital 2TB Green HDD (WDC 20EARS).
3. Intel D425KT motherboad.
4. Kingston 2GB DDR3 (KVR1333D3S9).
5. Netgear WNA 1100 N150 USB Wi-Fi Adapter.
The parts were purchased from SMC International via an online quote request. I picked up the dispatch personally from their show room at Nehru Place, New Delhi. The WD 2TB was ordered from theITWarez around 3-4 months ago. Never put it in my gaming rig, so it was utilized here.
Thus the review synopsis will be:
1. Part specification as per official websites. Along with decision reasons.
2. Part description and unit assembly, highlighting functionality and 'points to note'.
3. Software installation load itinerary.
4. Some basic benchmarks and overall comments.
Part Specifications:
Below is the consortium of the hardware which was procured. Everything is neat and bundled. All parts were taken with official bills and serial numbers. A must these days when chasing RMA or DoA instances.
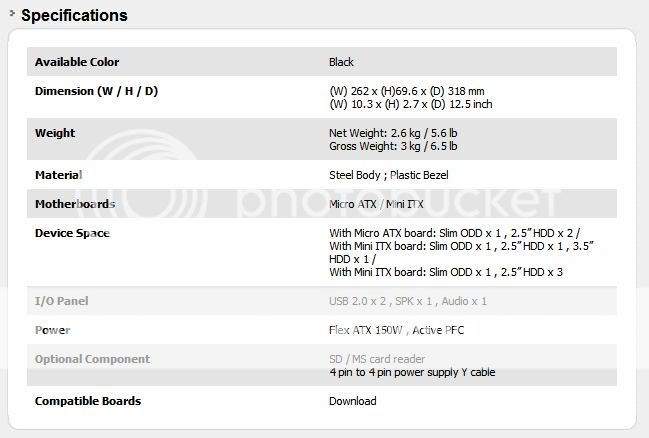
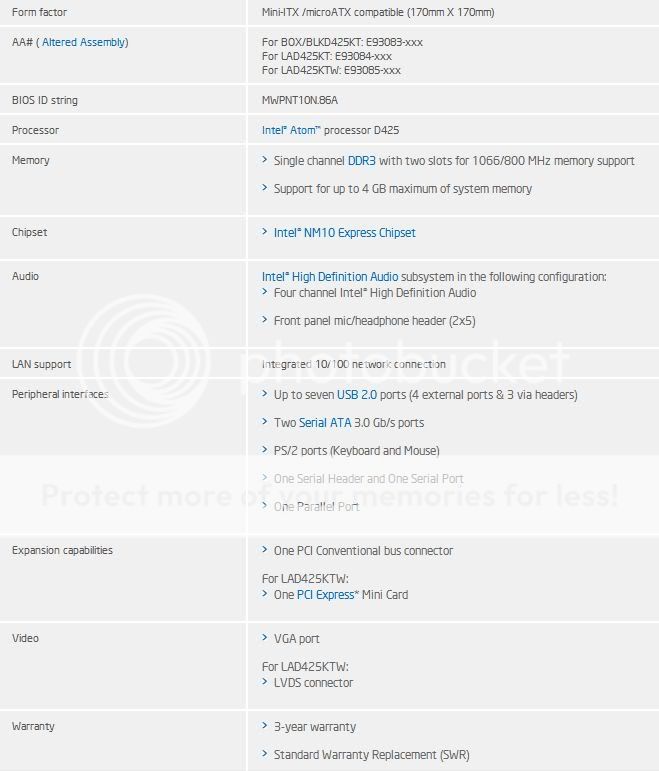
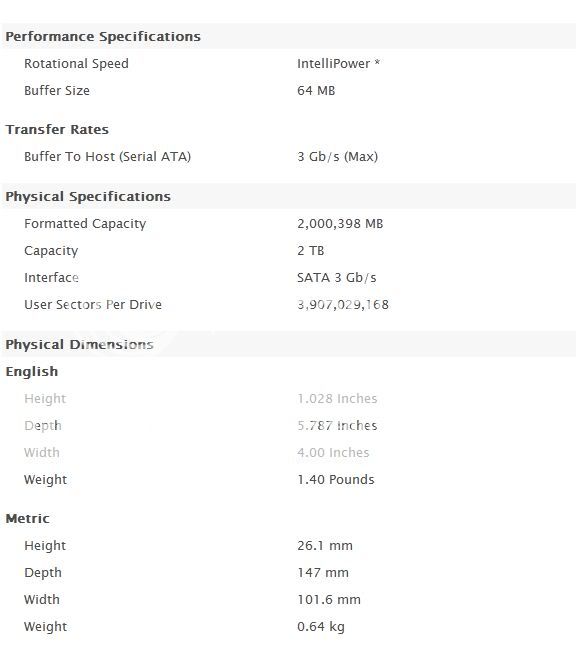
Specification sheets scrapped from the official manufacturer website.
Cooler Master Elite 100 Chassis (RC-100-KKP2GP):
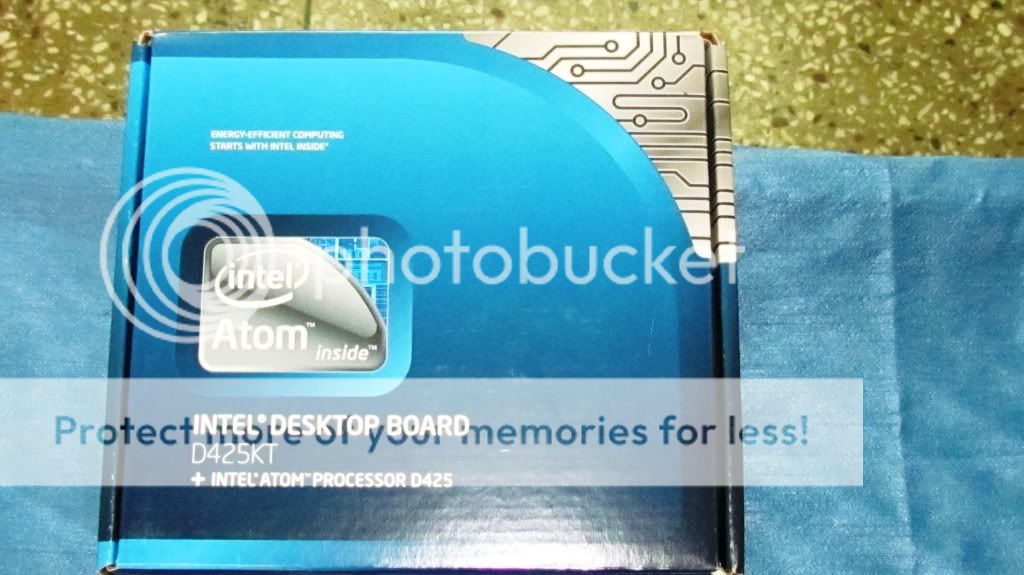
Intel D425KT Motherboard & Atom Processor:
Western Digital Caviar Green 2GB (WDC 20EARS):
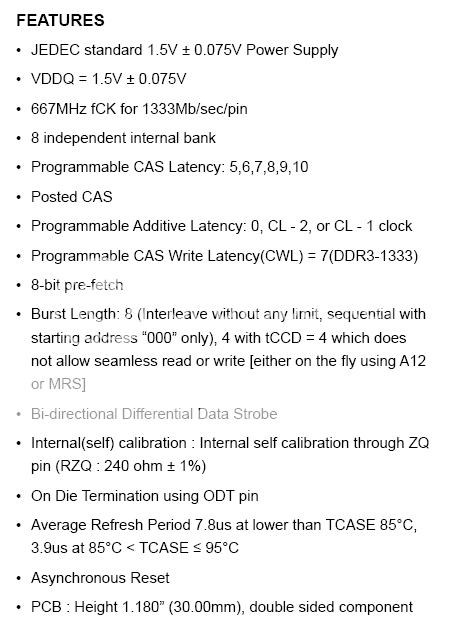
Kingston 2GB DDR3 RAM (KVR1333D3S9):
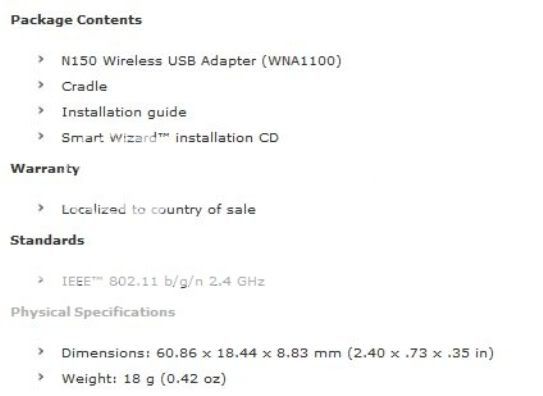
Netgear WNA 1100 N150 USB Wi-Fi Adapter:
Part Description and Unit Assembly:
We start of by show-casing the CM ELITE 100 chassis. This case is available in three variants. Difference being a 7+6 pin for SATA and a VESA mounting kit. I got the model which has the SATA connector and a bundled PSU, which is defaulted to all three variants. This is a low profile case which holds compatibility with Micro ATX and Mini ITX motherboards. It is steel armored with a plastic front-end bezel. Depending on the board nomenclature various types of drives can be used.
Some discrete features are:
Black color
2x2 USB front cut-outs. One set is factory fitted, and one is hard bound with plastic, which can be pushed in and installed if needed.
2x2 USB back cut-outs -- depends on the motherboard design too.
Bundled ATX 150 Active PFC, FSP Saga OEM PSU.
Passive cooling with a meshed grill.
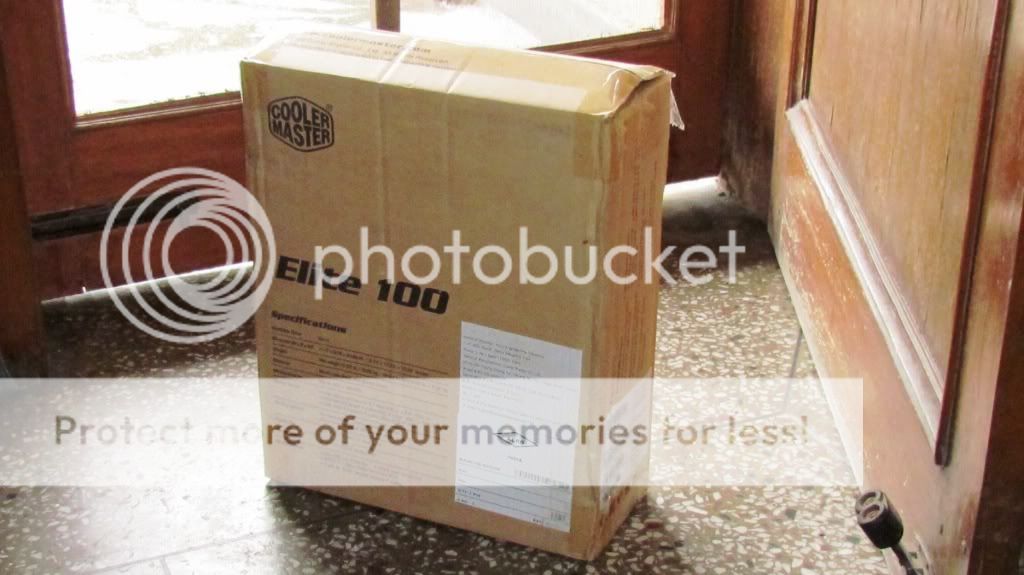
The unit comes bundled in the standard boring brown which CM loves so much.
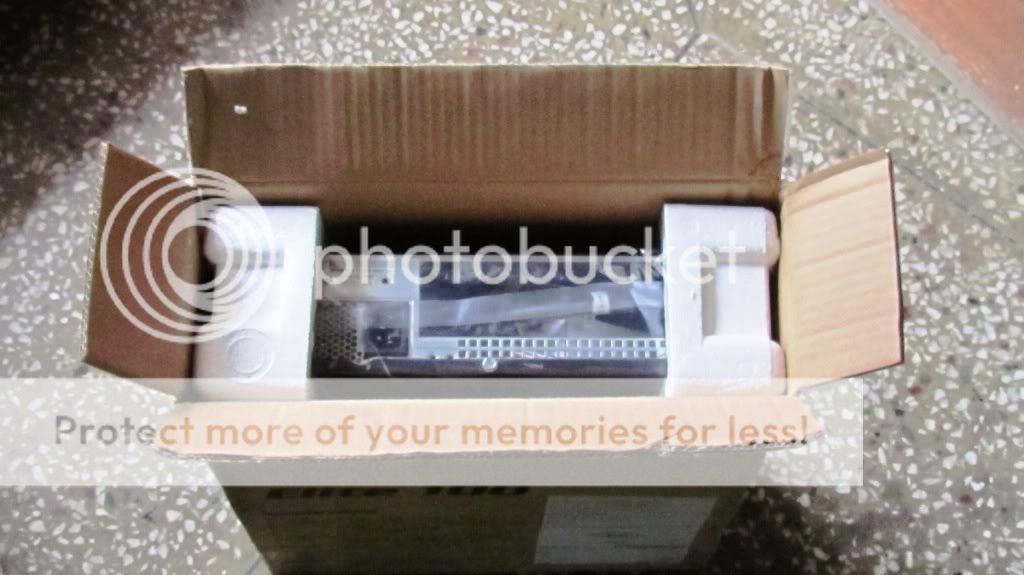
And opens up to a well packaged and secure innards.
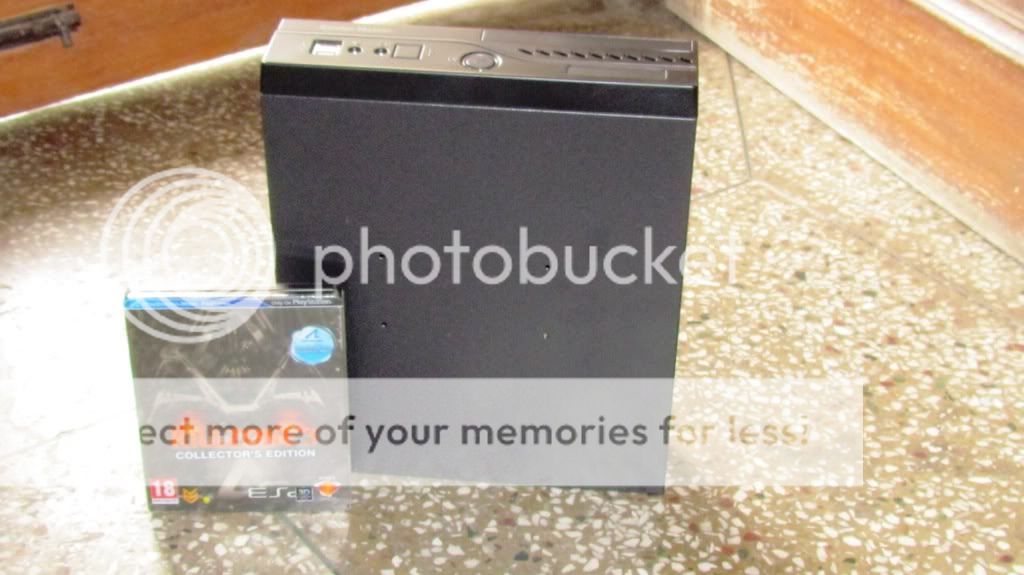
Pulling it out you can reference the 'height' vs a Killzone 3 Disc.
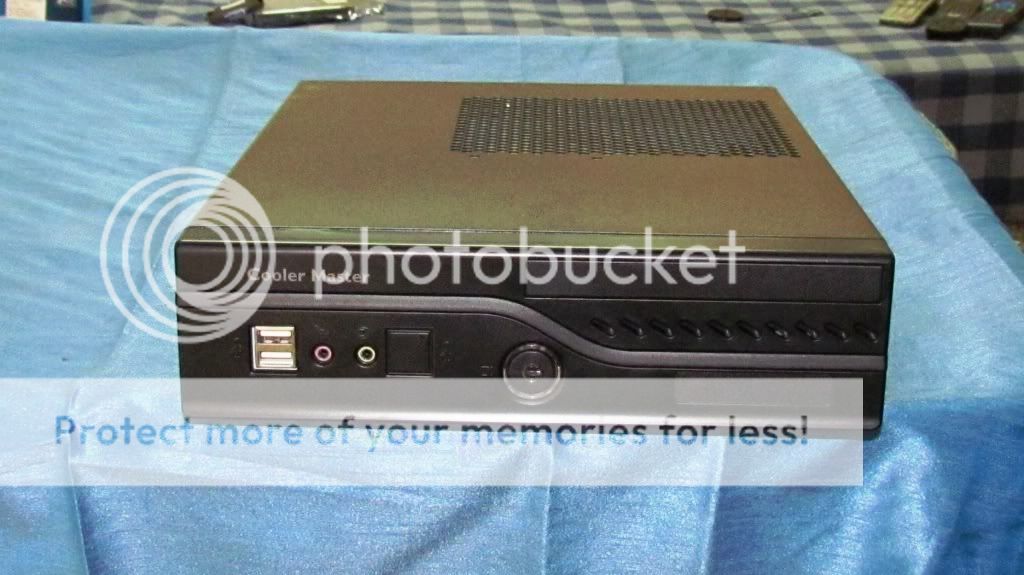
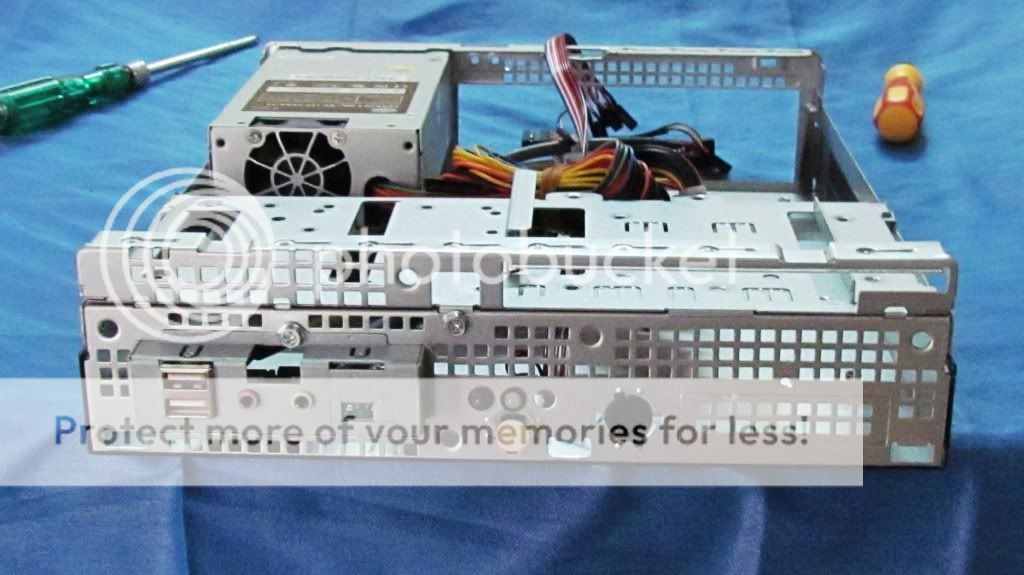
A decent view from the front, will show that it is a no - nonsense chassis which does not offer too much. Basic USB, sound ports, Power switch (no reset), and a place holder for a slim optical device. The spring loaded types which are prevalent on laptops.
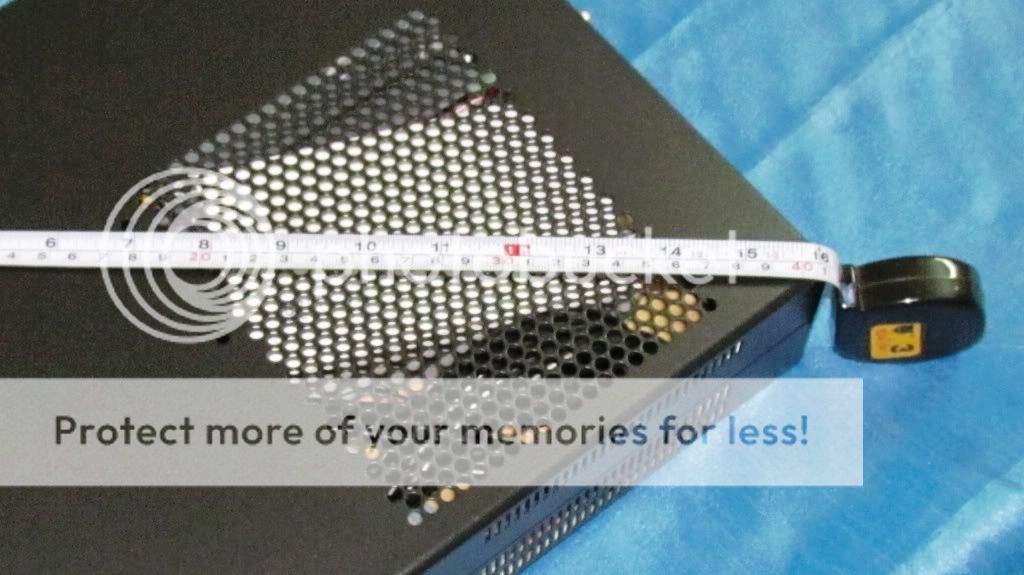
Since this review is all about "less is more" and stringent sizing, I have captured the dimension of the chassis.
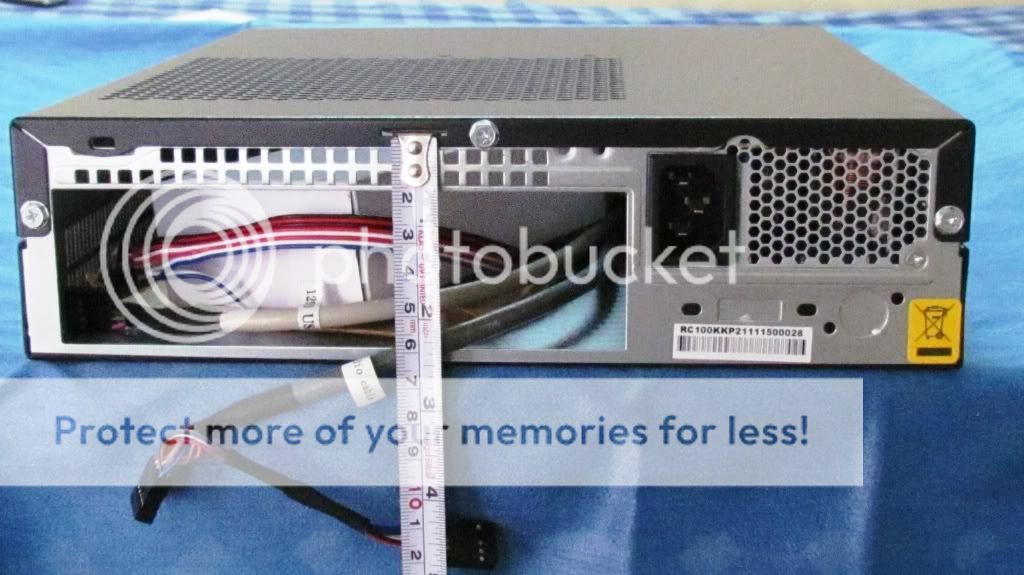
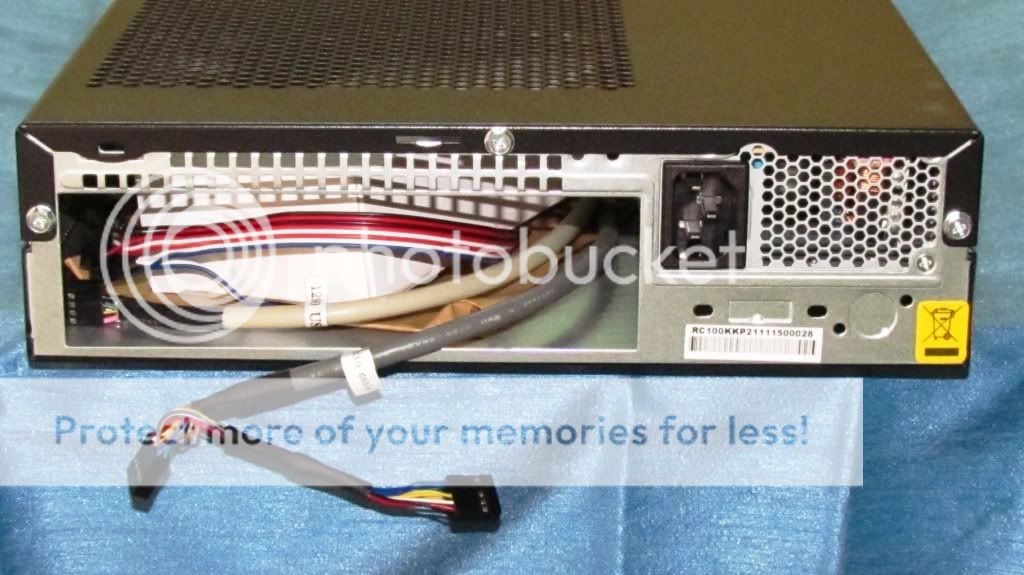
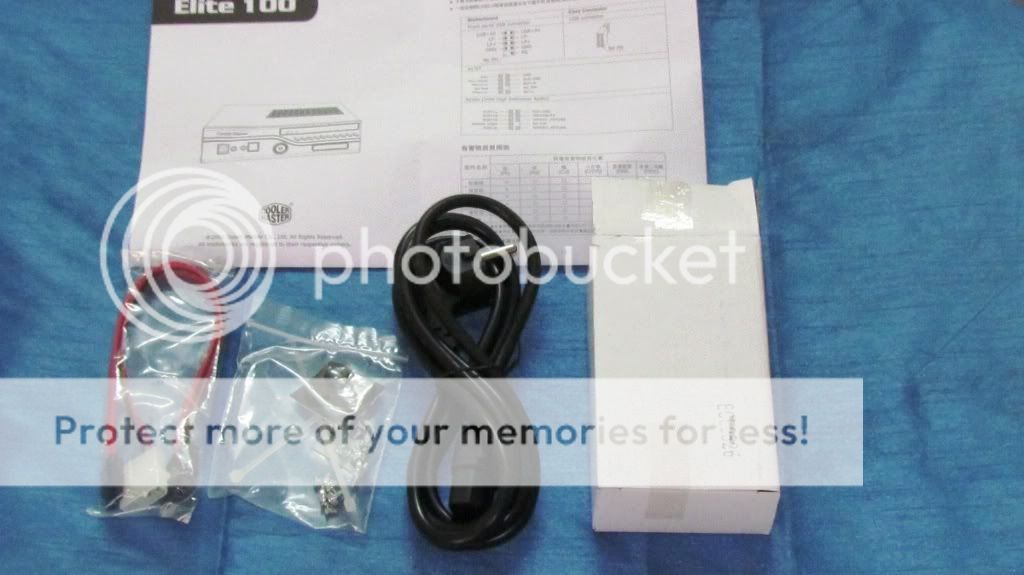
The back of the unit does not have a back-plate (usual practice), but the PSU is pre-fitted and the bundled parts are housed internally, to give a neat package. Three back screws have to be unwound to reveal the bundle, which compromises of a 7+6 SATA connector, screws, locking mechanism, and a thick PSU cable. The power head has the earth-pin disabled, but is of India region. The front connectors have the standard on/off, HDD signal light, reset, and a two-way USB header wire connected. This would need to be stripped off for assembly.
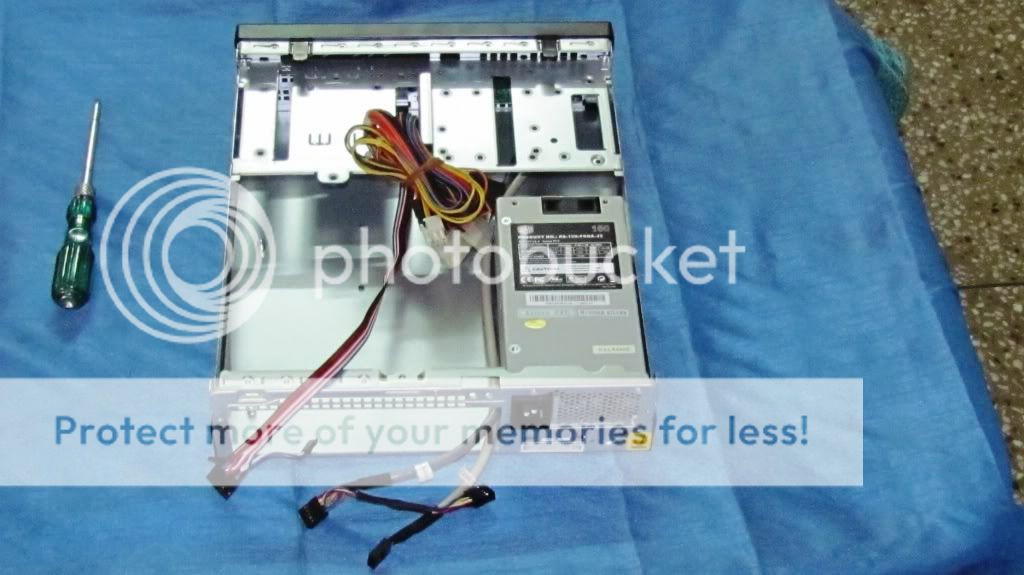
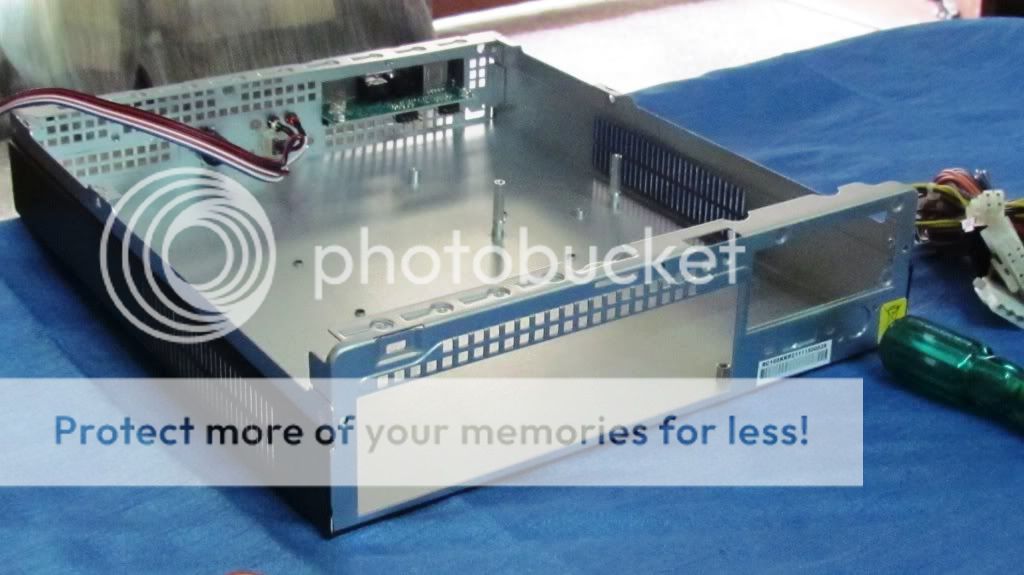
For installation the unit has to be completely stripped down. The front bezel is of "snap on" type which can be pulled off. The PSU also has to be removed to make space for the motherboard. Do note, the chassis bottom is pre-fitted with spacers for all possible scenarios which are permitted. The cage covering for the HDDs is also removed, to mount the platter.
Front assembly removed:
And the PSU is removed, to give the skeletal structure:
The PSU is rated at 150W (65W TDP CPU) and is active PFC. It is not 80% certified. It is an FSP Saga unit, reviews are available on the net. HWS gave it a decent rating, and load testing/ripple freedom were in decent margins. The specifications are such:
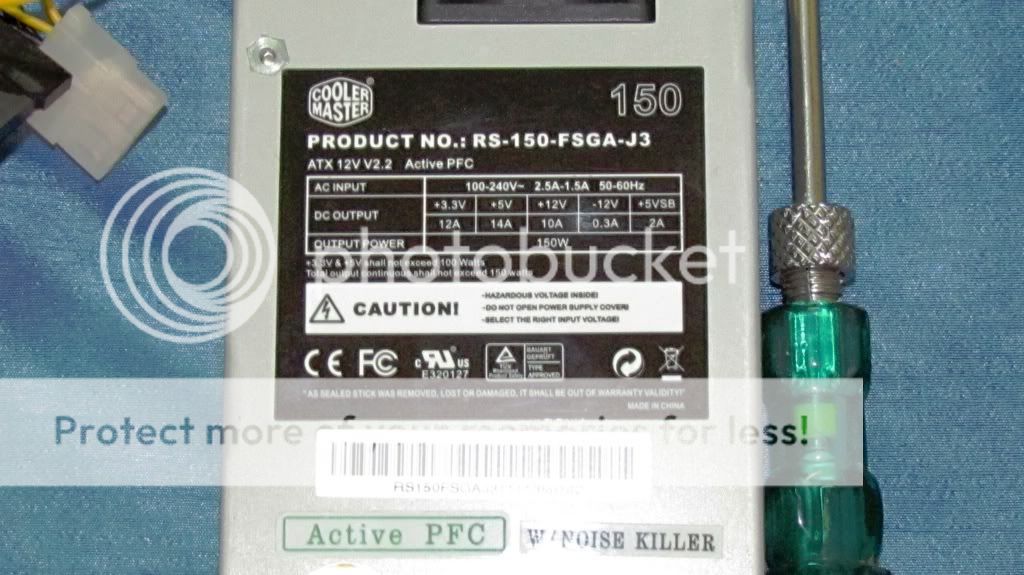
The connectors available with this unit are, 20+4 ATX connector, 12V EPS connector, 2x SATA connector, 2x Molex connectors, and one legacy floppy connector. The wiring is of poor quality, and upon inspection looks fragile, not too reliable in terms of physical handling. But should do the job to provide electrical power.
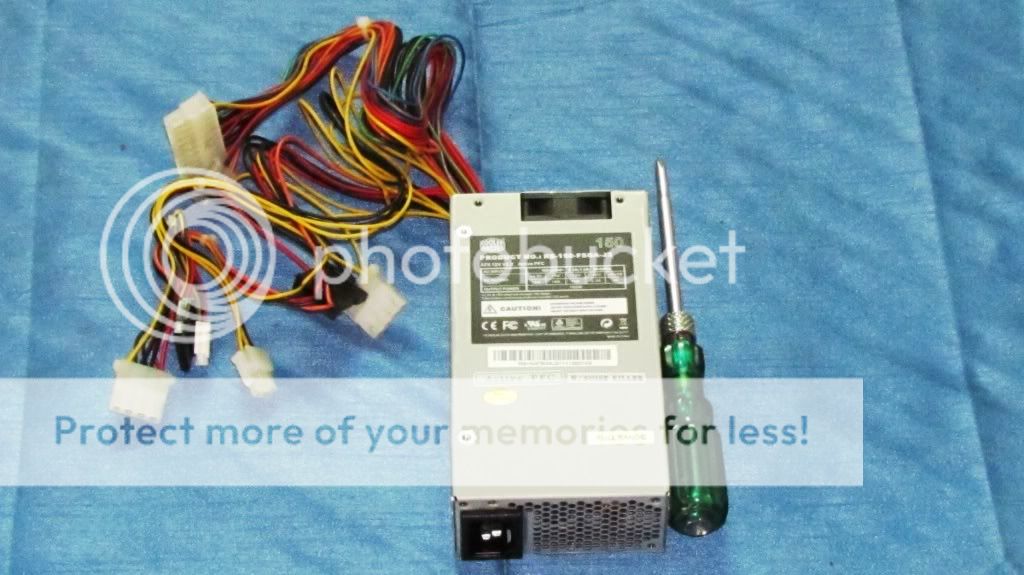
The unit is enabled with a small fan which blows air from the front of the PSU to the back of the Elite. This is the only moving part (apart from the switch) in the whole system. The fan 'does' have a distinct sound, which can be heard in a silent room. Nothing too loud, but cynics might not be too dandy about this.

Points to note:
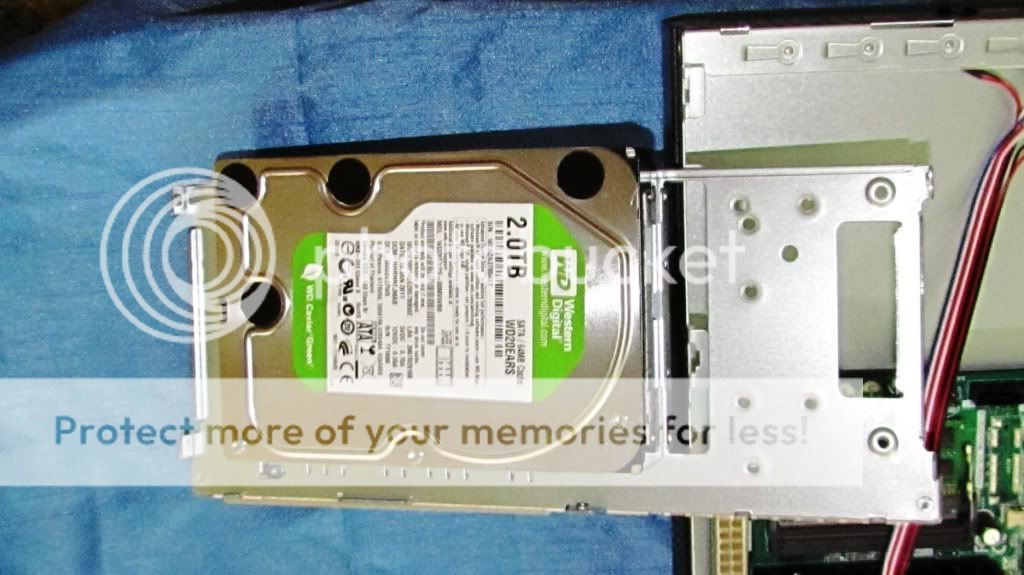
When I had decided that I needed a system for such usage, I was quite adamant for a chassis. It was quite difficult to source a low-profile unit. Probably because I was not aware of the Elite 100. It does do the job quite well. Is small and compact and can hold mother boards of more powerful nature. PLUS, getting low profile PSUs' would be next to impossible in India. Installation is quite painful and time consuming. It is definitely not a a 'tooless' design which we all seek. A lot of screws have to be removed, and the HDD installation is quite painful. The manual hardly offers any insights to this. The 'tightness' of the HDD cage area is such, that the signal wire and the power wire have to be attached first to the HDD, then it has to be bolted down on the case. Since this installation has 3.5", the platter will be upside down, and underneath the cage, i.e. not visible upon full install. With micro-ATX board you can mount a slim ODD x 1, 2.5" HDD x 2. Or with mini-ITX board you can mount a slim ODD x 1, 2.5" HDD x 2, 3.5" HDD x 1 on the bracket.
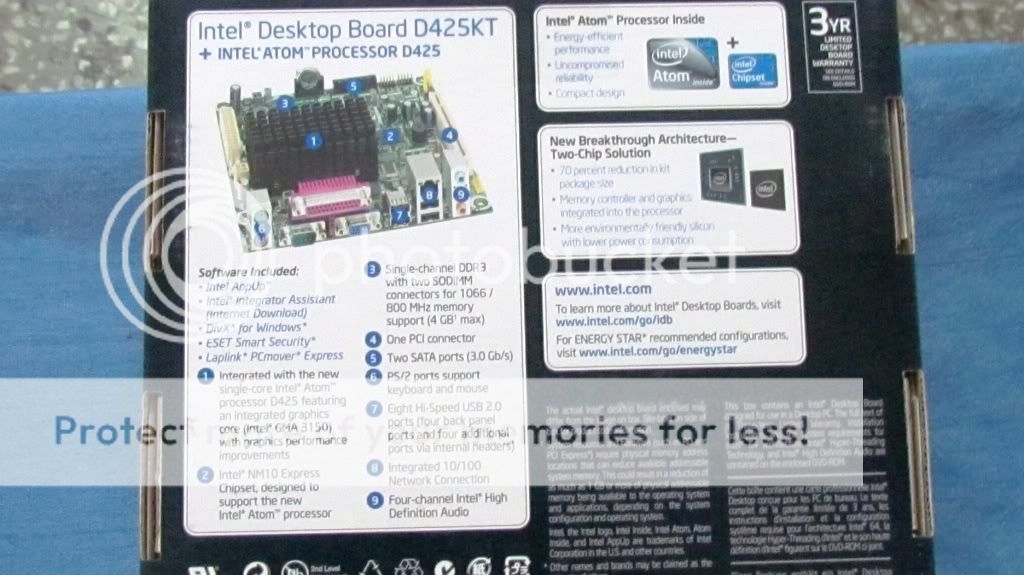
Next we move to the Intel D425KT Motherboard & Atom Processor. This mini-ITX form factored motherboard is based on the NM10 Express Chipset and has an Intel D425 CPU embedded within the PCB layer. The core is diffused to run at 1.8Ghz with an L2 cache of 512KB. It is docked to maximum permissible single channel memory of 4GB @ DDR3-SODIMM 800MHz, depth and speed respectively. Intel specifies the TDP as 10W and TJunction 100C. Furthermore the graphics are processed on the chipset via the GMA (Intel Graphics Media Accelerator) 3150. The block diagram will help you understand the architecture better.
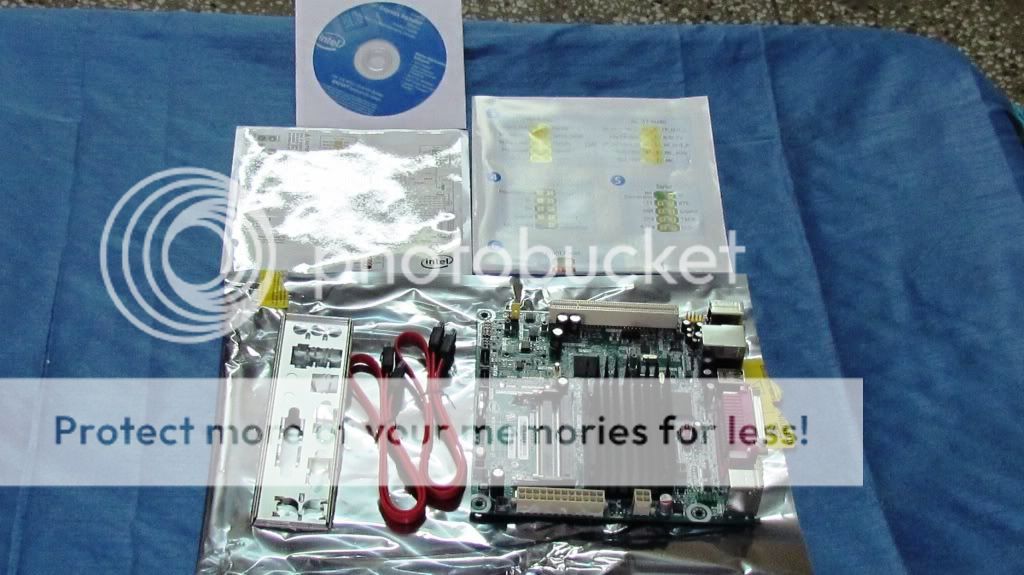
The front of the box has the chip name emblazoned, specifications are on the back of the box (so you know what to look for in shops) and the bundle has a backplate, 2x SATA connectors, driver CD, along with a manual in the assortment.
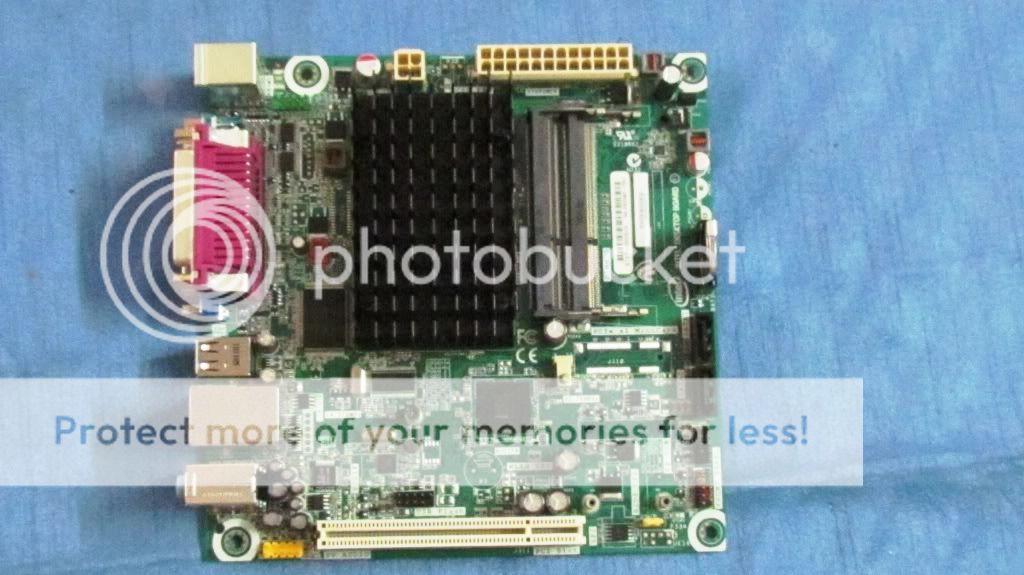
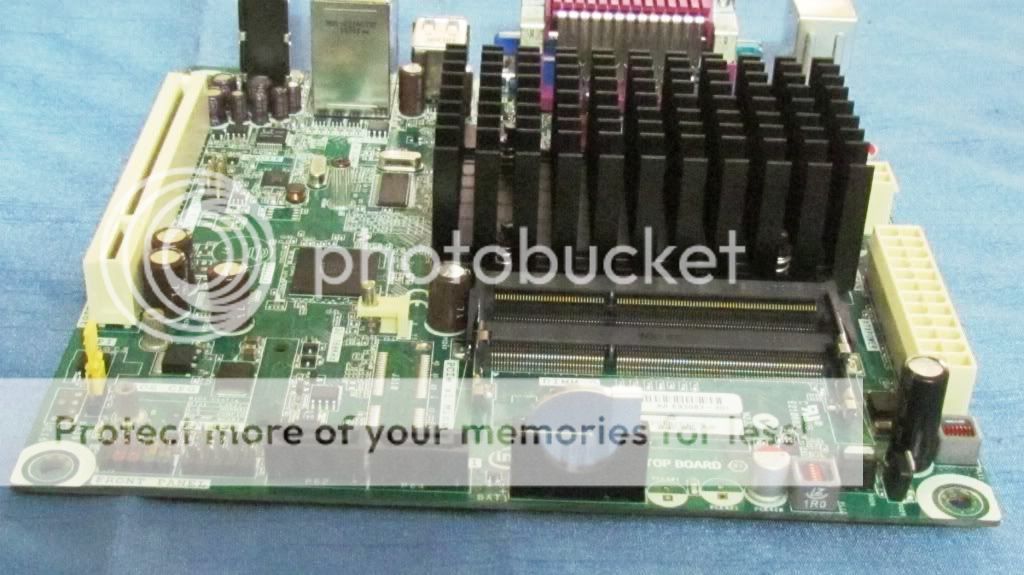
Looking at the board in greater detail, comments can be made on layout and the service offering. The unit is passively cooled using a robust and finned heat sink appendage, the board can be further sub-divided into back-panel, power connectors, DIMM sockets, expansion slots, and low level connectors. Note how the button CMOS keep-alive cell is mounted vertically.
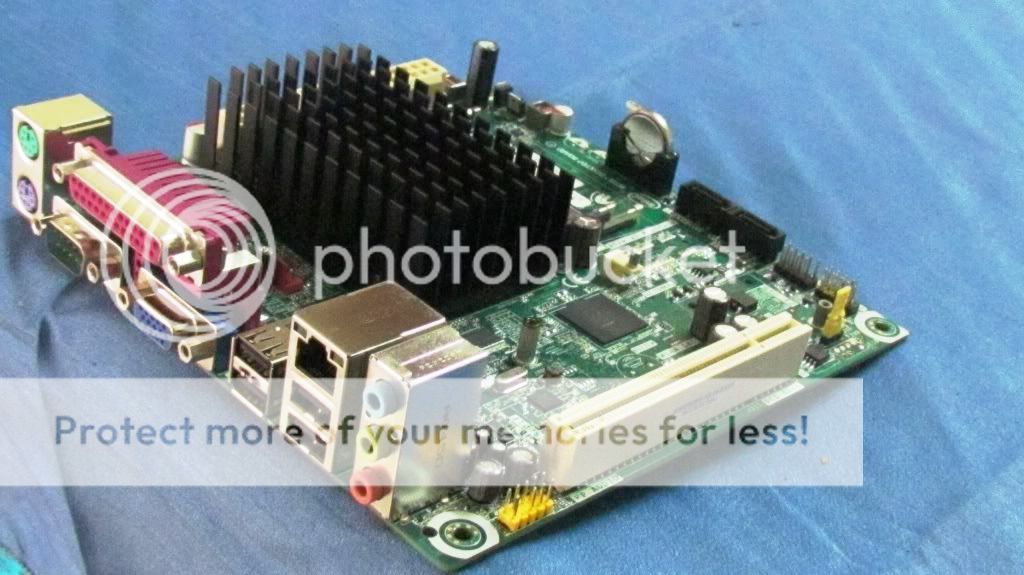
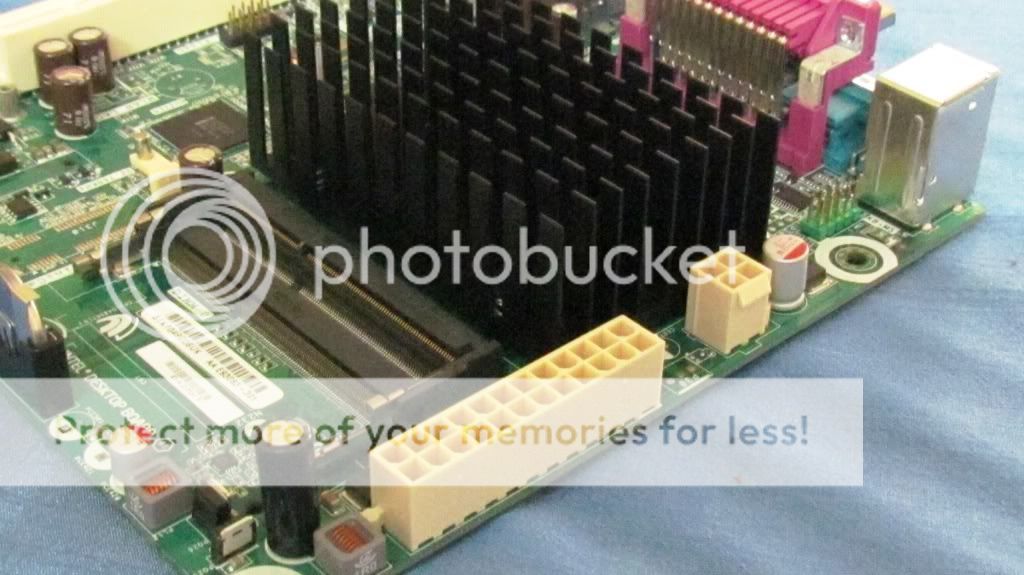
There is one native PCI expansion slot, and to the left of that is the sound header (yellow). During installation of the board back into the cabinet the sound connector should be connected before hand. On the right of the PCI slot is a jumper which can be used to recover the BIOS. North of the black heat sink is a 3-pin fan header. In front of the same is a USB header. South of the heat sink are 2x DIMM sockets -- of Foxconn make. The DIMM modules are mounted horizontally vs. the traditional vertical install we are used to. In all 4 thick edged screws are needed to hold this down to the chassis.
The back panel offers 2x PS/2 connectors, 1x Serial+parallel header, 1x VGA, 4x USB ports, 1x RJ45 LAN input, and the orthodox sound connectors (Intel HD Sound).

For lower level connectivity we get 2x SATA GB/s ports, another USB header, and the front level header for power and HDD cycle signaling.
The motherboard is powered using 20+4 standard ATX and 12V EPS connectors. The manual mentions that the legacy 20 PIN ATX will suffice.
Points to note:
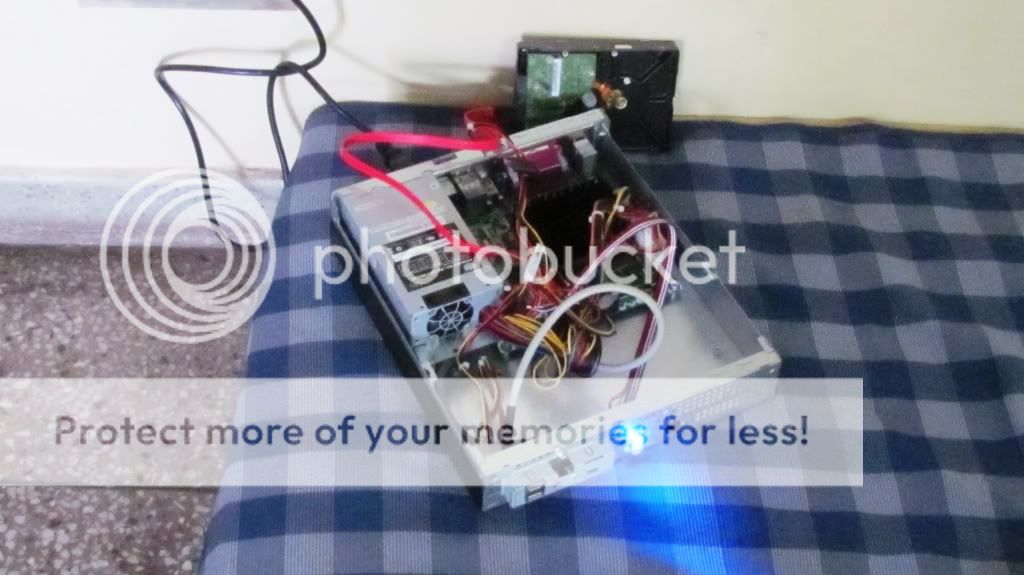
The motherboard is not of native design in terms of connectors which we all are used too. For example it does not have any chassis speaker connectors, nor does it offer a reset. A finite thought process should be followed when assembling this with perspective of the cabinet. Once everything was mounted, it is a good idea to do a black-box test, and check if everything is firing up. I did that, and thankfully hit gold on the first go. The LED glowed a deep (and bright) blue, and the HDD channeling red light started to flicker. Left it on for 15-20 minutes, and could feel the parts warm up. The PSU fan was spinning, and the heat sink / ram mosfets were showing thermals. Put an ear to the HDD and could ear it spinning. Shows the current is flowing fine. Some aspects on the wish list were: a DVI connector, native Wi-Fi port, and a 'manual'. The schematics provided with the board are quite lame and useless. Probably used to identify the pin-outs. Max.
The initial tests were fine.
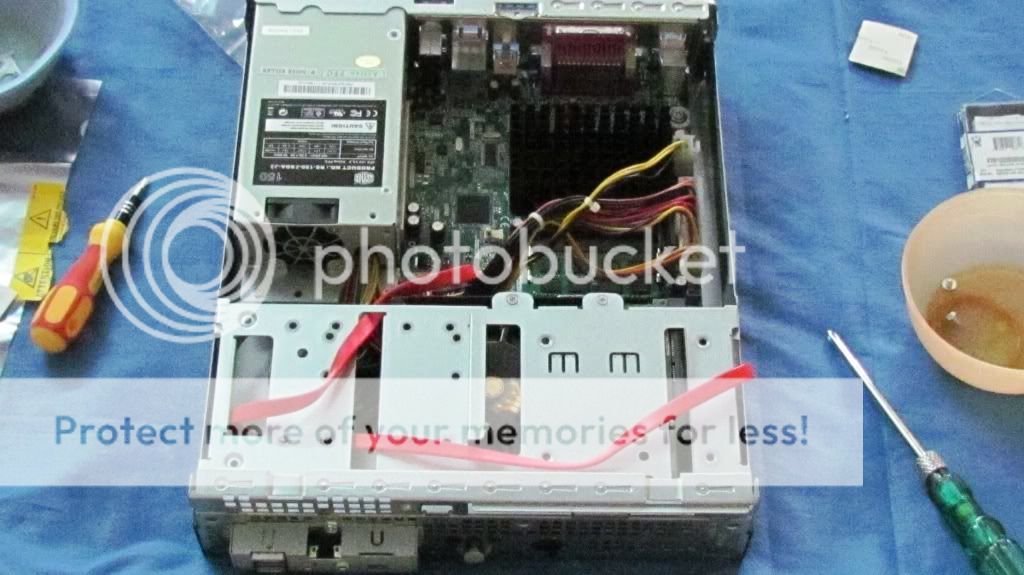
The final piece to go in, is the HDD cage. This was quite a task, since the assortment of cables was creating a bulk underneath and the cage would not settle in firm. Also the SATA wire was adhering to the edge, since lack of space, so the cage refused to fit. Had to route it through the holes available. Final assembly looked like this. The BIOS recovery and PCI dock are 'killed' by the PSU.
Software installation load itinerary:
Below is the list of softwares that will go into this build, to make it a decent resource easy 24 x 7 system.
1. Win7 Ultimate 64BIT : All my systems at home at have this flavor. To keep them all homogeneous and foresight for 4GB RAM in the future decided to go for this.
2. Bittorrent 7.2.1
3. CPU-Z*
4. RealTEMP*
5. Teamviewer
6. Winrar : So downloaded content can be checked, which is usually compressed. Read: samples.
7. Easeaus Partition Magic Home Edition* : Do not trust the in built Win7 utility. Tried partitioning using that, and it corrupted the boot loader.
8. Netgear Windows Stand Alone driver : The GUI is equivalent to bloat ware.
9. Chipset and LAN drivers.
10. AVG client.
11. JIT Scheduler.
*to be removed after testing
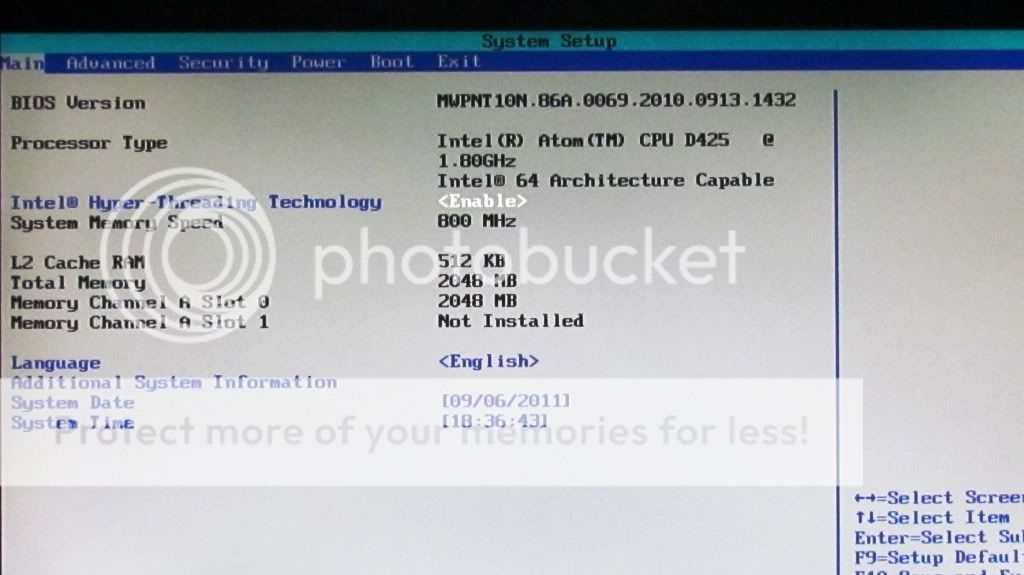
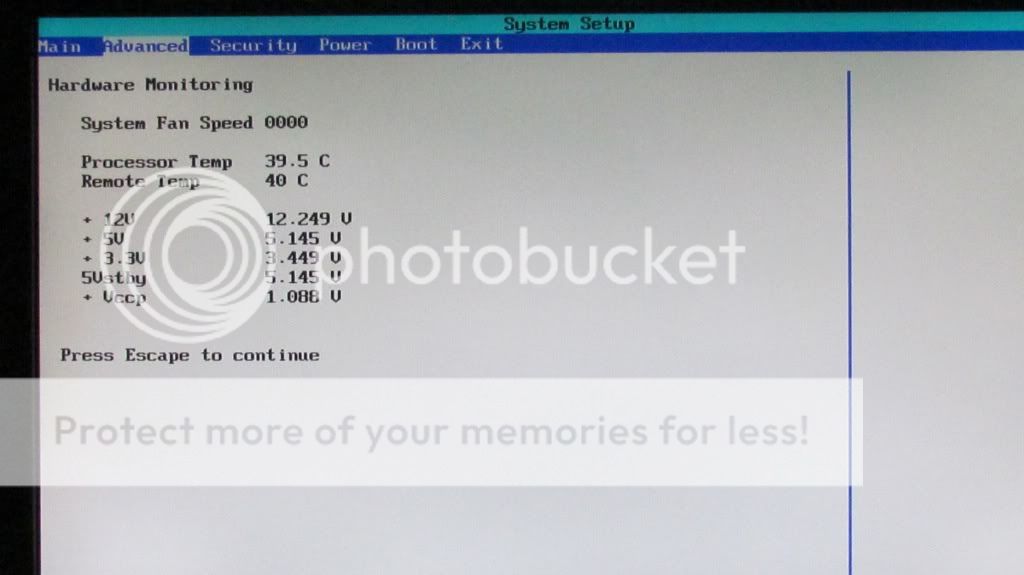
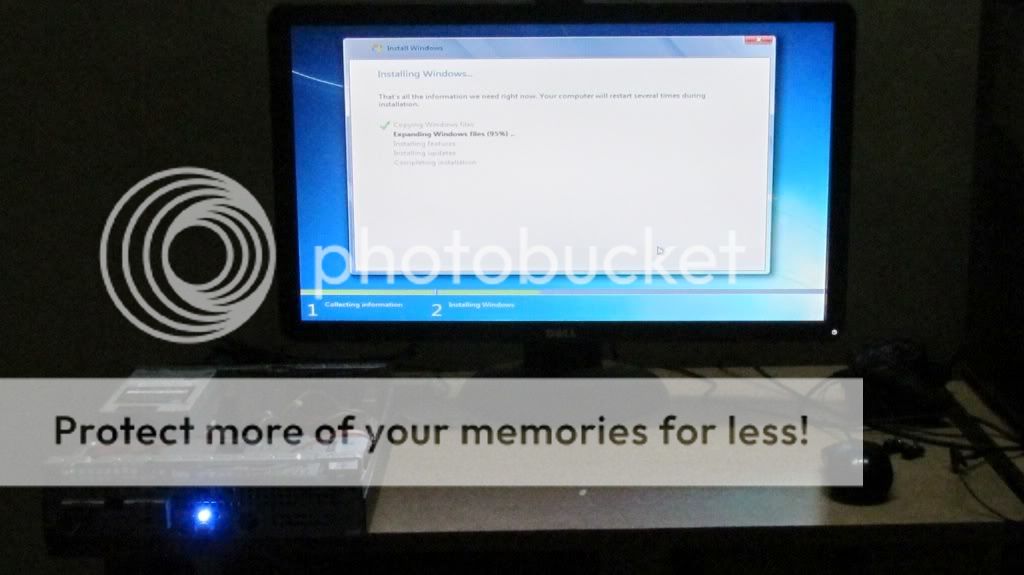
System was booted and left to patch Windows and AVG. The VGA drivers also pulled in to give 1080pi resolution. The BIOS is simple and gives the users basic settings to toggle. Upon first time load the BIOS reports the speed for the RAM and the BIOS version. The temperatures are also shown in a BIOS tab. Though these thermals are not always correct, but a decent ball-park figure can be ascertained.
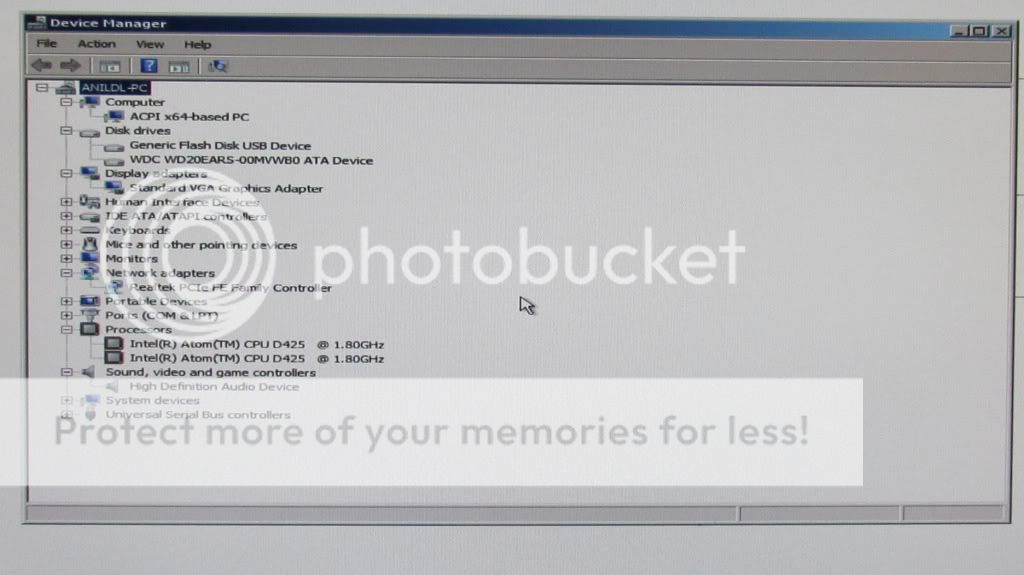
The Win7 installer kicks in immediate and we are on our way to reach the desktop soon. Do remember "upon first reset" to change the BOOT PRIORITY to normal, else the install process re-starts. Reaching the desktop all drivers are installed and devices echo green.
The final phase of this review, will be some basic benchmarks and overall comments. Just some basic tests will be done, to show-case the functionality for what this architecture promises. The boot time was noted to be ~ 1 minute 45 seconds.
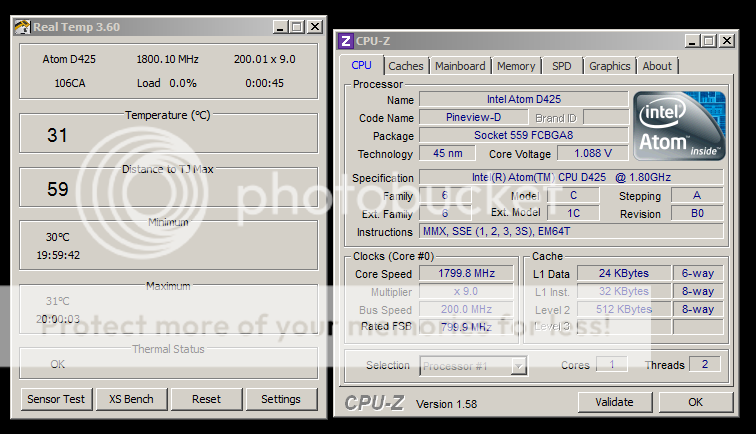
Idle temperatures on a latent desktop are reported quite cool. Ambient being around 32C today in New Delhi, we get this. Which is quite shocking. The CPU is running at room temperature...! Proves that the heat sink is more than enough to keep the processing core nice and cool. Putting in one more screenshot, since CPU-Z was open -- which displays the internals of memory and the North Bridge.

Next VLC player was installed and a file with the below mentioned format was clicked on. It ran for ~2-3 seconds, and halted. CPU usage was 100%. The system did not hang but the chipset cannot run HD content. The Intel D425KT definitely cannot be used for HTPC.
File format tested:
Format/Info|Advanced Video Codec
Format profile|High@L4.1
Format settings, CABAC|Yes
Format settings, ReFrames|4 frames
Codec ID|V_MPEG4/ISO/AVC
Duration|2h 58mn
Bit rate|8951 Kbps
Width|1920 pixels
Height|816 pixels
Display aspect ratio|2.35:1
Frame rate|23.976 fps
Color space|YUV
Chroma subsampling|4:2:0
Bit depth|8 bits
Scan type|Progressive
Bits/(Pixel*Frame)|0.238
Stream size|10.9 GiB (84%)
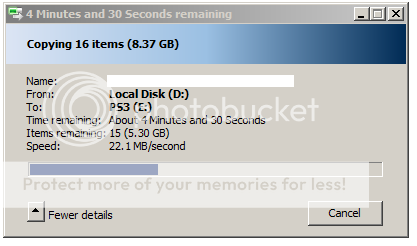
The HDD burst speed OFF an external drive came out to be decent enough for large copy-of files. It was an 8GB compressed .RAR which was directly copied over. The results below show. You can equate 6-7 minutes for 8GB of external transfer, inwards.
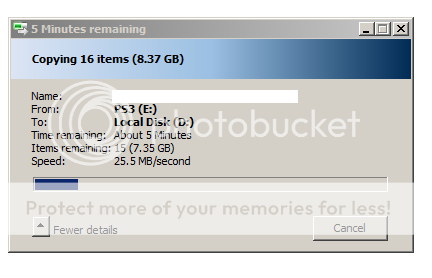
Doing the same test, the other way round, this is what was captured. Pretty much the same result.
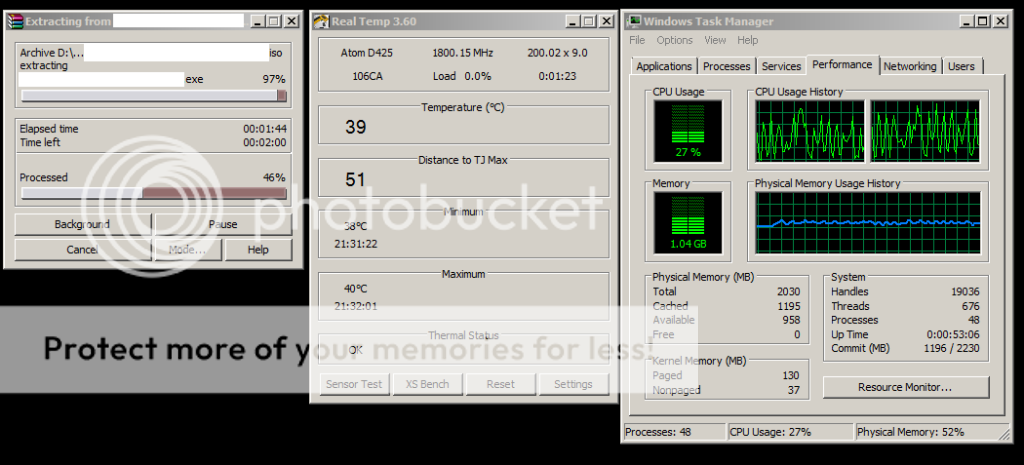
Doing a mini-stress test, to check for thermals and core performance, the same file was unpacked. Temperatures and ball-park times can be seen. Takes about two minutes to do the job, which is decent, though temperatures shoot up by 9C when both threads are stressed.
Overall Comments and Conclusion:
It is quite obvious that the system lacks in over all "things I can do with" points, and is lack-luster for multi tasking. Professionals would comment (and hopefully noted) that the board & cpu combination is just decently capable for web surfing, P2P torrenting and data storage. The forte is in the power consumption and coupled with the low level chassis makes it a clean and functional box. This is where it will actually shine. Sits in the corner of your room or next to your black PS3 and silently crunches away at the bandwidth and drop by drop picks up data from the www. Yes, once in a while if you need a secondary system it can be hooked to a spare screen and used for surfing or FB'ing. It is ideal for users who wish not to invest in a Seedbox for constant upload of data and want a more permanent solution. Of course speeds will not be in the seedbox range due to infrastructural constraints, but the task is fulfilled of having a client online constantly seeding and getting you points and ratio increase. End of the day, it boils down to how much one wants to give back to P2P communities and simultaneously have the ends justify the means. Other end of the spectrum we have our powerful gaming systems which totally negate their purpose if used as 24 x7 machines. Close to a set-up like this is the 'netbook'. Low in energy consumption and silent, with full computing functionality. Again, user base feedback exhibit system hang, low drive space, battery degradation, system wear and tear.
For the price points below:
RAM|809
Motherboard + CPU|3095
USB Wifi Dongle|750
HDD|3900
5% Tax|580
Total |12182
It is pertinent to note that the overall ROI is low. Of course it is easy to get most of the ancillary parts 2nd hand, and that will cut-down the cost further. My final judgement would be:
Pros:
Low profile
Low power footprint
Mobility
Minimal Noise
Functional and Discrete
Reliable
Cons:
Non-multi tasking.
Cannot run HD content.
No native Wi-Fi and DVI output.
Last but not the least, would like to thank SMC, Systembuilder, and theITWares (alphabetical) for providing part quotes. Special thanks to Altair, Dark Angel, and Gannu too -- for providing insights and helpful suggestions.
Thanks for reading the review....!

")